Table of Contents
Advertisement
Quick Links
Advertisement
Table of Contents

Subscribe to Our Youtube Channel
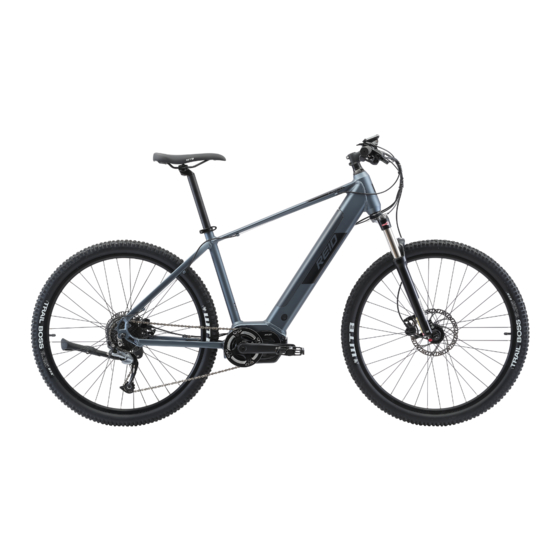
Related Manuals for Reid E Trail 2.0

Summary of Contents for Reid E Trail 2.0
- Page 1 Display Manual E Trail 2.0 Sphinx KADe...
- Page 2 1 Appearance and outline This production is a combination of mental bottom base and glass cover. Usually can work at environment temperature from -20℃ to 60℃ Size (Unit: mm) Note: the buttons has cable connecting with the display. Power Adding + Minus - Light Walking assistant...
-
Page 3: Product Functions
2 Product Functions This production can show contents enclose ◆ Battery capacity ◆ Speed ◆ Miles (single trip and total) ◆ Single trip riding period ◆ Pas level ◆ Light on/ off ◆ Walking assistant ◆ Error code ◆ Riding mode ◆... -
Page 4: Display Area
3 Display Area 4 Installation Please fix the product on the handlebar and connect cable well. Do not connect cable when battery on. Remark: Locking the remote support should be careful and it is easy broken over one certain Nm. PG 3... -
Page 5: Operation Introduction
5 Operation Introduction Turn On/ Off Pressing “power” button over 3 seconds and turn-on the system, vice versa, pressing same button over 3 seconds can turn-off the system. Speed & Distance After turning on system, the product will show current speed and distance; one-click “power”... - Page 6 Pas Level Adjustment Press “adding” or “minus” can change pas level among “0~5”, “5” is max. The default starting pas is “1”. Pas “1” Pas “5” 5.6 Battery Capacity The battery icon has 5 sections to show capacity, showing 5 sections means battery is full, and if only lifting last one section will keep shining and warn to recharge.
- Page 7 5.7 Riding Mode T ou Pressing “walking assistant” button can change riding mode ( ) ) ( sequence, T C ustomized E co T our ( ) ( ) ( ) REMARK Some version cancel this function and not ) )...
-
Page 8: Error Code List
5.8 Brightness Adjustment The product can auto-adjust brightness and light on/off according to the environment under auto mode. Long press the “light” button can turn off the auto function. Restart system will turn on the auto function again. Error Code Error Code List Error Code Sample... -
Page 9: Backlight Setting
6 Settings When speed is 0, long press “adding” and “minus” together will enter setting mode 1, press “power” button can adjust “backlight brightness”, “wheel size”, “metric-inch conversion”. Long press “adding” and “minus” again immediately after entering setting mode 1 will enter into setting mode 2, can adjust “pas level”, “default pas”, “light sensor”. 6.1 Turn On/ Off BL means backlight, can adjust “1~3”... - Page 10 6.3 Speed Limit Speed limit function can set max assistant speed, system will stop assistant if over speed limit to protect the driver. User can set speed limit from 12 Km/h to 40 Km/h, and the default value is 25 Km/h. Press “adding” and “minus”...
- Page 11 6.5 Pas Setting Pas ranging including 0-3, 1-3, 0-5, 1-5, 0-7, 1-7, 0-9, and 1-9, default is 0-5. Press “adding” and “minus” button can change value and press “power” button to save and enter next setting. Pas setting 6.6 Pas Default Value Pas default value including 0, 1, 2, and 3, default is 1.
- Page 12 7. Specifications 7.1 Key Data Display Type Support Normal 24 / 36 / Modes Cover Black/White Voltage 48V UART Colour 65.4*63.5*15.5m Communicati Size(L*W*H) 7.2 Information Displayed Battery Level Trip Distance Indicator Assistance Wheel size Parameters Level E-bike Speed Settings Unit change, Km or Average Speed Mile Maximum Speed...
Need help?
Do you have a question about the E Trail 2.0 and is the answer not in the manual?
Questions and answers