Table of Contents
Advertisement
Quick Links
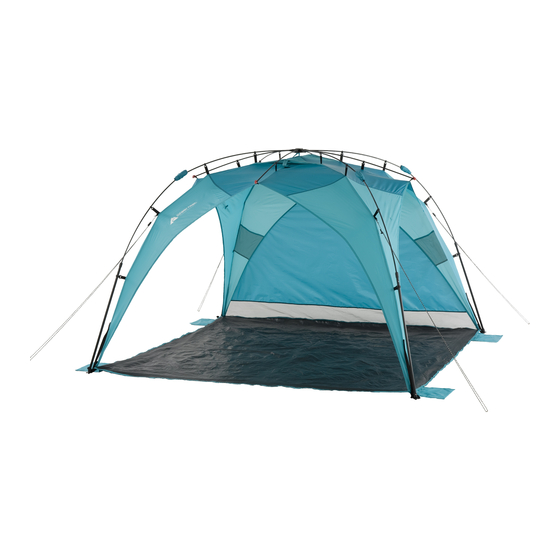
8FT X 8FT INSTANT SUN SHADE
Before you begin
Read all instructions thoroughly before beginning set up.
• Select a level site clear of rocks, branches, and other hard or sharp objects, to set up your tent.
WARNING: Keep clear of overhead power lines.
• Do not set up your shelter under trees because of potential lightning strikes or falling tree limbs in
inclement weather.
• For best results in windy conditions, position narrow end of shelter into the wind.
• Secure with all stakes and guylines provided to prevent property damage or
personal injury.
• Two people can easily setup this shelter in 60 seconds or less. Scan QR code to view
our setup video.
Parts List:
A (1) Integrated Frame with Shade Body
Setup Instructions:
1
• Stand shelter upright with HUB ASSEMBLY
at top.
• Unfold LEG POLES and
spread out shelter.
B (1)
Detachable
Panel
C (8) Stakes
D (1) Stake Bag
E (1) Carry Bag
STITCH LINE
2
• Lift up on ARM JOINTS to partially raise the shelter. (Detail 1)
• Extend TELESCOPING LEG POLES until SILVER BUTTONS "click" into the locked position. (Detail 2)
NOTE: You can now easily move your shelter to its final position before securing with stakes
and guylines.
ARM
JOINT
To Secure Shelter:
Stake Shelter
• Locate WEBBING LOOPS sewn into the corners at the
base of your shelter.
• Slide STAKE through WEBBING LOOP at each location; then extend out before securing. (Detail 3)
NOTE: Floor of shelter should be taut when staked properly.
Secure Shelter Guylines
• Locate GUYLINES attached to the FRAME
• Slide STAKE through loop at each location, extend out and drive in to secure. (Detail 4)
NOTE: GUYLINES should extend out at a 45º angle from sheler.
• Tighten GUYLINES as needed by adjusting the SLIDER up the cord.
1
2
"Click"
4
SLIDER
NOTE: See other side for securing detachable panel .
WMT-8859
Model No. 30147
3
Advertisement
Table of Contents

Related Manuals for Ozark Trail WMT-8859


Summary of Contents for Ozark Trail WMT-8859
- Page 1 STITCH LINE WMT-8859 8FT X 8FT INSTANT SUN SHADE Model No. 30147 • Lift up on ARM JOINTS to partially raise the shelter. (Detail 1) Before you begin • Extend TELESCOPING LEG POLES until SILVER BUTTONS “click” into the locked position. (Detail 2) Read all instructions thoroughly before beginning set up.
- Page 2 To Secure Detachable Panel: WARNING: KEEP ALL FLAME AND HEAT SOURCES AWAY FROM THIS SHELTER FABRIC The detachable panel can be used to add privacy or help block the wind or sun on the shelter opening of This shelter is made of flame-resistant fabric which meets CPAI-84 specifications. IT IS NOT FIRE-PROOF. your choice.
Need help?
Do you have a question about the WMT-8859 and is the answer not in the manual?
Questions and answers