
Subscribe to Our Youtube Channel
Related Manuals for Sunjoy A101011500


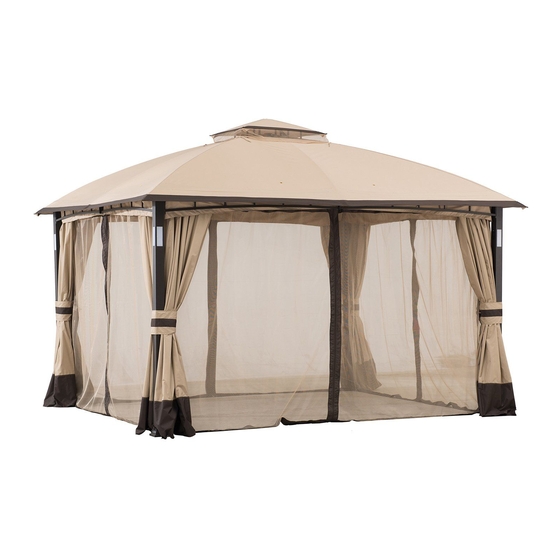
Summary of Contents for Sunjoy A101011500
- Page 1 ASSEMBLY INSTRUCTION Item #:A101011500 WE HAVE YOU IN MIND, LET US SERVE YOU! Questions? Issues? CONTACT US 24 hours / 7 days a week www.sunjoyonline.com customer.care@sunjoygroup.com Country of Origin: China Production Number: xxxxxxxxxx...
-
Page 2: Safety Information
2 / 9 Safety Information This unit is heavy! Do not assemble DANGER: More than two people are required for this this item alone. assembly. Some parts may contain sharp edges. Wear Do not leave the gazebo where there WARNING: protective gloves. -
Page 3: Parts List
3 / 9 Parts List Image De scription Label Part# P ost 5 P00020058401 P ost 6 P00020058501 Post 7 P00020058601 LED light 1 P007600078 (preass emble) LED light 2 P007600080 (preass emble) LED light panel cover P007600077 (preassemble) Bl uetooth P007600079 (preassemble) Long Left... - Page 4 4 / 9 Image Description Label Part# Short Mosquito P005700622 Netting Bar Base Cover P006100158 Base P000100310 Small Canopy P00110067101 Big Canopy P00110067201 Mosquito Netting P001200201 Curtain P001300099 Adapter Charge P007600064 Adjustable P005700620 Tube Hardware Pack 1 Part# Image Label Description H100010068 32 PCS...
- Page 5 5 / 9 Fig.2-2: Attach middle Fig.1: Put base cover(P) into Fig.2-1: Insert long left beam connector(G) to post(A5/A6/A7), then attach Crossbeam (B3) into long right across beam(B3/C3/B4/C4) base(Q) to post(A5/A6/A7) by Crossbeam(B4); Same way to the across beam by using screw(AA).
- Page 6 6 / 9 Fig.6: nsert sloping beam upper Fig.7: Fix Oblique Beam(D4) Fig.5: Insert sloping beam bottom end(D3) into big top connector(I), to top of post(A5/A6/A7) by end(D4)into sloping beam attach hook(M) to big top using bolt(CC),flat washer upper end(D3). (DD) and nut(EE).
- Page 7 7 / 9 Fig.11: Put the big top cloth Fig.12-1: Attach adjustable Fig.12-2: Assemble the tube(W) to sloping beam upper (S) on the big top, but don’t adjusting tube (W) to the large assemble it first. tube bottom end(D3). top inclined beam (D3). Fig.14-1: Put small canopy(S) Fig.14-2: Adjust tube Fig.13: Fix big canopy corner to...
- Page 8 8 / 9 Fig.17: Remove battery holder cover, Fig.15: Put mosquito netting (T) Fig.16: Lift up base cover (P),s ecure the whole gazebo insert two(AA)battery,(Note: and curtain (U) onto long to the lawn by stake (HH). mosquito netting rod (N) and short to ...
-
Page 9: Care And Maintenance
Use damp cloth to wipe off the stains as quickly as possible. If necessary, wash with a mild solution of soap and water; rinse thoroughly and dry completely. Periodically check and ensure that all bolts are well‐tighten during use Limited Manufacturer’s Warranty Sunjoy Group warrants to the original purchaser that this item is free from defects in workmanship and materials for a period of 1 year from the date of purchase, provided the item was factory‐sealed at the time of purchase and is maintained with care and used only for personal, residential purposes. Should any manufacturing defect arise within this warranty period, Sunjoy Group will replace (at our option) any defective merchandise or parts upon proof of purchase; however, transportation and ...
Need help?
Do you have a question about the A101011500 and is the answer not in the manual?
Questions and answers