Advertisement
Quick Links
Advertisement

Related Manuals for DIR Damita H012


Summary of Contents for DIR Damita H012
- Page 1 INSTRUCTION MANUAL...
-
Page 2: Table Of Contents
Contents Product Information Assembly Instructions Control Panel Operation Instructions Cautions Modes-Application & Reference Work State Maintainance Thanks for your purchase of our product: DAMITA HAIR PROCESSOR. Please read the operation manual before using the product. Please put the operation manual in the place easy for you to read and you can read it at any time. -
Page 3: Product Information
Product Information Product Name:Damita Product Code: H012 The Damita is designed with the anion function to assist health care as well as hair care, listed below are the key functions for Damita. The anion full-automatic hair drying machine disperses anion to eliminate neutralizing charge on static, frizzy and dry hair also removing dulling particles in the air. -
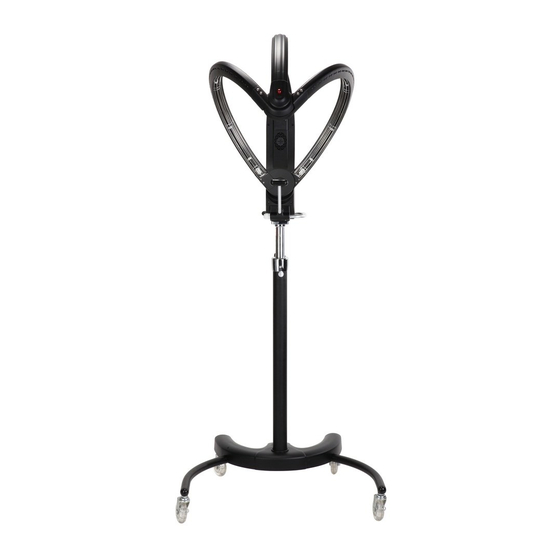
Page 4: Assembly Instructions
Fixed Arm Assembly Instructions Power Indicator Light Swing Arm Control Panel Guard Net Power Switch Support Lever Pole 1 Joint Bush Power Lead Pole 2 Foot Base... - Page 5 Assembly Instructions Pole 1 Adjustment Handle Pole 1 Pole 2 Fix the head assembly on the pole 1 and tighten it with the screw. Foot Base The front of the machine. Washer Hexagon screw Note: Please ensure that the slot on the Note: Please ensure that the head assembly faces the front of the machine correctly.
-
Page 6: Control Panel
Control Panel Time Digital Display Timing Time Setting Key Temperature Key Temperature Colouring Pre-treatment Illuminate Treatment Mode Perm Swing Key Manual Swing Start/Stop... - Page 7 Control Panel Start/Stop Press this key to start or end treatments. When the machine is on the control panel will illuminate, when the machine/treatment stops the control panel will not illuminate. Push this key to start/stop the fan. The control panel will illuminate if the fan is in operation, once the treatment has come to an end the control panel will not light.
-
Page 8: Operation Instructions
Technical Description AC 220-240V 50/60Hz 750W To get the best results out of this product and to ensure customers comfort, please follow the steps listed below… Diagram 2 Diagram 1 Step 1 Step 2 Damita should be adjusted and placed 6-8cm from The distances between A and B should be exact. - Page 9 Operation Manual Note: Please read the information regarding suitable positioning, before operating. Turn on Machine 1. Turn on the power switch, the LED light will glow. 2. The control panels default is set to “Manual” Select a Mode 1. Select “Choose Mode” and select the treatment required. 2.
-
Page 10: Cautions
Cautions 1. Avoid use in extreme hot or cold temperatures. 2. Please use correct power source 4. Dry hands before use. 5. Do not touch during operation – Hot Surfaces. 6. Do not move or lift product when in use. This could damage the machine as well as causing damage to customer/stylist. - Page 11 Cautions 1. Before using please make sure that the service voltage is the same as the products appropriate rating. 2. Operating environment; an ambient temperature of 5’c -40’c; a relative humidity of less than 95%. 3. To ensure users safety, never insert foreign objects into the machine. 4.
-
Page 12: Modes-Application & Reference Work State
Modes-Application & Reference Work State Pre- xed Functions Mode Application Initiative time Time Rotation Temp level of temp level 10 min 2.5 min When perming, adjust time and temp level Perm according to type of hair & treatment Adjustable according to condition and method 15 min 2.5 min When dying hair, adjust time and temp level... -
Page 13: Maintainance
Maintainance Before cleaning please remove the power cord 1. The inside of the machine helmet is easy to stain and get dirty, please clean this regularly. Chemicals such as hair dye etc can cause the machine to dysfunction. 2. Use a soft, dry cloth to wipe and clean. If water/liquids splash onto the control panel, use a soft dry cloth to remove immediately, otherwise this could also cause the machine to dysfunction.
Need help?
Do you have a question about the Damita H012 and is the answer not in the manual?
Questions and answers