Table of Contents
Advertisement
Quick Links
Advertisement
Table of Contents

Related Manuals for Peerless Pump AEF


Summary of Contents for Peerless Pump AEF
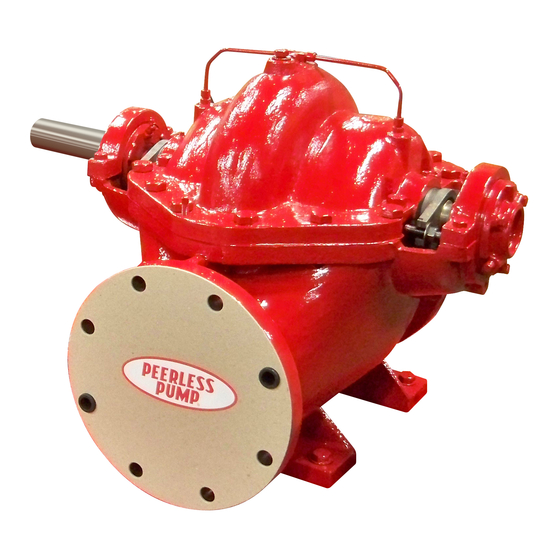
- Page 1 Horizontal Split Case Model AEF Installation, operation and maintenance manual...
- Page 3 Horizontal Split Case English (US) Installation and operating instructions ............4...
-
Page 4: Table Of Contents
AEF ........23 in accordance with good industry practices or specific AEF with double row thrust bearing. -
Page 5: Hazard Statements
1.2 Hazard statements WARNING The symbols and hazard statements below may appear in Peerless Automatic startup installation and operating instructions, safety instructions and Death or serious personal injury service instructions. ‐ Before any inspection, maintenance, service or repair of the product, make sure that the motor controls are in DANGER the "OFF"... -
Page 6: Material Safety Data Sheet
WARNING WARNING Chemical hazard Excessive noise Death or serious personal injury Death or serious personal injury ‐ ‐ When the pump handles hazardous liquids, avoid If the operating noise level of the product exceeds local exposure to the liquid. Limit personnel access and code or safe levels (over 85 dBA), the product must be ensure that operators are properly trained. -
Page 7: Inspecting The Product
2.2 Inspecting the product If a seismic analysis is required, please refer to the governing bodies recommended for grouting and The product must be inspected after transport and before foundation requirements. installation. To complete the inspection, follow the steps below: The customer must supply complete specifications for earthquake- resistance requirements including seismic criteria, acceleration, Check the product for transport damage. - Page 8 3.3.2.1 Foundation, grout and anchor bolt installation After pump alignment has been established, put nuts on the anchor bolts and tighten them just enough to keep the base plate from moving. Construct a formwork around the concrete foundation and pour grout inside the base plate.
-
Page 9: Installation Preparation
3.4 Installation preparation Pressure gauges will enable the operator to monitor the pump performance and determine whether the pump 3.4.1 Engine preparation conforms to the parameters of the performance curve The following installation requirements help to ensure safe and efficient operation of a pumping unit driven by a diesel engine: If cavitation, vapor binding, or other unstable operating Ensure that the operator is familiar with the installation and situations occur, the pressure gauges will indicate with... - Page 10 • excessive force on the pipes distorting or shifting the machine. Pressure gauges will enable the operator to monitor the • settling of the building. pump performance and determine whether the pump conforms to the parameters of the performance curve •...
- Page 11 3.5.3.3 Coupling gap and maximum misalignment, KTR ROTEX Max. Max. E distance Max. axial size parallel angularity [in (mm)] [in (mm)] [in (mm)] [in (mm)] 0.006 -0.02 (-0.5) Fig. Parallel misalignment 0.51 (13) 1.1 (28) (0.15) + 0.04 (1) 0.007 -0.02 (-0.5) 0.63 (16) 1 (25)
-
Page 12: Electrical Connection
3.5.3.4 Aligning the engine drivers 3.7 Control, monitoring, and alarm equipment Engine-driven units are typically supplied with the pump and drive on a common base plate. For units that are supplied separately, Check control and alarm systems for correct installation contact Peerless. -
Page 13: Checking Rotation
4.2 Checking rotation Tightly pressed packing will result in burnt packing and WARNING scoring of the shaft or shaft sleeve. Electric shock Death or serious personal injury The stuffing box should slowly leak fluid, 40-60 drops per ‐ Switch off the power supply before you start any work minute, during operation. -
Page 14: Starting Up The Product
4.8 Starting up the product 5.1.1 Controlled storage Storage facilities should be maintained at an even temperature with 4.8.1 Starting the pump a relative humidity lower than 50%, and little or no dust. Inspect Open the inlet valve completely, and close the outlet valve and recoat the equipment periodically with water displacement rust completely. -
Page 15: Handling The Product
Production code 6.2 Intended use Controller serial Packaging location The Horizontal Split Case Model AEF is intended for use in fire number protection systems. If there is any doubt as to the suitability of the Driver manufacturer Marks of approval product for the application intended, contact Peerless. - Page 16 6.3.2 Type key This type key is applicable to the configurator in Peerless Product Center. Example: 6AEF16G-1-UF-1/7-P-M-US-R Code Example Designation 6 inches Outlet flange [inch] Horizontal split case fire pump Pump type 16 inches Maximum impeller diameter [inch] Not relevant Impeller design ..
-
Page 17: Taking The Product Out Of Operation
7. Taking the product out of operation These installation and operating instructions apply to Horizontal Always close the outlet gate valve before stopping the pump. Split Case AEF model with the following approvals: Close the valve slowly to prevent hydraulic shock. •... -
Page 18: Servicing The Product
8. Servicing the product 8.2.1 Lubricant and sealant properties For sealing low-pressure flange joints and similar applications, use 8.1 Maintenance a product similar to Loctite® 515. Lubricants with the properties mentioned in the tables below must WARNING be selected for lubrication in standard applications. Electric shock Death or serious personal injury Kinemati... -
Page 19: Dismantling The Pump
8.2.4 Tightening torques Peerless does not recommend reusing gaskets, O-rings, Proper tightening of fasteners is very important. The torque values packing rings, or ball bearings. depend on the size and grade of the fasteners used. The values in the table below apply to non-lubricated parts. Torque Torque Before dismantling the pump, obtain a set of spare parts. -
Page 20: Wear Ring
22. Remove housings (31 & 33), bearings (16 & 18), and bearing g. Examine passages for cracks, dents, gouges, or embedded housing seals (169). material. 8.3.1 Accessories Use a bearing puller. Please see the manuals supplied with the accessories. 8.4 Wear ring 23. -
Page 21: Inspecting The Product
8.7 Inspecting the product Align impeller (2) on the shaft and install with an arbor press or brass tubular sleeve and hammer. When assembled, Before installation: the impeller vanes must rotate in the proper direction. Take inventory of the shipment to ensure that the received Impeller hub must be centered on shaft journal. - Page 22 24. Install cap screws and tighten working from the center of the casing to each end, to the torque values in section 8.2.4 Tightening torques. If any cap screws require replacement, use only parts with equal or greater tensile strength. See 8.2.4 Tightening torques.
-
Page 23: Parts List And Sectional Drawings
9. Parts list and sectional drawings 9.1 AEF 63 119A 169 73B 47 40A 119B 41 35 ZONE A-A Fig. AEF, packed type Item No. Description Item No. Description 1A, 1B Upper and lower casing Outboard bearing housing Impeller Inboard bearing housing cover... -
Page 24: Aef With Double Row Thrust Bearing
9.2 AEF with double row thrust bearing 73B 47 41 35 ZONE A-A Fig. AEF, packed type with double row thrust bearing Item No. Description Item No. Description 1A, 1B, Upper and lower casing Impeller key Impeller Outboard bearing housing... -
Page 25: 12Aef21
9.3 12AEF21 Fig. 12AEF21 Item No. Description Item No. Description 1A, 1B Upper and lower casing Impeller key Impeller Outboard bearing housing Shaft Inboard bearing housing cover Casing wear ring Outboard bearing housing cover Impeller wear ring (optional) Inboard deflector Packing ring Outboard deflector 14, 14A... -
Page 26: Fault Finding The Product
10. Fault finding the product Fault Cause Remedy Reestablish the correct speed and direction The speed of rotation is too low. of rotation. The system pressure is lower than Check the system curve. anticipated. There is air or gas in the pumped liquid. Remove the air from the pumped liquid. -
Page 27: Technical Data
12. Disposing of the product This product, or parts of it, must be disposed of in an environmentally sound way. Use the public or private waste collection service. If this is not possible, contact the nearest Peerless Pump company or service workshop. - Page 28 Peerless Pump | 2005 Dr. Mar n Luther King Jr. Street | Indianapolis, IN 46202 317-925-9661 | www.peerlesspump.com It is the policy of Peerless Pump to continually seek ways to improve its products and reserve the right to alter documentation without prior notice.
Need help?
Do you have a question about the AEF and is the answer not in the manual?
Questions and answers
What is maximum vibration limit of Sterling Peerless pump model 8THF 14E and Capacity 2000 GPM.