
Related Manuals for Super Tramp KANGAROO

Summary of Contents for Super Tramp KANGAROO
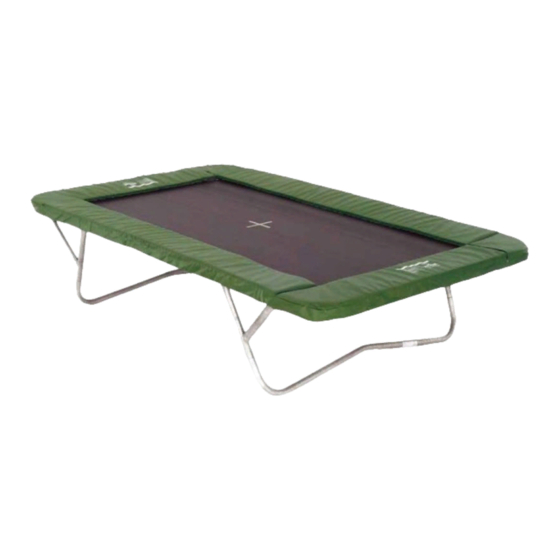
- Page 1 14.5 x 8.3ft Adult assembly required Read User Guide before assembling Please keep this guide for further reference We have over Family run Stockist of spares 38 years experience business & accessories...
-
Page 2: Your Warranty
Performance Range Warranty Models covered by this warranty level: Frame – 13 years Kangaroo (polymesh bed) Springs – 10 years Super Kangaroo (2-string bed) Frame Pad – 5 years Boomer (2-string bed) Bed – 5 years PLEASE NOTE THE FOLLOWING: ... -
Page 3: Before You Start
The Kangaroo™ trampoline is designed to stand on a lawn or other soft surfaces such as artificial grass and bark. If you are positioning your trampoline on an abrasive surface such as concrete or gravel, the underside of the leg bases will deteriorate quickly. - Page 4 Safe Bouncing Guide Standing Bounce Use the basic “feet to feet” standing bounce to warm up and get the feel of the trampoline. Try to keep the body straight. Your legs should be slightly apart when landing on the bed and together in the air with toes pointed.
- Page 5 Safe Bouncing Guide Pike Jump Start as if doing a standing bounce. At the top of your bounce, bend your body at the hips by raising your legs whilst keeping them straight and together. Arrive at the horizontal position and briefly touch your shins.
- Page 6 Kangarooª Parts List 1 x polymesh bed 4 x Leg 2 x Leg Triangles Bases 100 x 212mm Springs 24 x 205mm Toggle Loops 2 x End 2 x Side 100 x Anchor Straps Rails Rails 2 x End Frame Pads...
-
Page 7: Exploded Diagram
Exploded Diagram Polymesh Long stub Leg Triangle... -
Page 8: Assembling The Frame
Assembling the Frame STEP To begin, find 2 x leg triangles and 1 x leg base. Fit part A of each leg triangle into part D. Note that part B has a longer stub than A and C and this should point in the direction of the side rail STEP Repeat Step 1 so that each leg base has 2 x leg triangles attached. - Page 9 Align the Frame STEP Make sure your frame is fully aligned by temporarily fitting part F (1 x end rail) to one end of the frame. Adjust the frame so that each side rail is parallel to the other (see diagram below). Remove end rail after you have made final adjustments.
- Page 10 STEP Starting at a the far end of the side-rail, take a spring and hook it on to the bed. Please ensure the spring hook is facing the ground. On the opposite end of the spring, hook one end of the black anchor strap on to the spring, ensuring that the ‘Super Tramp’...
- Page 11 End Rails STEP With plenty of springs fitted on each side rail, there should be a considerable level of bed tension which will allow you to fit each end rail. STEP With the end rails now fitted, begin to fit the remaining springs at each end. Again, ensure each end is a mirror image of the other by attaching the first six springs in the order shown here You should find that with all 100 springs fitted, there...
- Page 12 Frame Pad Elevator Kit Parts List 2 x ratchets with attached strap and claw hook (Part A) 2 x long straps with claw hook (Part B) 2 x straps with triangular rings at each end (Part C) STEP Locate parts A and B.
- Page 13 Frame Pads STEP STEP Begin by laying each frame pad section in Now, turn each frame pad upside down the correct place on top of the frame. to reveal the eyelets. Side Pad Eyelets on underside of Frame Side Pad STEP Toggle Loop...
- Page 14 STEP Proceed to feed each short pad in to the corner pocket of each long pad. STEP Once done, begin to fix the frame pads in to place by looping the toggle loops around the frame and then secure by pulling the black toggle through the elastic.
- Page 15 Trampoline Care and Maintenance General Useful Information Your Super Tramp trampoline has been designed to A stretched or dead spring can be identified live outdoors all year round and will generally where there is visible light through the coils of require very little maintenance.
- Page 16 Thank you for purchasing a Super Tramp Trampoline We hope you found this guide helpful. Visit our website for our full range of trampolines, spare parts and accessories www.supertramp.co.uk Follow Us On Social Media! @supertrampuk @supertramptrampolines We have over Family run...
Need help?
Do you have a question about the KANGAROO and is the answer not in the manual?
Questions and answers