Table of Contents
Advertisement
Quick Links
Advertisement
Table of Contents

Related Manuals for Chimei TL-24L6000T


Summary of Contents for Chimei TL-24L6000T
-
Page 2: Table Of Contents
User’s Manual Multimedia LCD Display Content Important Safety Instructions ................... 02 Cleaning and Maintenance ..................04 Repair Service ......................05 Descriptions and accessories .................. 06 Operation of Multimedia LCD Display Connectors and sockets..................07 Control panel ...................... 12 Remote Control ....................13 Favorite Channels .................... -
Page 3: Important Safety Instructions
Important Safety Instructions Read and comply with all instructions, bear the warnings in mind and keep the manual properly. WARNING: TO REDUCE THE RISK OF FIRE OR Notice ELECTRIC SHOCK, DO NOT EXPOSE RISK OF ELECTRIC THIS PRODUCT TO RAIN OR SHOCK DO NOT OPEN MOISTURE. - Page 4 Important Safety Instructions [Power Supply] For safety sake, the plug of the Multimedia LCD Display is designed in such a manner that you can plug into a socket in a certain direction; To protect your device from electrical shock, be sure to plug the cord into the socket securely.
-
Page 5: Cleaning And Maintenance
Important Safety Instructions [LCD Display] Due to the liquid-crystal 2. The LCD Display panel is manufactured characteristics of the LCD panel, using high precision technologies. However, if one watches at a 4:3 picture since no manufacture technology that can aspect ratio or the same picture ensure the LCD Display panel is 100% free stays frozen for a long time, it will from bright spots or shadows is available in... -
Page 6: Repair Service
Repair Service [Repair] Please do not attempt to repair the Multimedia LCD Display by yourself. There are high-voltage components inside the housings of this Multimedia LCD Display that may cause an electric shock. 3. Do not use parts or components other than 1. -
Page 7: Descriptions And Accessories
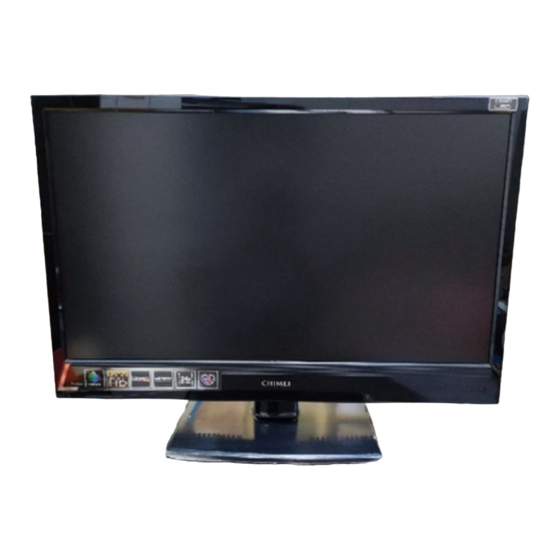
Descriptions and accessories Top View LCD Panel Front View Side View Control panel Video Connectors Power Power Indicator Rear View IR Remote receiver Wall Mount Hole Antenna Connector PC&Rear I/O Connector Anti-tip Auxiliary Screw Hole Speakers (Support Hole) Accessories Anti-tip Precaution ※... -
Page 8: Operation Of Multimedia Lcd Display Connectors And Sockets
Operation of Multimedia LCD Display Connectors and sockets Bottom I/O Connectors Output DVD Player Port (Input) Functions High Definition Multimedia Interface (HDMI): This port accepts devices with high definition video/audio signal-HDMI terminal output. HDMI This connection port supports HDTV video signals or PC-DVI signals. ※... - Page 9 Operation of Multimedia LCD Display Connectors and sockets Video & Antenna Connectors Audio Output Video Recorder or Video Output DVD Player (Use when you record TV programs) Audio Input Video Input Video Recorder, Video Game Console Video S Input or Camera, etc. Audio Input DVD Player Component...
- Page 10 Operation of Multimedia LCD Display Connectors and sockets Antenna Connectors (Antenna) Port Functions Analog signal input Connected to analog TV antenna................................09...
- Page 11 Operation of Multimedia LCD Display Connectors and sockets Turn ON the Multimedia LCD Display 1. Plug the power cord into input connector on the back of the Multimedia LCD display. Plug the other end of the power cord into an outlet. 2.
- Page 12 Operation of Multimedia LCD Display Connectors and sockets Channel Scan (Analog TV) The auto channel scan must be performed for the first installation. (This product requires an optional LCD TV box to enable the TV function) 1. Press the “TV/Visual-Audio” button on the remote control or the “Input Source” button on the control panel of the Multimedia LCD Display to select the TV mode.
-
Page 13: Control Panel
Operation of Multimedia LCD Display Control panel Button Functions Adjustment Menu Press the MENU button on the LCD panel to show the menu to adjust the settings MENU of the Multimedia LCD Display. To show the screen control window of the Multimedia LCD Display, please press the MENU button. -
Page 14: Remote Control
Multimedia LCD DISPLAY installation & operation Remote Control 1. POWER Turn on the Multimedia LCD Display or enter STANDBY mode. 2. MUTE Press to toggle audio on and off. You can also press volume +/- to restore the previous volume level. 3. - Page 15 Multimedia LCD DISPLAY installation & operation Remote Control 13.<MENU> and Adjustment button Back This allows you to activate the menu of the Multimedia LCD Display. Press again to exit the menu. Use the button to select the menu item and adjust its setting. Press the “ ”...
-
Page 16: Favorite Channels
Operation of Multimedia LCD Display Favorite Channels Favorite Channels (Only under the Analog TV mode): Press the favorite channel editing button on the remote control and open the favorite channel list: Remote Control The operating method is as follows: Add a Channel: 1. -
Page 17: Lcd Display Menu
LCD Display Menu Advanced LCD Display menu 1. You can use the TV/VIDEO button on the remote control to select the signal source. Once the signal source is detected, the selected system mode will appear in the upper right corner of the screen. -
Page 18: Picture
LCD Display Menu PICTURE PICTURE 1. Press the menu button on the remote control to show the main menu. 2. Use the buttons to select the main item to be adjusted, “PICTURE”. Use the button to move to the sub item to be adjusted. 3. -
Page 19: Advance
LCD Display Menu ADVANCE ADVANCE Press the menu button on the remote control to show the main menu. 2. Use the buttons to select the main item to be adjusted, “ADVANCE”. Use the button to move to the sub menu to be adjusted. 3. -
Page 20: Audio
LCD Display Menu AUDIO AUDIO 1. Press the menu button on the remote control to show the main menu. 2. Use the buttons to select the main item to be adjusted, “AUDIO”. Use the button to confirm the main item to be adjusted. 3. - Page 21 LCD Display Menu TV (for TV Mode) 1. Press the menu button on the remote control to show the main menu. 2. Use the buttons to select the main item to be adjusted, “TV”. Use the button to confirm the main item to be adjusted. 3.
-
Page 22: Geometry
LCD Display Menu GEOMETRY GEOMETRY (VGA mode) 1. Press the menu button on the remote control to show the main menu. 2. Use the buttons to select the main item to be adjusted, “GEOMETRY”. Use the button to confirm the main item to be adjusted. 3. -
Page 23: Setup
LCD Display Menu SETUP SETUP 1. Press the menu button on the remote control to show the main menu. 2. Use the buttons to select the main item to be adjusted, “SETUP”. Use the button to confirm the main item to be adjusted. 3. -
Page 24: Other Information Trouble-Shooting
Other Information Trouble-shooting ※ Only under the TV mode. This product requires an optional LCD TV box to enable the TV function. The following table contains the common problems and the solutions to these problems. Please check this list before you contact technicians. Problems Reasons Solutions... -
Page 25: Specifications
Other Information Specifications TL-24L6000T Active Area/Screen Size 521.28 (H) x 293.22 (V) (23.6” diagonal) Display panel Aspect Ratio Widescreen 16:9 Max. of Pixels 1920 (H) x 1080(V) S-Video (4 pin Dim) + Audio-R/L (RCA) x 1 AV/SV Input x1 AV Composite (RCA)
Need help?
Do you have a question about the TL-24L6000T and is the answer not in the manual?
Questions and answers