Advertisement
Controls
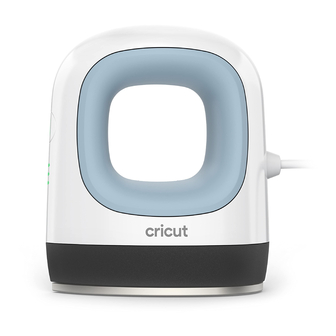
The simple Cricut EasyPress controls are the secret to your iron-on success. You'll love the
results.
Tip: To find the correct time and temperature settings for your specific iron-on project with
original Cricut EasyPress and Cricut EasyPress 2, refer to our
Things to remember
•
Cricut EasyPress Mini
•
Cricut EasyPress
•
Always use Cricut EasyPress at room temperature.
•
Before using Cricut EasyPress, ensure that fabrics and other base materials are
completely dry.
•
Always return Cricut EasyPress to its Safety Base when not in use.
•
Before using Cricut EasyPress, ensure there is no tape or protective film over its control
panel.
Cricut Heat
Guide.
Advertisement
Table of Contents

Related Manuals for Cricut EasyPress Mini


Summary of Contents for Cricut EasyPress Mini
- Page 1 Controls The simple Cricut EasyPress controls are the secret to your iron-on success. You’ll love the results. Tip: To find the correct time and temperature settings for your specific iron-on project with original Cricut EasyPress and Cricut EasyPress 2, refer to our Cricut Heat Guide.
- Page 2 Orange light means it's heating up. Green light means temperature has been reached. Beep sounds when it's ready. Use extreme caution. Machine operates at high temperatures that can caused burns. 3. Preheat base material. Place Cricut EasyPress on fabric for recommended time.
- Page 3 4. Position design. Make sure shiny side (clear carrier sheet) is facing up. 5. Apply heat to both sides. Place Cricut EasyPress on base material, then press Go button to start timer. Hold Cricut EasyPress in place and apply recommended pressure.
- Page 4 When applying designs to unusual objects, around seams, or in hard-to- reach places, use Cricut EasyPress Mini. • Do not slide Cricut EasyPress or move hands on the press during transfer. Keep stack as still as possible. •...
Need help?
Do you have a question about the EasyPress Mini and is the answer not in the manual?
Questions and answers
Cricut EasyPress Mini lumière rouge clignote au démarrage merci
The flashing red light at startup on the Cricut EasyPress Mini may indicate a malfunction, but Cricut does not publicly define the specific cause of this beeping or flashing pattern.
This answer is automatically generated