Advertisement
i n s t r u c t i o n M a n u a l
Orion
VersaGo
III Micro-Motion
®
™
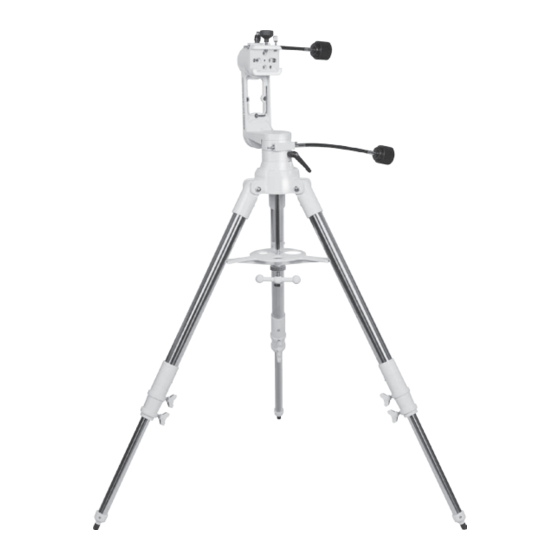
Altazimuth Mount
#5779
Providing Exceptional Consumer Optical Products Since 1975
OrionTelescopes.com
customer support (800) 676-1343 • E-mail: support@telescope.com
Corporate Offices (831) 763-7000 • 89 Hangar Way, Watsonville, CA 95076
© 2012 Orion Telescopes & Binoculars
IN 447 Rev. A 04/12
Advertisement
Table of Contents

Subscribe to Our Youtube Channel
Summary of Contents for Orion VersaGo III
- Page 1 Altazimuth Mount #5779 Providing Exceptional Consumer Optical Products Since 1975 OrionTelescopes.com customer support (800) 676-1343 • E-mail: support@telescope.com Corporate Offices (831) 763-7000 • 89 Hangar Way, Watsonville, CA 95076 © 2012 Orion Telescopes & Binoculars IN 447 Rev. A 04/12...
-
Page 2: Parts List
2. Thread the knurled lock nut onto the center support shaft (with barbell and end nuts). 4. Place the base of the VersaGo III head into the base of the tripod. Orient the VersaGo III head so that the post on 3. -
Page 3: Setting Up The Mount
60° with most telescopes. Figure 3. For Star Gazing 5. Thread the center support shaft into the VersaGo III head 1. Locate the two socket head screws that support the until tight. Hold the mount head with one hand while tight- fork arm and remove them with the provided hex key ening the center support shaft with the other. - Page 4 Refer to Figure 5.1 and 5.2 to see different mount configu- threaded mounting hole, Orion offers a dovetail “L-bracket” rations. Note the angle of the azimuth slow motion cable that will fit the dovetail receptacle of the VersaGo III and in Figure 5.2. thread into this hole.
- Page 5 Unlike many altazimuth mounts, the VersaGo III can be set up to point a telescope at zenith (straight up). This makes it espe- If you give your VersaGo III mount reasonable care, it will last cially well suited for astronomical observing. Refer to “Setting a lifetime.
-
Page 6: Specifications
During this warranty period Orion Telescopes & Binoculars will repair or replace, at Orion’s option, any warranted instrument that proves to be defective, provided it is returned postage paid to: Orion Warranty Repair, 89 Hangar Way, Watsonville, CA 95076. Proof of purchase (such as a copy of the original receipt) is required.


Need help?
Do you have a question about the VersaGo III and is the answer not in the manual?
Questions and answers