Table of Contents
Advertisement
Quick Links
Advertisement
Table of Contents

Related Manuals for INSTEON SMARTHOME LampLinc 2456D3


Summary of Contents for INSTEON SMARTHOME LampLinc 2456D3
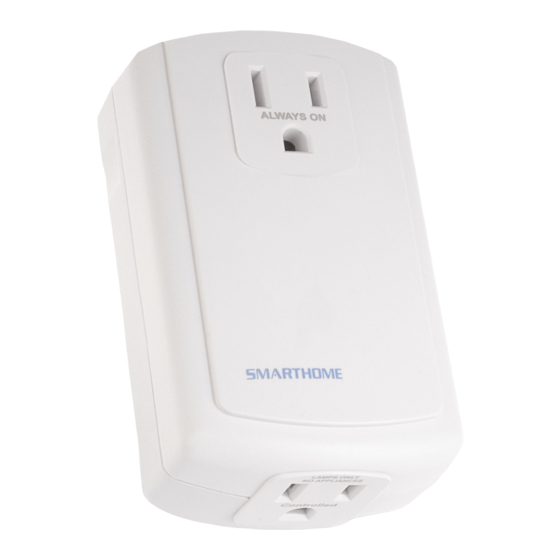
- Page 1 ™ LampLinc ® INSTEON Plug-In Lamp Dimmer Module, 3-Pin Model : 2456D3...
-
Page 2: Table Of Contents
Remotely Removing an X10 Scene Address ..................11 ABOUT INSTEON ............................12 Using Dual-Band INSTEON Devices to Upgrade Your Network............. 12 Important Note about INSTEON Networks; Split Single-Phase vs. 3-Phase Installation ....... 12 Further Enhancing Reliability ........................12 ADDITIONAL RESOURCES ........................12 TROUBLESHOOTING.......................... -
Page 3: About Lamplinc
ABOUT LAMPLINC LampLinc presents you with an elegant and stylish way to dim and remotely control any lamp or other plug-in device in your home at the touch of a button. Send commands to LampLinc from any INSTEON Controller. Pass-through outlet... -
Page 4: What Is Insteon
Reliable, because every INSTEON device works as a network repeater, ensuring your commands will not be lost. Affordable, because INSTEON can be integrated into any number of devices easily and at a very low cost. An INSTEON home grows in value with each added INSTEON device, making life more convenient, safe, and fun. -
Page 5: Installing Lamplinc
Load Sensing is enabled. See Enabling/Disabling Load Sensing. To control the load, you will need to Link LampLinc to an INSTEON Controller. You will not be able to control the load from the LampLinc unit itself. See your Controller’s Owner’s Manual for detailed instructions on how to control LampLinc. -
Page 6: Controlling Lamplinc From An Insteon Controller
CONTROLLING LAMPLINC FROM AN INSTEON CONTROLLER Linking an INSTEON Controller to LampLinc To use LampLinc as an INSTEON Responder, follow these steps to Link LampLinc and a Controller together. Refer to the Controller’s Owner’s Manual for detailed instructions on how to properly install and Link it to LampLinc. -
Page 7: Setting The On-Level
Controller. INSTEON scenes are very easy to set up – just Link more than one Responder to the same On/Off or Scene button on a Controller. Then, when you tap any of the Linked buttons on the Controller, all of the INSTEON devices Linked in the scene will respond as a group. -
Page 8: Advanced Features
Load Sensing allows you to manually turn the load plugged into LampLinc by using the switch on the load itself, without sending a command from an INSTEON or X10 controller. When the load is in the off state (with Load Sensing enabled), LampLinc will “sense” that you are trying to turn it on with its built-in switch. -
Page 9: X10 Programming Options
LampLinc Owner’s Manual X10 PROGRAMMING OPTIONS LampLinc is X10 ready, meaning that it can respond to X10 commands from X10 controllers. However, to operate LampLinc in X10 mode, you must first set up an X10 address. As it ships from the factory or after a factory reset procedure, LampLinc will not have an X10 address set up. -
Page 10: Advanced X10 Programming Options
LampLinc Owner’s Manual ADVANCED X10 PROGRAMMING OPTIONS Remotely Setting the On-Level for the X10 Primary Address 1) Using an X10 controller, send the CLEAR sequence: 2) Send the X10 Primary Address (house code and unit code) 3) Use the buttons on a Linked Controller to adjust the load to the desired brightness level. If you skip this step, the current On-Level will be used. -
Page 11: Remotely Setting The On-Level For An X10 Scene Address
LampLinc Owner’s Manual Remotely Setting the On-Level for an X10 Scene Address 1) Using an X10 controller, send the CLEAR sequence: 2) Use the buttons on a Linked Controller to adjust the load to the desired brightness level. If you skip this step, the current On-Level will be used. -
Page 12: About Insteon
It is possible that some audio-video devices, computers, power strips, or other electrical equipment may attenuate INSTEON signals on the power line. You can temporarily unplug suspected devices to test whether the INSTEON signal improves. If it does, then you can plug in filters that will permanently fix the problem. ADDITIONAL RESOURCES... -
Page 13: Troubleshooting
Unlinking Re-Link LampLinc to the Controller. LampLinc from it. The Controller or and LampLinc Make sure two dual-band INSTEON devices are properly may be on opposite power line installed to bridge the two power line phases. phases. -
Page 14: Specifications, Certification, And Warranty
Seller’s liability with respect to this product. For repair or replacement during the warranty period, call the INSTEON Gold Support Line at 800-762-7845 with the Model # and Revision # of the device to receive an RMA# and send the product, along with all other required materials to: Smarthome, Inc.
Need help?
Do you have a question about the SMARTHOME LampLinc 2456D3 and is the answer not in the manual?
Questions and answers