Table of Contents
Advertisement
Quick Links
Advertisement
Table of Contents

Related Manuals for BETTY & BERTIE LUPIN


Summary of Contents for BETTY & BERTIE LUPIN
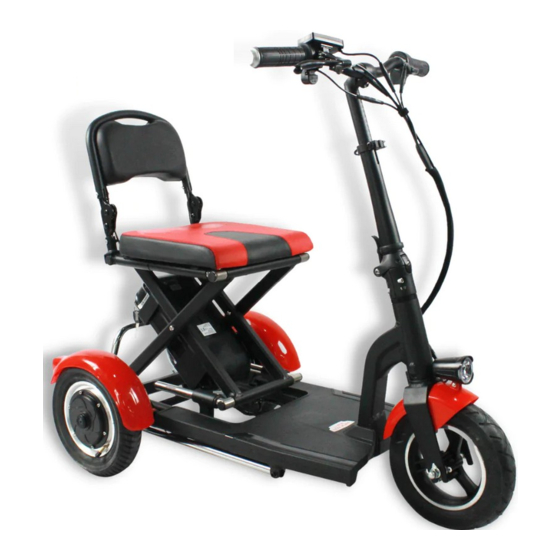
- Page 1 LUPIN LUPIN REAR BAG REAR BAG...
- Page 2 PARTS NEEDED: PART A: LUPIN THE SCOOTER PART B: THE BAG PART C: TOOLS REQUIRED...
- Page 3 STEP 1 Locate the back of the seat on the Lupin and look for these screws highlighted. They are the ones directly under the backrest. STEP 2 You'll notice there are 2 cable ties that hold the wiring neatly to the seat.
- Page 4 STEP 4 Once the screws have been removed, do not throw them away as you will need them in-case you want to remove the bag in future STEP 5 The screws you need for the bag will be located on the bag already.
- Page 5 STEP 7 You may find that one side goes in well and the other is a little tight. If this is the case then you can tap it in GENTLY with the end of rubber mallet. NOTICE - The screw is to go on the outside of the frame and washer &...
- Page 6 STEP 10 Once the bag is fitted, the screws will look like this STEP 11 Once complete, your scooter will look like this and it's ready to use! Just remember when using that the maximum load capacity is not exceeded. OR watch the YouTube video of it, just search for: https://youtube.com/shorts/NJotJJYA_Gc?feature=share...
Need help?
Do you have a question about the LUPIN and is the answer not in the manual?
Questions and answers