Table of Contents
Advertisement
Quick Links
Advertisement
Table of Contents

Related Manuals for National Instruments PXIe-8267


Summary of Contents for National Instruments PXIe-8267
- Page 1 PXIe-8267 Getting Started 2022-07-06...
-
Page 2: Table Of Contents
RAID Creation............7 Moving the PXIe-8267 to a Different System....... 12 Optimizing Streaming Performance. -
Page 3: Overview
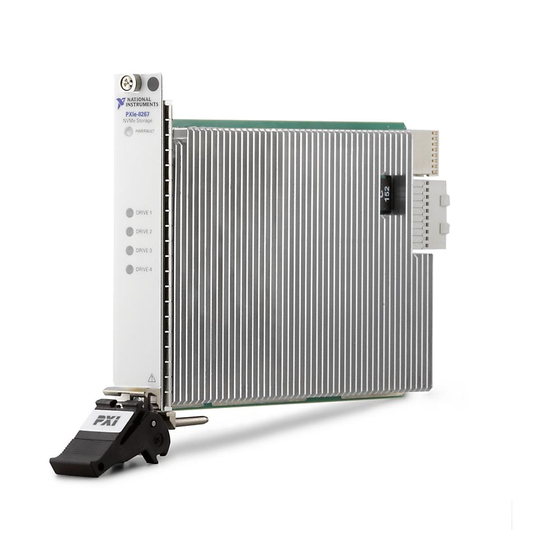
PXIe-8267 Getting Started Overview This document explains how to install and configure the PXIe-8267. For more information about configuring, using, and maintaining the PXIe-8267, refer to ni.com. Note The standard NI warranty does not apply to the PXIe-8267. To view warranty and services information for the PXIe-8267, go to ni.com/info... -
Page 4: Unpacking
Retain the packing material for possible inspection and/or reshipment. 4. Unpack any other items and documentation from the kit. Preparing the Environment Ensure the environment in which you are using the PXIe-8267 meets the following specifications. Temperature Operating 0 °C to 55 °C (Tested in accordance with IEC-60068-2-1 and IEC-60068-2-2. -
Page 5: Hardware Installation
Info Code raidsupport. The PXIe-8267 requires a chassis with slot cooling capacity ≥58 W. Not all chassis with slot cooling capacity ≥58 W can achieve this ambient temperature range. Refer to the PXI Chassis Manual for specifications to determine the ambient temperature ranges your chassis can achieve. - Page 6 PXIe-8267. The power cord grounds the chassis and protects it from electrical damage while you install the module. 2. Locate an available PXI Express slot in the chassis. Do not install the PXIe-8267 in the controller slot (slot 1 in a PXI Express chassis).
-
Page 7: Software/Driver Installation
Some manufacturers unassert the activity signal when there is no drive activity, with LEDs off, while others assert the signal, with LEDs on. Software/Driver Installation The PXIe-8267 does not include interface software to configure the RAID. You must use the Disk Management Utility in Windows to manage the software RAID. Note The PXIe-8267 supports only Windows 10 (64-bit). - Page 8 PXIe-8267 Getting Started 1. Right-click My Computer and click Manage. 2. Click Disk Management in the left window. You should see four disk drives of the same size in basic mode. If the disks do not have a status of Unallocated, right-click any disk and select Delete Partition.
- Page 9 PXIe-8267 Getting Started 5. Assign a drive letter and click Next. © National Instruments...
- Page 10 PXIe-8267 Getting Started 6. Configure the Format Volume page as shown in the following figure and click Next. ni.com...
- Page 11 PXIe-8267 Getting Started 7. Click Finish to close the New Striped Volume Wizard. © National Instruments...
- Page 12 PXIe-8267 Getting Started 8. If the disks were configured in basic mode, click Yes in the Disk Management dialog box to convert them to dynamic mode. Note You must convert all disks that you want to include in the RAID array to dynamic mode.
-
Page 13: Moving The Pxie-8267 To A Different System
PXIe-8267 Getting Started Moving the PXIe-8267 to a Different System Complete the following steps to move your PXIe-8267 to a different system or chassis with a different controller. Note The following steps apply only if the PXIe-8267 you are moving to a different system is in software RAID mode. - Page 14 3. You may see the following dialog box if a RAID volume was present on the PXIe-8267 before you moved it to the new system. Click OK to allow the new system to import the RAID volume. The initial data is preserved and will be readable in the new system.
-
Page 15: Optimizing Streaming Performance
Info Code raidsupport. Note If the PXIe-8267 throughput is underperforming, complete the following steps to optimize the drives manually. 1. Back up your data before performing this operation. 2. Delete the striped array and individually partition, format, and assign a letter to the drives.
Need help?
Do you have a question about the PXIe-8267 and is the answer not in the manual?
Questions and answers