Table of Contents
Advertisement
Quick Links
Portable Induction Ranges
INSTALLATION AND OPERATING INSTRUCTIONS
IMPORTANT INFORMATION READ BEFORE USE
It is recommended that maintenance and repairs be conducted by authorized service agents using genuine
Nemco replacement parts. Nemco is not responsible for the damages caused by unauthorized service agents
or parts. The information contained in this manual is subject to updates and/or change at the discretion of Nemco
Food Equipment without notice. Please read the Installation and Operating Instructions in its entirety before
attempting to install or operate this unit.
P: 419.542.7751
9130, 9130-C
9131-1
9132-1
Page | 1
F: 419.5426690
800.782.761
nemcofoodequip.com
Advertisement
Table of Contents

Related Manuals for Nemco 9130


Summary of Contents for Nemco 9130
- Page 1 Nemco replacement parts. Nemco is not responsible for the damages caused by unauthorized service agents or parts. The information contained in this manual is subject to updates and/or change at the discretion of Nemco Food Equipment without notice. Please read the Installation and Operating Instructions in its entirety before attempting to install or operate this unit.
-
Page 2: Table Of Contents
Table of Contents Important Safety Instructions ........................3 Control Features ............................4 Power Settings/Cooking Guide ........................6 Temperature Control Mode .......................... 7 Timer Mode..............................7 Setting the Timer ............................7 Cleaning the Induction Range ........................8 Cookware Requirements ..........................9 Troubleshooting/Error Codes ........................ -
Page 3: Important Safety Instructions
10) This appliance should be serviced only by qualified should be followed, including the following: service personnel. Contact Nemco for the authorized Warning – To reduce the risk of burns, electric shock, fire, service facility for examination, repair or adjustment. -
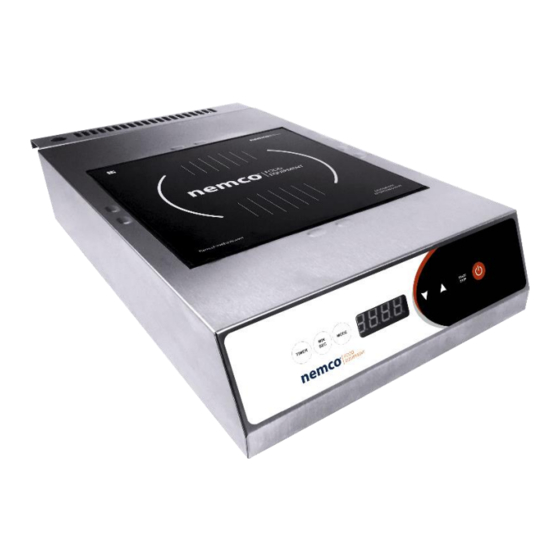
Page 4: Control Features
Control Features The range will not operate without an appropriate pan or vessel in place on the cooktop. After a few seconds, the display will flash ‘00’ indicating that no pan is present. If the pan is removed during cooking, the unit will go into ready mode after about 40 seconds and the display stop flashing and will show a steady ‘00’. - Page 5 Operating Instructions 1. Plug the unit in to the appropriate power outlet. The display will show four red dots when voltage is present. 2. Press the red power on/off button. The display will show ‘00’ and the unit is now in the ready state.
-
Page 6: Power Settings/Cooking Guide
Power Settings/Cooking Guide The ‘Best’ Power Settings will vary depending on the range model number, the type and shape of the pan being used, as well as the type and quantity of food being cooked or held. Until you get a ‘feel’ for the unit, you should start at medium settings of 5 or 6 and adjust up or down from there to get the performance you want. -
Page 7: Temperature Control Mode
Temperature Control Mode If you purchased the optional Temperature Probe, you can use this unit in Temperature Control Mode. 1. Plug the temperature probe into the jack on the back of the unit. Tighten the screw-ring to secure the probe in the connector. 2. -
Page 8: Cleaning The Induction Range
If you want to set seconds, for instance 3 minutes and 30 seconds, press the ‘ʌ’ button until the display shows ‘03.59’ minutes. Then press the ‘MIN/SEC’ button again. The ‘seconds’ field will flash. Press the ‘v’ button to adjust the seconds to 30. -
Page 9: Cookware Requirements
If the display flashes ‘U’ the pan is not compatible with induction cooking. Product Specifications Model Frequency Voltage Amps Power Weight Dimensions 9130, 9130-C 15.0 1800 W L 20.5” 50/60Hz 16 lbs. W 12.0” 9131-1 208 or 240 12.5 2600 W 4.5”... -
Page 10: Troubleshooting/Error Codes
Troubleshooting/Error Codes Flashing Cause Solution Display Indication No pan or non- induction pan Place an appropriate pan on the cooktop target Over current Check for abnormal conditions like water, moisture or broken parts or cord. Unplug the unit. Plug it back in. -
Page 11: Warranty
The warranty provided for herein shall be limited to parts and labor. Any determination that a product is defective or covered by this warranty, shall be made by Nemco, in its sole discretion. - Page 12 301 Meuse Argonne Hicksville, OH 43526 www.nemcofoodequip.com Page | 12 P: 419.542.7751 F: 419.5426690 800.782.761 nemcofoodequip.com...
Need help?
Do you have a question about the 9130 and is the answer not in the manual?
Questions and answers