
Related Manuals for Elkay Smartwell SW1156CS


Summary of Contents for Elkay Smartwell SW1156CS
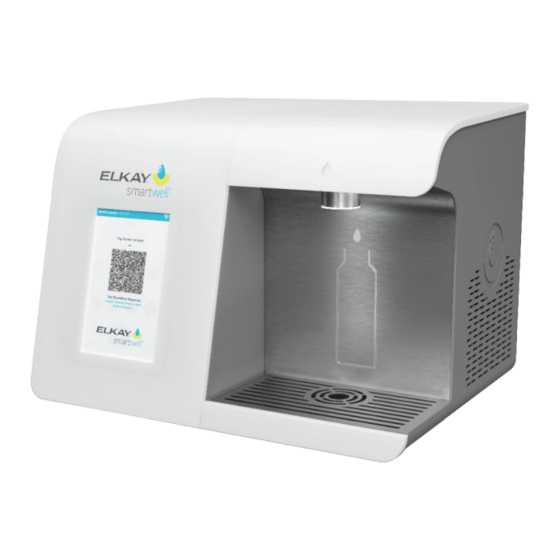
- Page 1 Installation Manual Beverage Dispenser ™ Smartwell Countertop Beverage Dispenser Model - SW1156CS Read the instructions in this manual and retain for future reference. WARNING...
-
Page 2: Table Of Contents
Surroundings........5 ELKAY Smartwell Documents..... . 2 Installation . -
Page 3: Warranty
Wear protective cut resistant gloves during by Elkay is used, you must be satisfied that it is safe for yourself and installation to protect against sharp edges others. You should also make sure that the product will not be damaged from sheet metal components. -
Page 4: Key Components
Lock for pouch lid Main Power Unit CO2 inlet Water inlet Dispenser power Ethernet Cable Port switch and circuit breaker reset Chiller Unit Note: Shown with back and side panels removed Elkay Manufacturing Company Installation Manual (2000000028 Rev B - 12/21) -
Page 5: Installation Preparation
DO NOT allow the unit to freeze. CAUTION The unit is not intended for 1. Elkay recommends a water pressure of 40 to 105 psi on our cooler use by children. Keep the products. A pressure regulator provided in the install kit reduces the areas surrounding the unit pressure to an optimal 50 psi. -
Page 6: Installation
2. Unbox the Smartwell Cabinet, inspect to ensure no shipping damage, then place upright on the floor in desired location. Lifting Hazard Use two people to carefully lift the countertop dispenser unit. Elkay Manufacturing Company Installation Manual (2000000028 Rev B - 12/21) - Page 7 IN port of the water filter. e. With 3/8" water tubing, connect the OUT port of the water filter to the Dispenser's rear water inlet port. Installation Manual (2000000028 Rev B - 12/21) Elkay Manufacturing Company...
-
Page 8: Connecting The Filter And Co Tank
Panel A 6. Preparing the water inlet line. Screw 491a 7. Place the black insulation around the 3/8" blue water tubing, leaving 4 inches bare to easily connect to the dispenser. Elkay Manufacturing Company Installation Manual (2000000028 Rev B - 12/21) - Page 9 Note: An overflow tube is located behind the Chiller. Overflow Tube d. Once the chiller is filled, remove the water line and replace the plug. Installation Manual (2000000028 Rev B - 12/21) Elkay Manufacturing Company...
-
Page 10: Internet
Attach the supplied regulator valve onto the CO tank. c. Cut the supplied 1/4" poly tube to the appropriate length. d. Connect the 1/4" poly tube to the CO inlet on the back of the dispenser. Elkay Manufacturing Company Installation Manual (2000000028 Rev B - 12/21) -
Page 11: Startup Instructions
Save. — The right-hand screen will appear if the unit is connected to the Internet. Select the appropriate time zone settings, then press Save. Installation Manual (2000000028 Rev B - 12/21) Elkay Manufacturing Company... -
Page 12: Pouches
Standing at the front of the unit, gently pull the lid towards you and lift Enhancement Pouch to remove. Pump Pouch lid Flow Straightener Magnetic Key Manifold Countertop Unit Elkay Manufacturing Company Installation Manual (2000000028 Rev B - 12/21) -
Page 13: Purging The Water Lines
Choose the MM/DD/YY from the Best by date slot and screen will appear, and the unit is ready for use. select the date. Press save. 10. The Elkay Smartwell customer portal should now be 6. Select the CO slot and the Tank Capacity screen will accessible if the unit is connected to the Internet. -
Page 14: Set The Water Flow Parameters
2. Slowly open the CO tank regulator valve on top of the tank counterclockwise until it is fully opened. b. Elkay smartwell touchless screen will appear. Accept the Terms and Conditions. Press submit. OPEN 3. Turn adjusting knob on the regulator until the pressure reaches 45 psi. -
Page 15: Unit Diagnostics
Press start test to examine the functionality of Motors, Water solenoid, Temperature, Fan speed, Alcove lighting, Bluetooth Adapter, Firewall setting, Cloud Computing, Wi-Fi Strength, Internet speed. b. Press stop test to complete the unit diagnostics. Installation Manual (2000000028 Rev B - 12/21) Elkay Manufacturing Company... -
Page 16: Check For Updates
FOR PARTS, CONTACT YOUR LOCAL DISTRIBUTOR OR CALL 1.800.834.4816 REPAIR SERVICE INFORMATION TOLL FREE NUMBER 1.800.260.6640 PRINTED IN U.S.A. ELKAY MANUFACTURING COMPANY • 1333 BUTTERFIELD ROAD SUITE 200 DOWNERS GROVE, IL 60515 • 630.574.8484 • www.elkay.com Elkay Manufacturing Company Installation Manual (2000000028 Rev B - 12/21)
Need help?
Do you have a question about the Smartwell SW1156CS and is the answer not in the manual?
Questions and answers