Advertisement
Advertisement
Table of Contents

Related Manuals for Vax ONE PWR Pace


Summary of Contents for Vax ONE PWR Pace
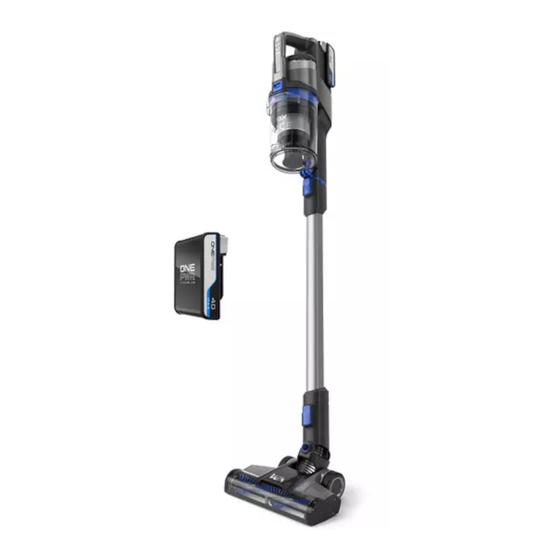
- Page 1 VAX Pace Cordless Vacuum User Guide CLSV-VPKS CLSV-VPKA...
- Page 2 • Always place the charger on a stable, level surface, uncovered and away from any heat source. • Only VAX ONEPWR recommended tools and accessories should be used with this machine. VAX Ltd, Artillery House, Heritage Way, Droitwich, WR9 8YB, UK...
- Page 3 Battery Safety Precautions • Replace the battery with a VAX ONEPWR battery only. Use of another battery may present a risk of fire or explosion. • Do not attempt to disassemble the battery, remove any component projecting from the battery terminals and do not dispose of in a fire.
- Page 4 Welcome to the Vax family! You are now the proud owner of a VAX Pace. Here, you’ll find everything you need to know about your machine and, most importantly, instructions on how to get started so that you can get cleaning!
-
Page 5: Quick Start
Switch on the machine and This user guide can be found online at: support.vax.co.uk select a mode BRUSHBAR Switch ON for carpets and OFF for hard floors BOOST Increases suction † Registration required. Terms and conditions apply, see vax.co.uk for details. -
Page 6: Warranty
Warranty and technical Warranty If a Vax machine is used in the way it is intended and it breaks down within the guarantee period, it’s our responsibility to repair or replace it. Here’s what isn’t covered: • Normal wear and tear of consumable items, for example: belts, filters, brushbars, fuses etc. -
Page 7: Getting Started
Getting started Assembly Attach the handheld to the reach wand until it clicks into place. Attach the reach wand to the powered floorhead until it clicks into place. Attaching the wall mount Without the handheld attached to the Choose a location for the machine to be Holding the wall bracket securely against reach wand and powered floorhead, stored. -
Page 8: Charging The Battery
Getting started Charging the battery THIS MACHINE IS ONLY TO BE USED WITH VAX ONEPWR BATTERIES AND CHARGER. PLEASE READ THE SAFETY GUIDE BEFORE USE. NOTE: Before first use, ensure the battery is fully charged. Failure to fully charge the battery before first use may result in poor battery performance. -
Page 9: Operation
Getting started Operation WARNING: The brushbar in the powered floorhead constantly rotates when activated. Never use the powered floorhead on one spot for an extended period of time as the brushbar may damage the surface. Always turn the brushbar off when cleaning hard floors. To prevent any damage being sustained, test on an inconspicuous area of the flooring/surface first. - Page 10 ON/OFF button. Using the tools All of the accessories, including the powered floorhead can be attached directly onto the handheld or the reach wand. Press the button on the tools or powered floorhead to remove. support.vax.co.uk...
- Page 11 Getting started Using the tools Handheld and reach wand crevice tool For hard to reach areas and can be used at different heights for above floor cleaning. 2-in-1 dusting brush and crevice tool 1. Soft bristled dusting brush for delicate surfaces and skirting boards. 2a.
-
Page 12: Cleaning And Maintenance
Hold the dirt container over a bin and To close, push the dirt release door until button and pull the dirt container press the dirt release button to allow dirt it clicks into place. handle to remove. and debris to fall out. support.vax.co.uk... - Page 13 Cleaning and maintenance Cleaning the filter and separator IMPORTANT: Filters should be tapped over a bin every 4-6 uses to remove dirt and debris and washed every 3 months. Filters should be replaced every 6-9 months depending on the level of use. Lift the filter and separator from the Push the tab on the lid of the dirt container and lift the cover to access the filter.
- Page 14 Refit the brushbar into the powered floorhead. Align the arrow on the brushbar support.vax.co.uk cover so it points north, firmly push and twist clockwise to lock.
-
Page 15: Safety Guide
Cleaning and maintenance SAFETY GUIDE Removing and cleaning the mini motorised pet tool brushbar CAUTION: If the brushbar in the mini motorised pet tool has been obstructed, the brushbar motor protection sensor may activate. The brushbar will stop and the machine may switch off. To reset remove the tool from the reach wand/handheld and clear any obstruction. -
Page 16: Checking For Blockages
To test for a blockage in the reach wand, drop a small ball of paper into the wand. The paper will drop through if the wand is clear. Use a broom handle or similar blunt object to remove any blockage. support.vax.co.uk... -
Page 17: Troubleshooting
Troubleshooting WARNING: Always switch off and unplug the machine before performing any checks or maintenance. There is an accessory missing • Check the contents on the box to make sure the part is definitely included with your machine. Why does the machine have no power? •... - Page 18 For how-to videos and warranty registration visit www.vax.co.uk info@vax.co.uk vax.co.uk Vax Ltd, Artillery House, Heritage Way, Droitwich, WR9 8YB, UK.
Need help?
Do you have a question about the ONE PWR Pace and is the answer not in the manual?
Questions and answers
On selection of the Boost power button there is no increase in power (noise) or suction
If there is no increase in power or suction when the Boost power button is selected on the Vax ONE PWR Pace, possible reasons include:
1. Low Battery – Constant use of the Boost mode reduces battery runtime. If the battery charge is low (less than 20%), the machine may not provide additional power.
2. Obstruction in the Brushbar – If the brushbar is obstructed, the brushbar motor protection sensor may activate, stopping the brushbar and affecting suction.
3. Battery Performance – If the battery is not fully charged or has reduced service life due to normal wear, it may not provide sufficient power for Boost mode.
Checking the battery charge, ensuring the brushbar is clear, and verifying the battery condition may help resolve the issue.
This answer is automatically generated
what is the correct part number for teh pre motor filter for the vax pace pet
Vax glide power 2 keeps stopping stating the dirty tank is full. It’s not and I’ve cleaned the whole machine and it still won’t work.