Advertisement
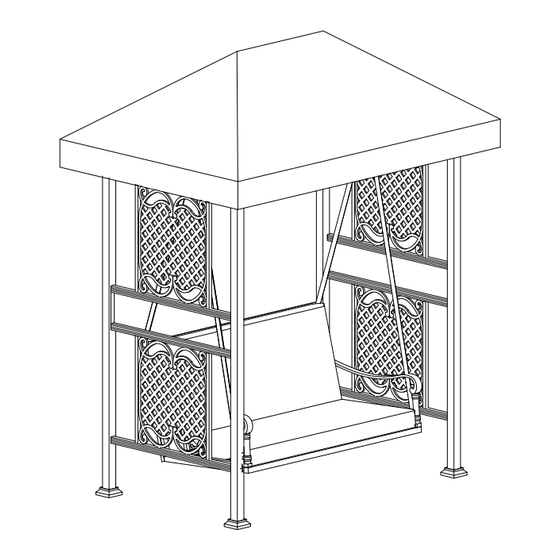
Congratulations on your purchase of our SUNJOY Renaissance Swing. Our clear, easy to
follow, step-by-step instructions will guide you through the assembly process from start to
finish.
WARNING:
Keep all children and pets away from assembly area. Children and pets should be supervised when
they are in the area of the Swing construction.
Keep assembly area at least 6 feet from any obstruction such as a fence, garage, house,
overhanging branches, laundry line or electrical wires.
Some parts may contain sharp edges. When assembling and using this product, basic safety
precautions should always be followed to reduce the risk of personal injury and damage to the
product. Please read all instructions before assembly and use.
Check all bolts for tightness before use. IMPORTANT - check and tighten bolts often to keep them
secure!
Please take time to read these instructions thoroughly and follow each step carefully for safe and easy
operation. Keep this manual for future reference.
For technical assistance on assembly or replacement parts, call Sunjoy Industries at 1-866-578-6569
from 8:30AM to 5:30PM EST, or email us at sams@sunjoygroup.com, or visit
assistance.
Renaissance Swing
Item# L-GZ542PCO
IMPORTANT
1
www.sunjoydirect.com
for
Advertisement
Table of Contents

Summary of Contents for Sunjoy Renaissance L-GZ542PCO
- Page 1 Renaissance Swing Item# L-GZ542PCO Congratulations on your purchase of our SUNJOY Renaissance Swing. Our clear, easy to follow, step-by-step instructions will guide you through the assembly process from start to finish. WARNING: Keep all children and pets away from assembly area. Children and pets should be supervised when they are in the area of the Swing construction.
- Page 2 Parts List Side Panel Stake Base Base Cover Cross Beam Middle Cross Beam Tilt Top Girder Short Girder Long Girder Top Connection Back Panel Seat Panel Right Armrest Left Armrest Long Suspender Short Suspender Support Hook Seat Cushion Back Cushion Canopy...
- Page 3 Hardware Pack 1 Bolt M6x15 8 PCS Flat Washer M6 34 PCS Bolt M6x15 4 PCS Bolt M6x35 4 PCS Nut M6 4 PCS Bolt M6x40 2 PCS Bolt M6x20 12 PCS Wrench M6 1 PC...
- Page 4 Step 1: Attach Base Cover (C) to Post of Side Panel (A). Attach Stake Base (B) to Post of Side Panel (A); tighten with Bolts (AA) and Flat Washers (BB) (Fig.1). Step 2: Attach Cross Beam (D) to Side Panel (A), tighten with Bolts (KK) and Flat Washer (BB) (Fig.2). Step 3: Attach Middle Cross Beam (E) to Side Panel (A);...
- Page 5 Step 7: Connect Back Panel (J), Seat Panel (K), Left Arm (L2) and Right Arm (L1) with Bolts (FF) and Flat Washers (BB). (Fig.7) Fig.8: Lock Short Suspender (N) onto Back Panel (J) by using Bolt (GG), Flat Washer (HH), Spring Washer (LL) and Nut (MM).
- Page 6 Hardware Pack 3 Ground Stake Φ8X180MM 16 PCS Fig.10: Hang the assembled Seat to Middle Cross Beam (E) with Support Hook (O). Put Seat Cushion (P), Back Cushion (Q) on the Seat and place Canopy (R) onto top。 Fig.11: Secure the swing into the ground using the Ground Stakes (II) (Fig 11). Assembly Completed!
- Page 7 When not in use, store in a cool, dry location away from sunlight. Limited Warranty: Sunjoy Industries warrants to the original purchaser that this item is free from defects in workmanship and materials for a period of 1 year from the date of purchase, provided the item was factory-sealed at the time of purchase and is maintained with care and used only for personal, residential purposes.


Need help?
Do you have a question about the Renaissance L-GZ542PCO and is the answer not in the manual?
Questions and answers