Advertisement
Quick Links
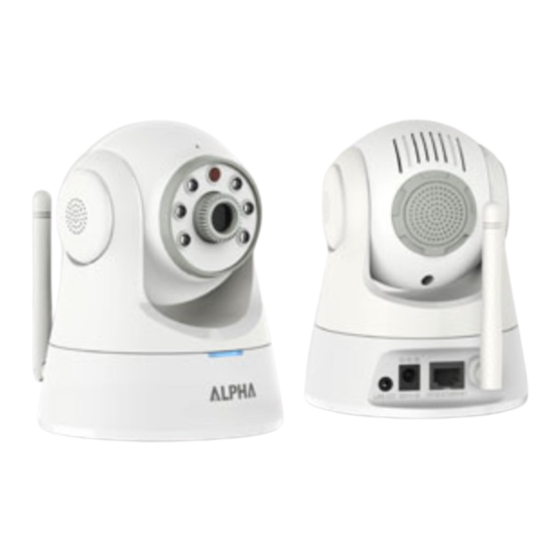
Advertisement

Related Manuals for Alpha Networks PT-3152


Summary of Contents for Alpha Networks PT-3152
- Page 1 PT-3152/ PT-3152C/ PT- 3153/ PT-3153C Network Camera Quick Installation Guide...
-
Page 2: Fcc Warning
PT-3152(C)/PT-3153(C) Quick Installation Guide FCC Warning Federal Communication Commission Interference Statement This device complies with Part 15 of the FCC Rules. Operation is subject to the following two conditions: (1) This device may not cause harmful interference, and (2) this device must accept any interference received, including interference that may cause undesired operation. - Page 3 PT-3152(C)/PT-3153(C) Quick Installation Guide EQUIPMENT SUCH MODIFICATIONS COULD VOID THE USER’S AUTHORITY TO OPERATE THE EQUIPMENT. CAUTION: 1. To comply with FCC RF exposure compliance requirements, a separation distance of at least 20 cm must be maintained between the antenna of this device and all persons.
- Page 4 PT-3152(C)/PT-3153(C) Quick Installation Guide Before You Begin… System Requirements ● 10 Base-T Ethernet or 100 Base-TX Fast Ethernet ● CD-ROM or DVD-ROM drive ● CPU: Intel Pentium IV 2.0 GHz and above, or AMD Athlon 64 3000+ and above ● Memory: 512 MB or above ●...
-
Page 5: Hardware Installation
PT-3152(C)/PT-3153(C) Quick Installation Guide Hardware Installation Attach the Metal Plate 1. Remove the two rubber pads under the base of the Camera. 2. Slide the metal plate onto the base of the Camera, making sure that the two holes on the base of the... - Page 6 LED indicators on the right side of the camera. Select the PT-3152/PT-3152C/PT-3153/PT-3153C from the list and click the > symbol to begin configuration with the IPCam Wizard. 3. Type the administrator ID (user name) and Password to proceed to configure the camera.
- Page 7 PT-3152(C)/PT-3153(C) Quick Installation Guide 4. This screen allows you to change the administrator password. To change the password carry out the following: Tick the Change Password checkbox Type a New Password Type it again to Confirm Password. Click the > symbol to proceed to the next IPCam Wizard menu screen.
- Page 8 PT-3152(C)/PT-3153(C) Quick Installation Guide If you are choosing a Fixed IP network connection, proceed to Step 6b to configure Fixed IP network settings. If choosing DHCP, skip ahead to step 7. a. Type in the User Name for your PPPoE connection in the User...
- Page 9 PT-3152(C)/PT-3153(C) Quick Installation Guide a. Wireless setup requires entry of wireless settings including authentication method, encryption and key. 8. The following window appears, summarizing the network settings of your Camera: When you have finished setting up the Camera, click the > symbol to apply the new settings.
- Page 10 PT-3152(C)/PT-3153(C) Quick Installation Guide 11. The camera is now ready to use. To launch your default browser and connect to the camera’s web manager and live video display, click the address of the camera in the center of the menu.
-
Page 11: Using The Ip Camera
PT-3152(C)/PT-3153(C) Quick Installation Guide Using the IP camera Video Display Control Change display settings Click on the little screen icon to quickly switch among the preconfigured formats of the video, which correspond to the video settings profile. Four profiles can be configured using the Video and Audio Settings menu.
Need help?
Do you have a question about the PT-3152 and is the answer not in the manual?
Questions and answers