Table of Contents
Advertisement
Quick Links
Advertisement
Table of Contents

Subscribe to Our Youtube Channel
Related Manuals for Pioneer XY-152-W


Summary of Contents for Pioneer XY-152-W
- Page 1 XY-152 XY Series 15″ two way loudspeaker User’s Manual...
-
Page 2: Table Of Contents
Contents Introduction Before you start ......................3 Installation guidelines ....................4 Features ........................4 Product overview Product overview ....................... 5 System set-up Stand mounting ......................6 Ground stacking ......................6 Cabling and amplifier selection ................6 Cabling ........................6 Speaker protection and Processor setting ............... 6 Mounting and rigging options Rigging hardware and accessories ................ -
Page 3: Before You Start
Introduction WARNING ! This loudspeaker must be installed by a qualified technician as it involves such tasks as selecting a location for installation, drilling holes in walls/ceiling and wiring. Have the installer carefully follow the installation instructions. ! Certain technical skills are required to install the loudspeaker. Please have the product installed by a professional. ! AlphaTheta Corporation is not responsible for any loss or damage that results from improper installation, insufficient strength of installation materials, misuse, modification or natural disasters. -
Page 4: Installation Guidelines
The Safety of Your Ears is in Your Hands Get the most out of your equipment by playing it at a safe level – a level that lets the sound come through clearly without annoying blaring or distortion and, most importantly, without affecting your sensitive hearing. Sound can be deceiving. Over time, your hearing “comfort level” adapts to higher volumes of sound, so what sounds “normal”... -
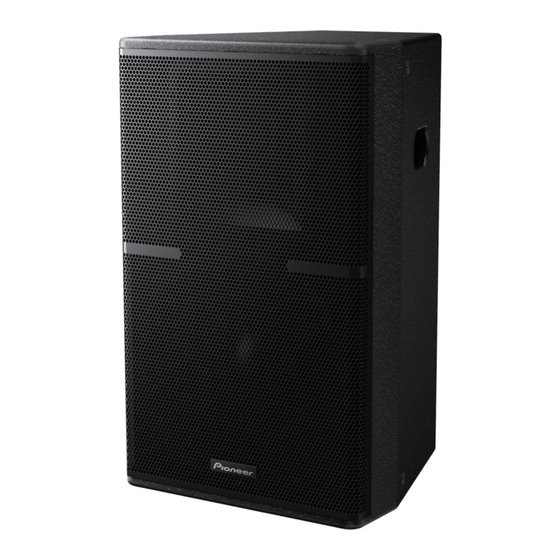
Page 5: Product Overview
Product overview Product overview The XY-152 is a very high-output, versatile, passive loudspeaker product designed for a wide variety professional sound reinforcement applications. It features a high-power 15″ (380 mm) neodymium LF drive unit in a reflex enclosure, and a 3″ (75 mm) diaphragm, 1.4″ (36 mm) exit neodymium high frequency compression drive unit coupled to a 90 ° × 60 °... -
Page 6: System Set-Up
System set-up WARNING ! Loudspeaker systems are potentially dangerous objects if used incorrectly. Please ensure that you read this section fully, and contact your local dealer should you be in any doubt over correct operation procedures. ! Professional loudspeaker systems are capable of producing damage-inducing sound pressure levels, and hence care should be taken when setting your system up, particularly when it comes to loudspeaker placement within a venue. -
Page 7: Mounting And Rigging Options
Mounting and rigging options WARNING ! The overhead suspension of loudspeakers is a very serious issue with potentially lethal consequences should anything go wrong. Rigging should only be carried out by experienced personnel following safe working practice. Should you be in any doubt whatsoever, please contact the retailer or dealer from which you purchased this product. -
Page 8: Attachment Of The Cp-Xy15Hc1 Horizontal Flying Cradle
Attachment of the CP-XY15HC1 Horizontal Flying Cradle Using the supplied M10 socket head bolts, align the mounting holes in the end mounts of the yoke with the mounting points on the top and the bottom of the enclosure. Ensure that both the flat and locking washers are used — the flat washer should be in contact with the cradle. -
Page 9: Assembly Of Clusters Using The Cp-Xy15Df1 Dual Enclosure Flying Plate Set
Assembly of clusters using the CP-XY15DF1 Dual Enclosure Flying Plate set Using the supplied M10 socket head bolts, bolt through the CP-XY15DF1 plate into the enclosures. Ensure that both the flat and spring washers are used — the flat washer should be in contact with the plate. Once the desired angles of the loud- speakers are set, tighten the bolts to lock in place. -
Page 10: Connections
Connections ! The INPUT and LINK connectors used are Neutrik SpeakON NL4 connectors. Internal connection diagram ™ ! Refer to the internal connection diagram and make the appropriate connections as shown. XY-152 Rear view 1 INPUT connector 2 LINK connector Neutrik NL4 Connector Engb... -
Page 11: Additional Information
Additional information Dimensions 440 mm (17.3″) 444 mm (17.5″) Engb... -
Page 12: About Trademarks And Registered Trademarks
About trademarks and registered trademarks ! Pioneer is a registered trademark of PIONEER CORPORATION. ! SpeakON is a registered trademark of Neutrik. The names of companies and products mentioned herein are the trademarks of their respective owners. Specifications Loudspeaker Type... - Page 13 © 2014 AlphaTheta Corporation. All rights reserved. 6F, Yokohama i-Mark Place, 4-4-5 Minatomirai, Nishi-ku, Yokohama, Kanagawa 220-0012 JAPAN 〒220-0012 神奈川県横浜市西区みな とみ らい4丁目4番5号 横浜アイ マークプレイ ス6階 6F, Й а а i-Mark Place, 4-4-5 М а а , Н - , Й а а, Ка а а а 220-0012 ЯПОНИЯ Artemis Building, Odyssey Business Park, West End Road, South Ruislip, Middlesex, HA4 6QE, U.K.
Need help?
Do you have a question about the XY-152-W and is the answer not in the manual?
Questions and answers