Table of Contents
Advertisement
Quick Links
Quick start guide
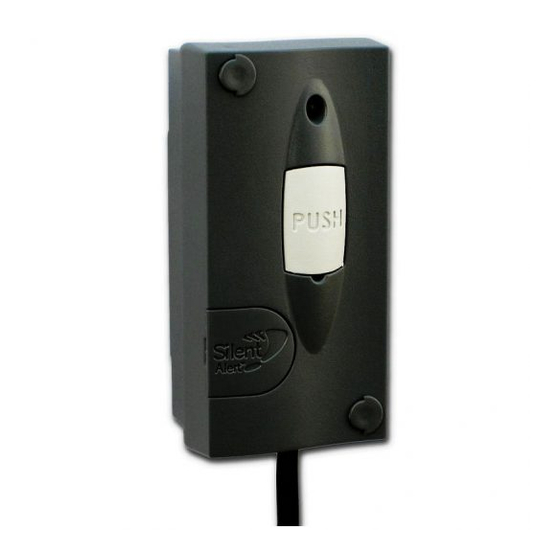
Mini Monitor with sounder
Silent
TM
Alert
Internal
Sounder
2.
Short circuit trigger / bell push replacement
1.
If a bell push is connected to a chime
this may be replaced using the
mini monitor.
Voltage triggering
A voltage applied across terminals 1 & 2
will also trigger the unit. Both AC and DC
voltages from 5 - 30 Volts will activate
the unit.
NOTE: If a DC voltage is
applied the positive
needs to be connected to
terminal 2 and negative
2
1
(5 - 30V AC/DC)
WARNING! Your device and its accessories are not toys. They may contain small parts. Keep them out of the reach of small children.
MM4A-2212-EU-MKII
Screw cap
Status light
Test button
Configuration
MM4A
MONITOR
USE ALKALINE PP3
9 V BATTERY ONLY
switch Cover
Batch 06/01/14
www.silent-alert.co.uk
Clofield Ltd. UK
Tel: 01246-260045
Keys 1-4 System
Channel
Key 5=10 Sec Delay
PP3 battery
Key 6=20 Sec Delay
Keys 5+6=30 Sec Delay
Key 7 Leave ON
Key 8 Not Used
contacts
USE WITH MAGNET SUPPLIED
Screw cap
Input
terminals
Configuration switches shown
with cover removed. Do not alter
these without referring to page 2
Remove the screw caps
& Secure the monitor to
the door frame or
adjacent wall using he
screws provided.
Press the test button and
check the Pager and/or
SignWave receive
the signal.
Silent
Alert
TM
When wiring across a coil or similar,
to terminal 1.
Any questions? Call us on 01246 450789
1.
Install a 9 volt PP3 alkaline or lithium battery
making sure to observe the correct polarity.
CCD4A-2220-EU
CARE CALL
MINI MAGNETIC
DOOR MONITOR
USE ALKALINE PP3
9 V BATTERY ONLY
Batch 06/01/14
PP3 Battery
www.silent-alert.co.uk
Clofield Ltd. UK
Tel: 01246-260045
Keys 1-4 System
Channel
Key 5=10 Sec Delay
Key 6=20 Sec Delay
Keys 5+6=30 Sec Delay
Key 7 Leave ON
Key 8 Not Used
USE WITH MAGNET SUPPLIED
To repeat the battery check remove the battery, press the test
button then re-insert the battery to start the sequence again.
3.
If the mini monitor is to be
used outside a
StormGuard cover
is available.
This clear cover simply
fits around the monitor
and protects it
from moisture.
2.
Move control key 8 to the right.
Insert the wires from the door
chime into terminals 1 & 3 on the
monitor securing with the locking
Make sure the common
(negative) wire on the bell
push is connected to terminal
1 to avoid false triggering.
3
1
Wiring example
Common (negative)
to terminal one
When a battery is first fitted the
indicator light will flash red then
green a few times. It will then
light green for 5 seconds.
The light will then flash green
several times to show the
battery voltage.
9 flashes = 9Volts in the battery.
If the light flashes red at this
point the battery is flat
and will need to be replaced.
4.
Silent
TM
Alert
This is designed to aid visitors
by providing audio feedback
when the doorbell is pressed.
3.
screws.
WARNING
DO NOT apply mains power or any
voltage in excess of 30 Volts as
damage will result.
Only suitably qualified persons
should attempt to link this unit into
systems or equipment other than a
low voltage door chime
Silent
Alert
TM
The Mini Monitor
will make a sound
when it is triggered
or the button
is pressed.
The monitor will
now trigger the
door chime and
send a signal to
the Pager or
SignWave each
time the button
is pressed.
Advertisement
Table of Contents

Related Manuals for Silent Alert MM4A-2212-EU-MKII

Summary of Contents for Silent Alert MM4A-2212-EU-MKII
- Page 1 Quick start guide MM4A-2212-EU-MKII Silent Mini Monitor with sounder Alert Any questions? Call us on 01246 450789 Install a 9 volt PP3 alkaline or lithium battery Screw cap making sure to observe the correct polarity. Status light When a battery is first fitted the...
- Page 2 Advanced settings MM4A-2212-EU-MKII Silent Mini Monitor with sounder Alert Any questions? Call us on 01246 450789 Trigger by short circuit. WARNING DO NOT apply mains power or any voltage in excess of 30 Volts as damage will result. Only suitably qualified persons should attempt to link this unit into systems or equipment other than a low voltage door chime.
Need help?
Do you have a question about the MM4A-2212-EU-MKII and is the answer not in the manual?
Questions and answers