Table of Contents
Advertisement
Quick Links
Advertisement
Table of Contents

Subscribe to Our Youtube Channel
Related Manuals for Thomasville THMSVL60FVW


Summary of Contents for Thomasville THMSVL60FVW
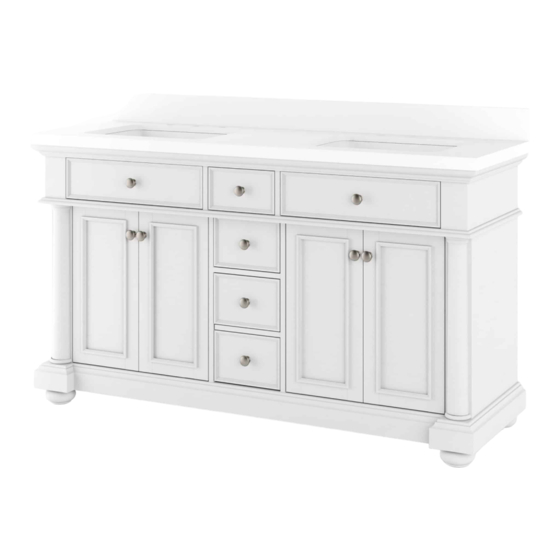
- Page 1 Model # THMSVL60FVW THMSVL60FVWL USE AND CARE GUIDE 60” VANITY Customer Service: 1-866-942-5362 English, French and Spanish Monday - Friday, 8:30 a.m. - 4:30 p.m. PST (Toll-free in U.S. and Canada only) E-mail: parts@whalenfurniture.com www.whalenfurniture.com Date: 2021-02-02 Rev. 0001-A...
-
Page 2: Table Of Contents
Table of Contents Table of Contents ............2 Tools required ................4 Safety Information ............2 Hardware Included ............... 4 Warranty ................. 3 Package Contents ................ 5 Limited Lifetime Warranty ............. 4 Assembly ............... 6 Minnesota Residents ............ 3 Care and Cleaning ............10 Minnesota residents .............. -
Page 3: Warranty
Warranty LIMITED LIFETIME WARRANTY This product is warranted to the original purchaser. If there is a failure in this unit due to defects in materials or workmanship, the manufacturer will repair or replace this item at our discretion without charge. Warranty is void if product has been assembled incorrectly, misused, abused by overloading, altered in any way or damaged due to accident. -
Page 4: Pre-Assembly
Compare all parts with the Hardware Included and Package Contents list. If any part appears missing or damaged, do not assemble this product and contact the Customer Service Team at 1-866-942-5362. TOOLS REQUIRED Phillips Drill Silicone Level screwdriver compound Stud finder HARDWARE INCLUDED NOTE: Hardware not shown to actual size. Part Description Quantity Touch-up Pen (not included for Item #THMSVL60FVW)... -
Page 5: Package Contents
Pre-Assembly (continued) PACKAGE CONTENTS Part Description Quantity Vanity Top Vanity Base Backsplash... -
Page 6: Assembly
Assembly Removing Packaging Material □ Remove stone top and the packaging material under the stone top. Stone Top Assembly □ apply a thin bead of silicone compound (not included) to the top of the vanity base ( B ). □ Align the back of the vanity base ( B ) and put the stone top ( A ) on the vanity base ( B ). - Page 7 Assembly Adjustable Level In case of uneven floors, floor levelers are provided at the bottom of the vanity. If necessary, adjust floor levelers by hand to correct □ tilting and/or level doors. Water Supply Lines and Drain Assembly Guide □ Mark wall for vanity placement and note the location of the water supply lines and drain on the back panel of vanity.
- Page 8 Assembly Backsplash Assembly To mount the backsplash (C) to the wall, apply a thin bead of silicone compound (not included) to the unpolished back side and bottom □ of the backsplash (C). Position backsplash (C) as shown onto vanity top (A) and against the wall. Clean any excess silicone compound before allowing to dry.
- Page 9 Assembly Adjust drawer If you need to remove the drawer, please press the Release Levers on the mechanisms pre-attached underneath the drawer kit at both □ ends. □ If necessary, you can push the Adjustment Clips on the bottom mechanisms to adjust the top and bottom gaps of the drawer. Adjustment Clip Release Lever...
-
Page 10: Care And Cleaning
Care and Cleaning □ Dust the vanity regularly with a soft, non-lint producing cloth or household dusting product. □ You can clean the vanity with a gentle, non-abrasive household cleaner. Make sure to dry the wood immediately with a soft cloth or towel. □... -
Page 11: Service Parts
Service Parts Part Description Quantity Backsplash Inner Drawer Tip Out Drawer Drawer Left Door Right Door Handle with Bolt Slow Close Hinge Drawer Slides Leveler Soporte central Touch-up Pen...
Need help?
Do you have a question about the THMSVL60FVW and is the answer not in the manual?
Questions and answers