
Related Manuals for SHARX SECURITY HTNC4420PTZ


Summary of Contents for SHARX SECURITY HTNC4420PTZ
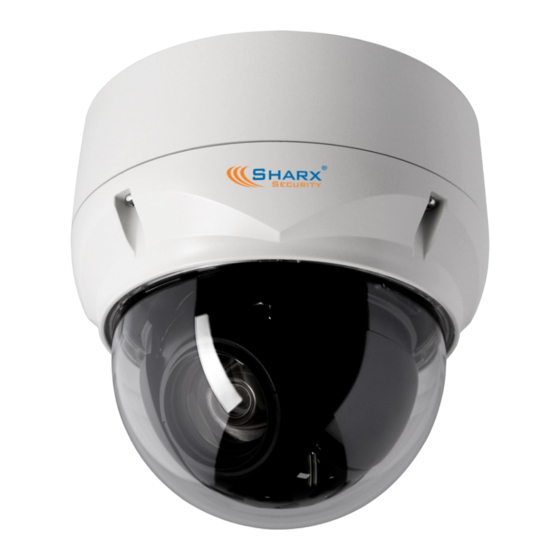
- Page 1 Quickstart Guide Sharx Security HTNC4420PTZ Full HD 60 fps ONVIF PoE PTZ IP Camera Pan/Tilt/Zoom speed dome camera with 20 X optical zoom and continuous auto focus...
-
Page 2: Camera Power Up
The camera will then adjust the focus automatically but you can also adjust it by clicking on the focus icons. Again a reminder not to open the dome of the HTNC4420PTZ. 3. Optional: Direct login to a camera’s full user interface through the NVR Assuming that the camera is connected to the NVR’s network port labeled LAN1, the camera’s full user... - Page 3 4. Phone/tablet app: The free “Titanium Mobile” NVR app for iOS and Android You can download the “Titanium Mobile” app from the Apple app store or Google Play store for free. The following assumes you connected the NVR’s WAN port to your router as described in item 1.d) above. Most routers require you to take specific steps to enable remote access.
- Page 4 Then you click on “NEXT” at the bottom, and assuming that everything is correct you end up back in the devices menu with the name of your NVR listed as an available device. The back arrow at the top gets you back to the main menu.
- Page 5 The app will also allow you to adjust the zoom level. When viewing a single camera by itself there is a PTZ icon at the bottom right. This icon opens a PTZ menu that has options for zoom, focus, iris and other options including “smart focus”...
- Page 6 For example, motion detection, external alarm input, video content analysis (someone crossing a line or entering an area). Then the app can send push notifications to your phone and allow you to view the corresponding video. Please contact Sharx Security for assistance with the advanced features.
- Page 7 1. Camera power up When not used with the Sharx Security NVR, the camera can be powered by PoE, 12 V DC or 24 V AC. Any 802.3af compatible PoE injector or switch would work. One example is the PSW4824-POE from L-Com.com a) The camera may have the weatherproof cover piece installed over the ethernet connector as a reminder to use it in the final installation.
- Page 8 Note: If the wire(s) are not going into a hole in the ceiling or under an eave, you may want to consider wall monting using a Sharx Security wall mount model HDB.
- Page 9 Security or other brand of ONVIF compatible NVRs (network video recorders). When used with a Sharx Security NVR there is no need for any IP configuration. Simply plug it in one of the NVR’s available network jacks, and the NVR will recognize and automatically display and record it.
- Page 10 Typically the first 3 sets of digits in the IP address and the router will be the same Note: if the camera is currently set to an IP address that is inaccessible from your router’s subnet and you wish to set the camera to DHCP to get an automatically assigned IP address, then you would proceed in 2 steps: 1) Set the camera to a fixed IP within your router’s subnet (i.e.
Need help?
Do you have a question about the HTNC4420PTZ and is the answer not in the manual?
Questions and answers