Owner's Manual
(LED Monitor*)
* LG LED Monitor applies LCD screen with LED backlights.
Please read this manual carefully before operating your set and retain it for future reference.
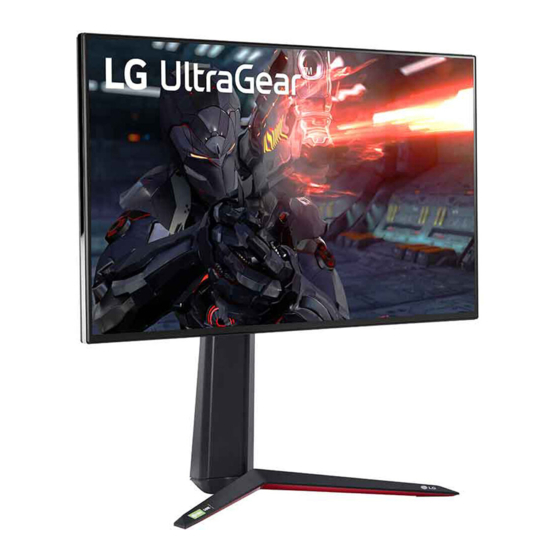
27GN950
27GN95B
www.lg.com
Copyright
2020 LG Electronics Inc. All Rights Reserved.


Need help?
Do you have a question about the UltraGEAR 27GN95B-B and is the answer not in the manual?
Questions and answers