
Related Manuals for HIKVISION DS-2CD2185FWD-IS


Summary of Contents for HIKVISION DS-2CD2185FWD-IS
- Page 1 Dome Network Camera Quick Start Guide COPYRIGHT © 2019 Hikvision. ALL RIGHTS RESERVED...
- Page 2 MAKES NO WARRANTIES, EXPRESS OR IMPLIED, INCLUDING WITHOUT LIMITATION, MERCHANTABILITY, SATISFACTORY QUALITY, OR FITNESS FOR A PARTICULAR PURPOSE. THE USE OF THE PRODUCT BY YOU IS AT YOUR OWN RISK. IN NO EVENT WILL HIKVISION BE LIABLE TO YOU FOR ANY SPECIAL, CONSEQUENTIAL, INCIDENTAL, OR INDIRECT...
- Page 3 OF DOCUMENTATION, WHETHER BASED ON BREACH OF CONTRACT, TORT (INCLUDING NEGLIGENCE), PRODUCT LIABILITY, OR OTHERWISE, IN CONNECTION WITH THE USE OF THE PRODUCT, EVEN IF HIKVISION HAS BEEN ADVISED OF THE POSSIBILITY OF SUCH DAMAGES OR LOSS. YOU ACKNOWLEDGE THAT THE NATURE OF INTERNET...
- Page 4 FCC compliance: This equipment has been tested and found to com- ply with the limits for a Class B digital device, pursuant to part 15 of the FCC Rules. These limits are designed to provide reasonable protection against harmful interference in a residential installation. This equip- ment generates, uses and can radiate radio frequency energy and, if not installed and used in accordance with the instructions, may cause harmful interference to radio communications.
- Page 5 2012/19/EU (WEEE directive): Products marked with this symbol cannot be disposed of as unsorted municipal waste in the European Union. For proper recycling, return this product to your local supplier upon the purchase of equivalent new equipment, or dispose of it at designated collection points.
-
Page 6: Cautions And Warnings
Cautions&Warnings These instructions are intended to ensure that the user can use the product correctly to avoid danger or property loss. Laws and Regulations The device should be used in compliance with local laws, electrical safety regulations, and fire prevention regulations. Transportation Keep the device in original or similar packaging while transporting it. -
Page 7: Maintenance
Maintenance If the product does not work properly, please contact your dealer or the nearest service center. We shall not assume any responsibility for problems caused by unauthorized repair or maintenance. A few device components (e.g., electrolytic capacitor) require regular replacement. The average lifespan varies, so periodic checking is recommended. -
Page 8: Time Synchronization
If smoke, odor, or noise arises from the device, immediately turn off the power, unplug the power cable, and contact the service center. Time Synchronization Set up device time manually for the first time access if the local time is not synchronized with that of the network. Visit the device via Web browse/client software and go to time settings interface. -
Page 9: Symbols And Marks
Symbols and Marks Notice Warning Forbidden Correct Incorrect Turn to page A and continue. i. Not necessarily included accessory. ii. Variable accessory amount. iii. Skip this step if not required. MicroSD card Grounding Disposal Purchase separately Other situations... - Page 10 Other situations omitted Waterproof Skip this step if not necessary...
- Page 15 1.2* microSD...
- Page 16 5.5mm Ø 30mm Ø 5.5mm Ø...
- Page 24 0°-75° 0°-355°...
- Page 25 0°-355°...
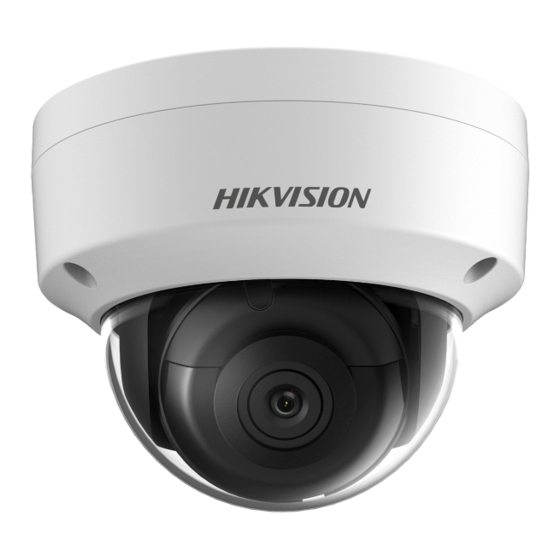
- Page 28 Reset Button Memory Card Slot Network Interface Power Interface Audio Interface Alarm Interface...
- Page 29 Reset Button Memory Card Slot Network Interface Power Interface Audio Interface Alarm Interface...
- Page 30 Activate and Access Network Camera Scan the QR code to get Activate and Access Camera. Note that mobile data charges may apply if Wi-Fi is unavailable.
- Page 31 Reset and Restore Camera Press Reset button for about 10s when the camera is powering on or rebooting to restore the default settings, including the user name, password, IP address, port No., etc. For the position of the reset button, refer to the figure in the page 17 or page 18.
- Page 32 UD12011B-B...
Need help?
Do you have a question about the DS-2CD2185FWD-IS and is the answer not in the manual?
Questions and answers