Sign In
Upload
Download
Table of Contents
Contents
Add to my manuals
Delete from my manuals
Share
URL of this page:
HTML Link:
Bookmark this page
Add
Manual will be automatically added to "My Manuals"
Print this page
×
Bookmark added
×
Added to my manuals
Manuals
Brands
Haier Manuals
Dryer
I-Pro 5 Series
User manual
Haier I-Pro 5 Series User Manual
Heat-pump-dryer
Hide thumbs
Also See for I-Pro 5 Series
:
User manual
,
User manual
(28 pages)
,
User manual
(72 pages)
1
2
Table Of Contents
3
4
5
6
7
8
9
10
11
12
13
14
15
16
17
18
19
20
21
22
23
24
25
26
27
28
29
30
31
32
33
34
35
36
page
of
36
Go
/
36
Contents
Table of Contents
Troubleshooting
Bookmarks
Table of Contents
Table of Contents
Safety Information
Intended Use
Product Description
Control Panel
Programmes
Consumption
Suggestions and Tips
Daily Use
Care and Cleaning
Troubleshooting
Installation
Technical Data
Hon
Customer Service
Advertisement
Quick Links
1
Table of Contents
2
Control Panel
3
Product Description
4
Programmes
5
Daily Use
6
Installation
7
Technical Data
Download this manual
User manual
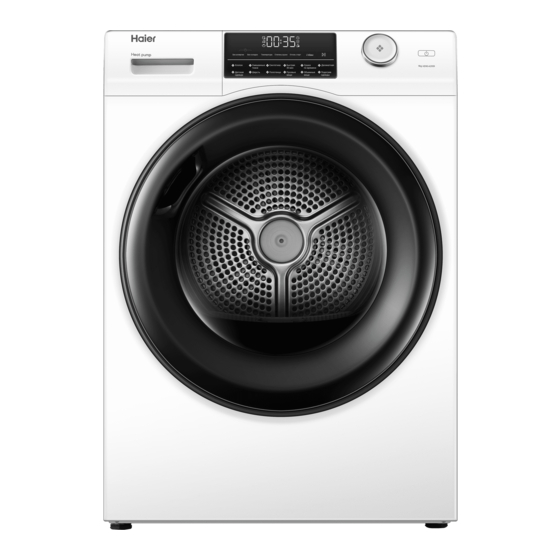
Heat-Pump-Dryer
HD90-A2959
HD90-A2959S
HD90-A3959
HD80-A3959
HD90-A3959S
GB
Table of
Contents
Previous
Page
Next
Page
1
2
3
4
5
Advertisement
Table of Contents
Need help?
Do you have a question about the I-Pro 5 Series and is the answer not in the manual?
Ask a question
Questions and answers
Related Manuals for Haier I-Pro 5 Series
Dryer Haier HD100-A2959E-S User Manual
Heat pump tumble dryer (144 pages)
Washer Haier I-Pro 5 Series User Manual
(72 pages)
Dryer Haier HD110-A2959E-UK User Manual
Heat pump tumble dryer (28 pages)
Haier I-Pro 5 Series, HD100-A2959E-S, HD110-A2959E-S Manual
(article)
Dryer Haier HD90-A3Q979U1 User Manual
Heat-pump-dryer (36 pages)
Dryer Haier HLF103Q Service Manual
Front load dryer (15 pages)
Dryer Haier HD90-A636-E User Manual
(340 pages)
Dryer Haier QFD15 Series Owner's Manual & Installation Instructions
(100 pages)
Dryer Haier HDV70E1 Installation Instructions & User Manual
Vented clothes dryer (44 pages)
Dryer Haier HD100-A2979 User Manual
Heat-pump-dryer (32 pages)
Dryer Haier GE GFD14ESSNWW Technical Service Manual
24 inch vented dryer (49 pages)
Dryer Haier HLTD600AEW User Manual
(108 pages)
Dryer Haier GE UltraFresh GFD55ESSN Technical Service Manual
(59 pages)
Dryer Haier HLF13E User Manual
User manual (11 pages)
Dryer Haier RDE350AW User Manual
Gas and electric clothes dryers (90 pages)
Dryer Haier GDZ5-1 Parts Manual
Haier dryer parts manual (5 pages)
This manual is also suitable for:
I-pro hd90-a2959
I-pro hd90-a2959s
I-pro hd90-a3959
I-pro hd80-a3959
I-pro hd90-a3959s
Table of Contents
Print
Rename the bookmark
Delete bookmark?
Delete from my manuals?
Login
Sign In
OR
Sign in with Facebook
Sign in with Google
Upload manual
Upload from disk
Upload from URL


Need help?
Do you have a question about the I-Pro 5 Series and is the answer not in the manual?
Questions and answers