Advertisement
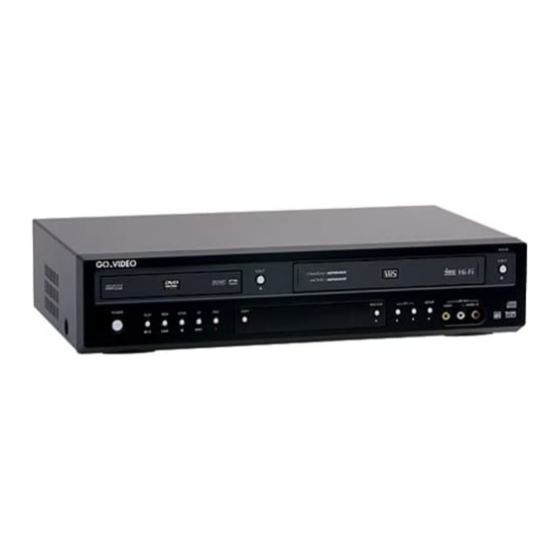
Unpack Your DV3130
•
DVD+VCR
•
Remote control
•
1.5V AAA batteries (2)
•
RF (Radio Frequency) Antenna cable
•
RCA cable for Audio/Video connections
•
User's guide
•
Read Me First/
Quick Reference Guide
•
Warranty registration card
Insert Batteries
1
Remove battery cover.
2
Insert two 1.5V AAA batteries, paying
attention to the correct polarities (+/–).
3
Replace cover.
:: Basic Connections
To get started, you will need to connect the DVD+VCR to your TV and run Auto Setup. Auto
Setup will automatically search for channels and then set your DVD+VCR's internal clock.
1
Connect Antenna to DVD+VCR Connect an indoor/outdoor antenna or wall outlet
antenna cable to the IN (FROM ANT.) jack on the rear panel.
2
Connect DVD+VCR to TV Choose one of the following methods:
a. RF Connection Using the supplied RF antenna cable, connect the OUT
(TO TV) jack on the back panel of the DVD+VCR to your TV's Antenna Input.
b. Line Connection Using the supplied RCA-type audio/video cable (red,
white, yellow), connect the LINE OUT jacks on the back panel of your DVD+VCR
to your TV's Line In jacks. If your TV is equipped with RCA jacks, it is
better to use the Line Connection method.
3
Plug In Plug the DVD+VCR power cable into a standard 120V/60Hz wall outlet.
Avoid pressing any buttons on the remote control or on the unit during Auto Setup. While
your DVD+VCR is running Auto Setup, "AUTO" will blink on the front panel display. When
Auto Setup is complete, the current time will be displayed on the front panel display.
4
Turn On Your DVD+VCR Press the POWER button on the remote control or front
panel of the unit.
5
Turn On Your TV Press the POWER button on your TV.
6
Set the TV to Channel 3, 4 or Line Use the same channel you selected in Step 2
above. If you are using the Line Connection method, set your TV to its Line Input.
• You must use either the Standard RF or Line connection between your TV and
DVD+VCR, even if you plan to use the S-Video or Component Video Output for
improved DVD picture quality.
• The S-Video and Component Video Outputs are for DVD playback only!
• See the User's Guide for advanced connections.
•
CD-ROM, CD+G, and CD-i discs cannot be
played on this DVD player.
Start Here
DVD+VCR
Q uestions?
O ur A ward-W inning C ustomer
Service Professionals are
R eady to H elp!
C all Us!
For Fast, Friendly
Service
E -M ail Us!
For a Prompt Reply
O r C heck O ur
Website!
For the Latest FA Q s
RCA Audio/Video
Cable
Antenna/Cable TV
Television
DO N O T R E TUR N TH IS
PR O DUC T TO TH E STO R E !
1-800-736-7679
customerservice@govideo.com
www.govideo.com
RF Antenna
Cable
Advertisement
Table of Contents

Related Manuals for GoVideo DV3130


Summary of Contents for GoVideo DV3130
-
Page 1: Insert Batteries
Unpack Your DV3130 • DVD+VCR • Remote control • 1.5V AAA batteries (2) • RF (Radio Frequency) Antenna cable • RCA cable for Audio/Video connections • User’s guide • Read Me First/ Quick Reference Guide • Warranty registration card Insert Batteries Remove battery cover. -
Page 2: Basic Controls
PLAY PLAY TV View Button – Press to change your on-screen view. Each press will select a different input source: DVD, VCR, TV, Line 1 (rear A/V input), or Line 2 (front A/V input). ©2003 GoVideo, Inc. All rights reserved.
Need help?
Do you have a question about the DV3130 and is the answer not in the manual?
Questions and answers