Table of Contents
Advertisement
Advertisement
Table of Contents

Subscribe to Our Youtube Channel
Related Manuals for Oster OGB8902


Summary of Contents for Oster OGB8902
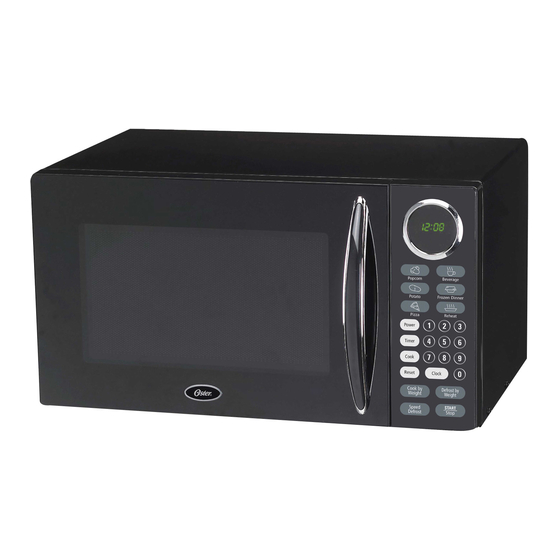
- Page 1 0.9 Cu. Ft. Countertop Microwave Model: OGB8902 GLN100811...
-
Page 2: Table Of Contents
TABLE OF CONTENTS IMPORTANT SAFETY INSTRUCTIONS PRECAUTIONS TO AVOID POSSIBLE EXPOSURE TO EXCESSIVE MICROWAVE ENERGY INSTALLATION GUIDE GROUNDING INSTRUCTIONS PRODUCT DIAGRAM CONTROL PANEL INSTALLING THE TURNTABLE OPERATION INSTRUCTIONS COOKING UTENSILS GUIDE COOKING TECHNIQUES CLEANING AND CARE BEFORE CALLING FOR SERVICE SPECIFICATIONS... -
Page 3: Important Safety Instructions
IMPORTANT SAFETY INSTRUCTIONS READ ALL SAFETY INSTRUCTIONS BEFORE USING THIS MICROWAVE WARNING - to reduce the risk of burns, electric shock, fire, injury to persons, or exposure to excessive microwave energy, basic safety precautions should be followed, including the following: 1. -
Page 4: Precautions To Avoid Possible Exposure To Excessive Microwave Energy
IMPORTANT SAFETY INSTRUCTIONS (continued) 22. Do not operate any heating or cooking under this microwave. 23. Be certain the glass tray and roller rings are in place when using the microwave. 24. Read and follow the specific “Precautions to Avoid Possible Exposure to Excessive Microwave Energy” section found on page 3. -
Page 5: Installation Guide
INSTALLATION GUIDE 1. Make sure all packing materials are removed from inside the microwave door. 2. Check the microwave for damage, such as misaligned or bent door, damaged door seals and sealing surface, broken or loose door hinges and latches, and dents inside the cavity or on the door. If there are any damages, do not operate the microwave and contact Customer Service at 1-866-257-3336. -
Page 6: Product Diagram
GROUNDING INSTRUCTIONS (continued) POWER CORD A short power supply cord is provided to reduce the risks resulting from becoming entangled in or tripping over a long cord. Longer cord sets or extension cords are available and may be used if care is taken in using them. ... -
Page 7: Control Panel
CONTROL PANEL DISPLAY Cooking time, power, indicators and present time are displayed. QUICK COOK BUTTONS Instant settings to cook popular foods POWER Use to set power levels other than high. TIMER Timer functions independently, even while a cooking program is in process. -
Page 8: Operation Instructions
OPERATION INSTRUCTIONS SETTING THE CLOCK Touch CLOCK pad. Use the number pads to enter the correct time. Touch CLOCK pad again. NOTE: ·This is a 12 hour clock. When the oven is first plugged in or when power resumes after a power interruption, the display will show ENTER CLOCK TIME. - Page 9 OPERATION INSTRUCTIONS (continued) B. Two-stage Cooking Some recipes require different stages of cooking at different temperatures. SET STAGE 1: Follow steps 1 and 2 in “One-stage Cooking”. DO NOT TOUCH START/STOP. SET STAGE 2: Touch COOK then enter proper cooking time and (lower) power level. (Most 2-stage recipes use lower power for second stage.) Touch START/STOP.
- Page 10 OPERATION INSTRUCTIONS (continued) ·Weight must be in pounds and ounces. ·Ounce weights less than 10 must be preceded by a 0. If label gives weight in pounds only, change the fraction of a pound to ounces using the chart. Converting Fractions of a Pound to Ounces Fractions of a pound Ounces Less than .03...
- Page 11 OPERATION INSTRUCTIONS (continued) SETTING CHILD LOCK The safety lock prevents unsupervised operation by children. To set, press and hold RESET for 3 seconds. LOCK is indicated on the display. To cancel, press and hold RESET for 3 seconds. LOCK indication disappears. POPCORN Touch POPCORN.
- Page 12 OPERATION INSTRUCTIONS (continued) PIZZA Reheating a slice of pizza: Touch PIZZA once. Touch START/STOP. Heating a whole pizza: Touch PIZZA twice. Touch START/STOP. BAKED POTATO For potatoes (4 to 6 oz./each): Touch POTATO once. Enter number of potatoes by touching number pads from 1-4. Touch START/STOP.
-
Page 13: Cooking Utensils Guide
COOKING UTENSILS GUIDE This section lists which utensils can be used in this microwave, which have limited use for short periods, and which should not be used in this microwave. RECOMMENDED Microwave browning dish -- Use to brown the exterior of small items such as steaks, chops, or pancakes. Follow the directions provided with your browning dish. -
Page 14: Cooking Techniques
COOKING TECHNIQUES Your microwave makes cooking easier than conventional cooking, provided you keep these considerations in mind: STIRRING Stir foods such as casseroles and vegetables while cooking to distribute heat evenly. Food at the outside of the dish absorbs more energy and heats quicker, so stir from the outside to the center. ... -
Page 15: Cleaning And Care
COOKING TECHNIQUES (continued) ADDING MOISTURE Microwave energy is attracted to water molecules. Food that is uneven in moisture content should be covered or allowed to stand so that the heat disperses evenly. Add a small amount of water to dry food to help it cook. CLEANING AND CARE 1. -
Page 16: Before Calling For Service
BEFORE CALLING FOR SERVICE Before asking for service, please check each item below: Check to ensure the microwave is plugged in securely. If not, remove the plug from the outlet, wait 10 seconds, and plug it in again securely. ... - Page 17 © 2011 Sunbeam Products, Inc. doing business as Jarden Consumer Solutions. All rights reserved. ® Oster logo is a registered trademark of Sunbeam Products, Inc. used under license. Distributed by Foshan Shunde Galanz Microwave Oven Electrical Appliance Ltd. Shunde, Foshan, Guangdong, 528305, China...
Need help?
Do you have a question about the OGB8902 and is the answer not in the manual?
Questions and answers