Table of Contents
Advertisement
Quick Links
Published 10/19
This Operator's Manual is an
integral part of the safe operation
of this machine and must be
maintained with the unit at all
times. READ, UNDERSTAND, and
FOLLOW
Operation Instructions contained
in this manual before operating
the equipment. C01-Cover_B
®
BUSH HOG
2501 Griffin Ave.
Selma, AL 36703
334-874-2700
www.bushhog.com
OPERATOR'S MANUAL
the
Safety
© 2019 Alamo Group Inc.
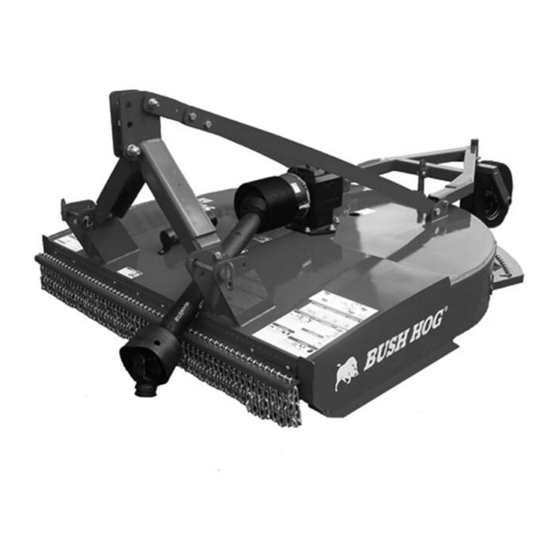
BH400/ BH500
Important
and Safety Instructions
are found in the Mower
Safety Video that can
and
be instantly accessed
on
the
www.algqr.com/bve
SERIES
BH416, BH417, BH516
ROTARY MOWER
Part No. 50080849
Operating
internet
at:
$0.00
Advertisement
Chapters
Table of Contents


Need help?
Do you have a question about the BH400 Series and is the answer not in the manual?
Questions and answers