
Related Manuals for SANHOYA WS-26CH

Summary of Contents for SANHOYA WS-26CH
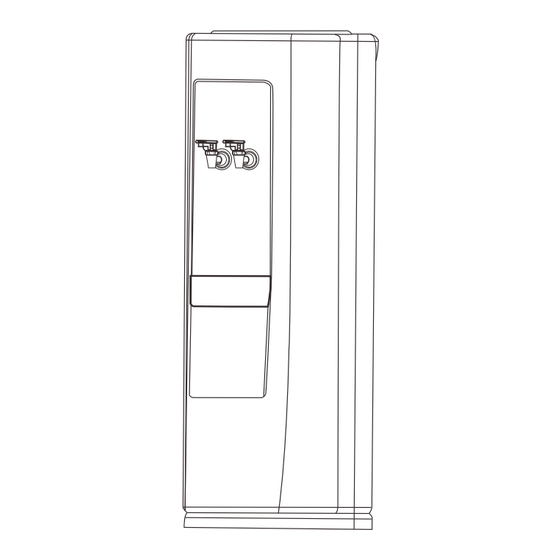
- Page 5 About Your Water Dispenser Part Name ①Bottle Support Collar ⑥Heating Switch ②Cold Water Faucet ⑦Condenser ③Child proof Hot Water Faucet ⑧Water Drain Outlet ④Drip Tray ⑨ Power Cord ⑤Handle Caution: Do not plug in the power cord before the hot & cold water tanks have been fully filled and the water flow smoothly from the spouts.
-
Page 8: Starting The Dispenser
Starting the Dispenser 3. To ensure a proper use of the compressor, do not activate the dispenser until it has been stayed on the ground over 24 hours. 4. Before turning on the dispenser, ensure the heating switch (#⑥) is on the (O) position. -
Page 11: Indicator Light
Starting the Dispenser Powering the Dispenser Plug power cord(#⑨) into a properly grounded wall outlet. Indicator Light Heating Indicator Light This indicator light turns on when water is heating.The light will remain while the water is heating and turns off when it has reached the exact temperature of 185℉. - Page 13 Starting the Dispenser Heating To get the hot water, push the heating switch(#⑥) into the on (I) position. Allow 15-20 minutes for the water to be heated to 185℉. The heating indicator light turns off after the heating process is completed. 1.
- Page 15 User Guide and Maintenance Cleaning Rinsing/Cleaning/Draining Caution: Please unplug the dispenser before cleaning. Use a disinfecting wipe (not included in the package) to wipe down the housing of the dispenser. Cleaning the plastic parts: All plastic parts are dishwasher safe. To prevent damage to the parts, stainless steel sponges scrubbers should not be used to clean the plastic parts.
Need help?
Do you have a question about the WS-26CH and is the answer not in the manual?
Questions and answers