Sign In
Upload
Download
Table of Contents
Contents
Add to my manuals
Delete from my manuals
Share
URL of this page:
HTML Link:
Bookmark this page
Add
Manual will be automatically added to "My Manuals"
Print this page
×
Bookmark added
×
Added to my manuals
Manuals
Brands
Samsung Manuals
Cell Phone
SM-G398FZKDU07
User manual
Samsung SM-G398FZKDU07 User Manual
Hide thumbs
1
Table Of Contents
2
3
4
5
6
7
8
9
10
11
12
13
14
15
16
17
18
19
20
21
22
23
24
25
26
27
28
29
30
31
32
33
34
35
36
37
38
39
40
41
42
43
44
45
46
47
48
49
50
51
52
53
54
55
56
57
58
59
60
61
62
63
64
65
66
67
68
69
70
71
72
73
74
75
76
77
78
79
80
81
82
83
84
85
86
87
88
89
90
91
92
93
94
95
96
97
98
99
100
101
102
103
104
105
106
107
108
109
110
111
112
113
114
115
116
117
118
119
120
121
122
123
124
125
126
127
128
page
of
128
Go
/
128
Contents
Table of Contents
Troubleshooting
Bookmarks
Table of Contents
Table of Contents
Basics
Read Me First
Device Overheating Situations and Solutions
Maintaining Water and Dust Resistance
Device Layout and Functions
Battery
SIM or USIM Card
Memory Card (Microsd Card)
Attaching a Hand Strap
Turning the Device on and off
Initial Setup
Samsung Account
Transferring Data from Your Previous Device (Smart Switch)
Understanding the Screen
Notification Panel
Entering Text
Apps and Features
Installing or Uninstalling Apps
Phone
Contacts
Messages
Internet
Email
Camera
Gallery
Multi Window
Samsung Health
Samsung Notes
Calendar
Radio
Voice Recorder
My Files
Clock
Calculator
Sharing Content
Google Apps
Introduction
Connections
Wi-Fi
Bluetooth
Data Saver
NFC and Payment
Mobile Hotspot and Tethering
More Connection Settings
Sounds and Vibration
Notifications
Display
Blue Light Filter
Screensaver
Wallpapers and Themes
Lock Screen
Security
Secure Folder
Accounts and Backup
Samsung Cloud
Google
Advanced Features
Dual Messenger
Device Care
Optimising Your Device
Battery
Storage
Memory
Security
Apps
General Management
Accessibility
Software Update
User Manual
About Phone
Appendix
Troubleshooting
Advertisement
Quick Links
Download this manual
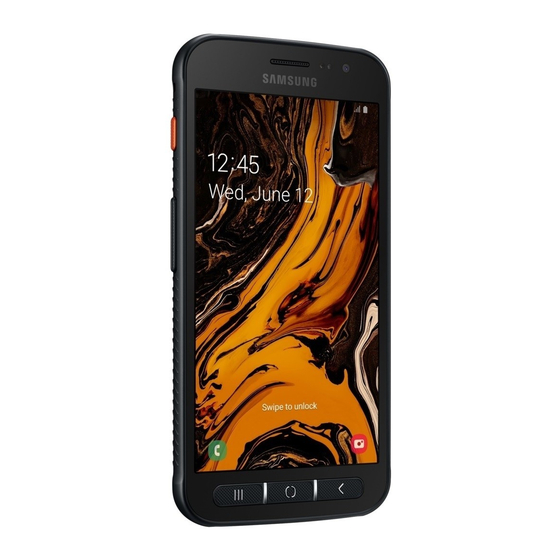
USER MANUAL
SM-G390F
SM-G390Y
English. 06/2019. Rev.1.0
www.samsung.com
Table of
Contents
Previous
Page
Next
Page
1
2
3
4
5
Advertisement
Table of Contents
Need help?
Do you have a question about the SM-G398FZKDU07 and is the answer not in the manual?
Ask a question
Questions and answers
Related Manuals for Samsung SM-G398FZKDU07
Cell Phone Samsung SM-G398FN User Manual
(140 pages)
Cell Phone Samsung SM-G390YZKAXSP User Manual
(136 pages)
Cell Phone Samsung SM-G390Y User Manual
(128 pages)
Cell Phone Samsung Galaxy XCover 4 User Manual
(124 pages)
Cell Phone Samsung Galaxy XCover 4s User Manual
(119 pages)
Cell Phone Samsung SM-G390Y User Manual
(39 pages)
Cell Phone Samsung SM-G390F Manual
(124 pages)
Cell Phone Samsung SM-G390F User Manual
(39 pages)
Cell Phone Samsung SM-G390W User Manual
(40 pages)
Cell Phone Samsung Galaxy A Series User Manual
(150 pages)
Cell Phone Samsung SM-G3815 User Manual
(123 pages)
Cell Phone Samsung SM-G355HN User Manual
(102 pages)
Cell Phone Samsung SM-G530H User Manual
(131 pages)
Cell Phone Samsung SMG318H User Manual
(37 pages)
Cell Phone Samsung SM-G350BT Service Manual
(30 pages)
Cell Phone Samsung SM-G350M User Manual
(37 pages)
This manual is also suitable for:
Galaxy xcover
Sm-g390y
Galaxy xcover 4s
Table of Contents
Print
Rename the bookmark
Delete bookmark?
Delete from my manuals?
Login
Sign In
OR
Sign in with Facebook
Sign in with Google
Upload manual
Upload from disk
Upload from URL


Need help?
Do you have a question about the SM-G398FZKDU07 and is the answer not in the manual?
Questions and answers