Advertisement
Quick Links
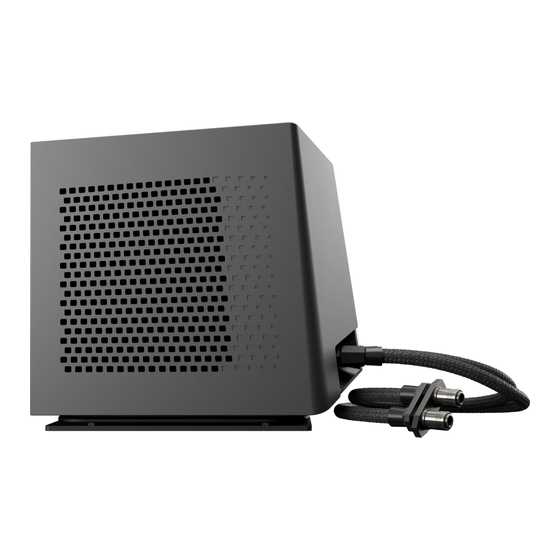
XMG OASIS - Disassembly Procedures
⚠ WARNING ⚠
In the event of a defect or for any other purpose, we do NOT recommend disassembling the device!
• The internal structures of the device can be quite delicate.
• Any mistakes during disassembly and reassembly may cause material failure, leading to future leakage.
• Any defects that are caused by inappropriate disassembly, mechanical damage, chassis modifications or
swapping out parts may void your warranty.
In the event of technical problems or defects, please contact our support team first.
Spare parts
We are able to ship spare parts such as tubes and connectors to fulfill our warranty agreement and for any
after-warranty service. If you wish to order a spare part, please contact our support team with a picture of
the part you wish to order.
Page 1 of 5
Advertisement

Related Manuals for XMG OASIS

Summary of Contents for XMG OASIS
- Page 1 XMG OASIS - Disassembly Procedures ⚠ WARNING ⚠ In the event of a defect or for any other purpose, we do NOT recommend disassembling the device! • The internal structures of the device can be quite delicate. • Any mistakes during disassembly and reassembly may cause material failure, leading to future leakage.
- Page 2 Electric screw driver torque values for all steps except fan removal: • 1.5±0.2 kgf.cm • PH 1 screwdriver bit 1. Unfasten four screws and take out the bottom base. 2. Unfasten six screws. 3. Unfasten six screws and take out the outer frame Page 2 of 5...
- Page 3 4. Remove the plastic cap and take out the two nuts. 5. Unfasten four screws & cable, take out the front cover Page 3 of 5...
- Page 4 6. Unfasten four screws & cable, take out the bracket 7. Unfasten seven screws & cable, take out the water box Page 4 of 5...
- Page 5 8. Unfasten three screws & cable, take out the fan module 9. Unfasten four screws & cable, take out the fan electric screw driver torque values for only this step: 3.0±0.2 kgf.cm torque back to 1.5±0.2 kgf.cm 10. Unfasten six screws & cable, take out the M/B Page 5 of 5...
Need help?
Do you have a question about the OASIS and is the answer not in the manual?
Questions and answers