Table of Contents
Advertisement
Quick Links
Advertisement
Table of Contents

Summary of Contents for Zanussi ZRG15805WV
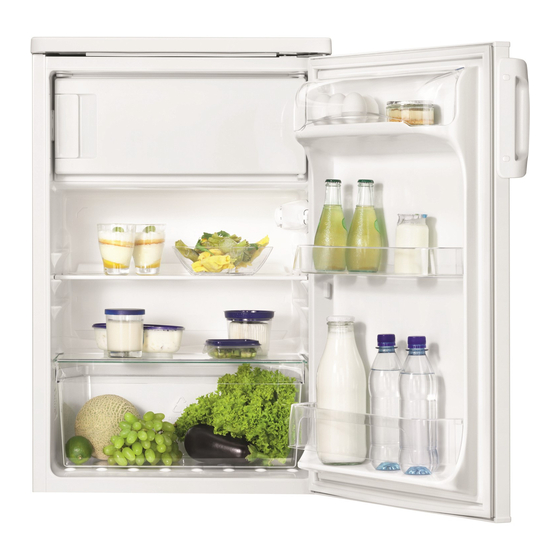
- Page 1 User Manual GETTING STARTED? EASY. ZRG15805WV EN User Manual Refrigerator...
-
Page 2: Safety Information
SAFETY INFORMATION Before the installation and use of the appliance, carefully read the supplied instructions. The manufacturer is not responsible for any injuries or damages that are the result of incorrect installation or usage. Always keep the instructions in a safe and accessible location for future reference. -
Page 3: Safety Instructions
Do not damage the refrigerant circuit. • Do not use electrical appliances inside the food storage • compartments of the appliance, unless they are of the type recommended by the manufacturer. Do not use water spray and steam to clean the appliance. •... -
Page 4: Operation
• Do not put electrical appliances (e.g. ice cream • Before maintenance, deactivate the appliance makers) in the appliance unless they are stated and disconnect the mains plug from the mains applicable by the manufacturer. socket. • Be careful not to cause damage to the •... -
Page 5: Daily Use
• room temperature If the ambient temperature is high or • how often the door is opened the appliance is fully loaded, and the • the quantity of food stored appliance is set to the lowest • the location of the appliance. temperature, it may run continuously causing frost to form on the rear wall. -
Page 6: Hints And Tips
HINTS AND TIPS NORMAL OPERATING SOUNDS • Meat (all types): wrap in a suitable packaging and place it on the glass shelf above the The following sounds are normal during operation: vegetable drawer. Store meat for at most 1-2 • A faint gurgling and bubbling sound from coils days. -
Page 7: Care And Cleaning
• water ices, if consumed immediately after • be sure that frozen foodstuffs are transferred removal from the freezer compartment, can from the foodstore to the freezer in the shortest possibly cause the skin to be freeze burnt; possible time; •... -
Page 8: Troubleshooting
2. Remove any stored food, wrap it in several layers of newspaper and put it in a cool place. WARNING! Do not touch frozen goods with wet hands. Hands can freeze to the goods. 3. Leave the door open. In order to speed up the defrosting process, place a pot of warm water in the freezer compartment. - Page 9 Problem Possible cause Solution There is no voltage in the Connect a different electrical mains socket. appliance to the mains socket. Contact a qualified electrician. The appliance is noisy. The appliance is not supported Check if the appliance stands properly. stable.
-
Page 10: Replacing The Lamp
Problem Possible cause Solution The food products' tempera- Let the food products temper- ture is too high. ature decrease to room tem- perature before storage. Many food products are stored Store less food products at the at the same time. same time. -
Page 11: Installation
INSTALLATION 2. Turn counter-clockwise the spacers through WARNING! Refer to Safety chapters. 45° until they lock into place. LOCATION POSITIONING It must be possible to disconnect the Install the appliance in a dry, well ventilated indoors appliance from the mains power where the ambient temperature corresponds to the supply;... - Page 12 2. Push back the top and lift it. 9. Remove the hinge. Put over the pin in the direction of the arrow. Install the hinge on the opposite side. 3. Unscrew the left foot. 4. Unscrew the screws of the door bottom hinge. Remove the hinge.
-
Page 13: Reversibility Of The Freezer Door
CAUTION! Reposition, level the appliance, wait for at least four hours and then connect it to the power socket. Do a final check to make sure that: • All screws are tightened. • The magnetic seal adheres to the cabinet. •... -
Page 14: Technical Data
by the earth symbol or coloured green and yellow. 2. Connect the wire coloured blue to the terminal either marked with the letter “N“ or coloured black. 3. Connect the wire coloured brown to the terminal either marked with the “L“ or coloured red. - Page 16 WWW.ZANUSSI.COM/SHOP...


Need help?
Do you have a question about the ZRG15805WV and is the answer not in the manual?
Questions and answers