Table of Contents
Advertisement
User's Guide
User's Guide
BASIC
BASIC
This guide provides information concerning installation, basic operation and
troubleshooting on Windows.
ADVANCED
This guide provides information about installation, advanced configuration, operation and
troubleshooting on various OS environments.
Some features may not be available depending on models or countries.
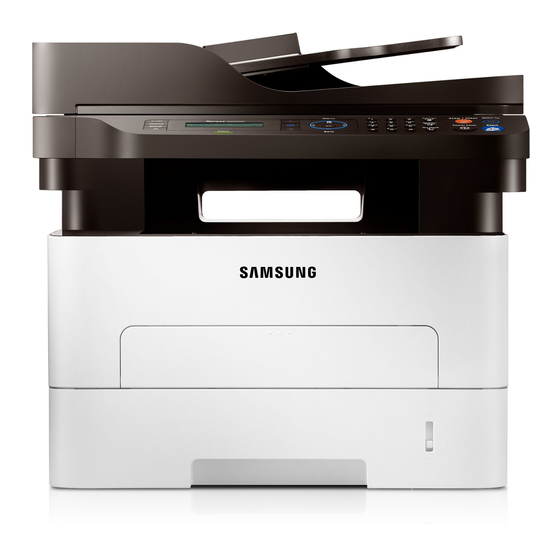
M267x series
M287x series
M288x series
Advertisement
Chapters
Table of Contents


Need help?
Do you have a question about the Xpress M2675FN and is the answer not in the manual?
Questions and answers
looking for Samsung Express M2670FN driver which will allow scanning
The Samsung Xpress M2675FN supports scanning using the Twain scan driver and WIA scan driver. To find the driver, insert the software CD into your CD-ROM drive and select the appropriate scanning driver during installation. If you do not have the CD, check the Samsung support website for the Twain or WIA scan driver for the M267x series.
This answer is automatically generated