Sign In
Upload
Download
Add to my manuals
Delete from my manuals
Share
URL of this page:
HTML Link:
Bookmark this page
Add
Manual will be automatically added to "My Manuals"
Print this page
×
Bookmark added
×
Added to my manuals
Manuals
Brands
Smeg Manuals
Dishwasher
DI613PNH
Instruction manual
Smeg DI613PNH Instruction Manual
Hide thumbs
1
2
Table Of Contents
3
4
5
6
7
8
9
10
11
12
13
14
15
16
17
18
19
20
21
22
23
24
25
26
27
28
29
30
31
32
33
34
35
36
37
38
39
40
41
42
43
44
page
of
44
Go
/
44
Contents
Table of Contents
Troubleshooting
Bookmarks
Advertisement
Quick Links
1
Troubleshooting
Download this manual
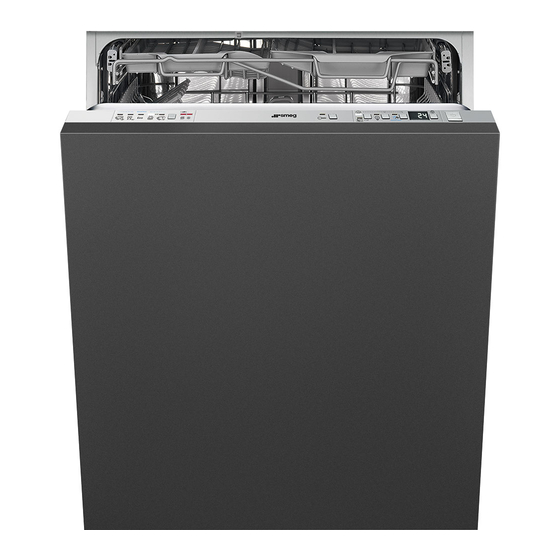
INSTRUCTION MANUAL
GUIDE FOR USING THE DISHWASHER AND THE WASHING PROGRAMS
Table of
Contents
Previous
Page
Next
Page
1
2
3
4
5
Advertisement
Need help?
Do you have a question about the DI613PNH and is the answer not in the manual?
Ask a question
Questions and answers
Related Manuals for Smeg DI613PNH
Dishwasher Smeg APL12-1 Manual For Using
Smeg dishwasher instruction manual (37 pages)
Dishwasher Smeg DI614H Instruction Manual
Smeg dishwasher instruction manual (46 pages)
Dishwasher SMEG DI614H Instruction Manual
(40 pages)
Dishwasher Smeg DI612A1 Instruction Manual
Smeg di612a1 dishwasher instruction manual (37 pages)
Dishwasher Smeg Dishwasher DI612CAH Instruction Manual
Smeg dishwasher instruction manual (37 pages)
Dishwasher Smeg ST1124 Instruction Manual
Smeg dishwasher instruction manual (40 pages)
Dishwasher SMEG DF61 Instruction Manual
(37 pages)
Dishwasher SMEG DI112-2 Instruction Manual
(35 pages)
Dishwasher SMEG DI612CA Instruction Manual
(36 pages)
Dishwasher Smeg STA6248 Instruction Manual
Smeg dishwasher instruction manual (35 pages)
Dishwasher SMEG DI612CT Instruction Manual
(41 pages)
Dishwasher SMEG DI612M Instruction Manual
(36 pages)
Dishwasher SMEG DI612SD Instruction Manual
(43 pages)
Dishwasher Smeg DI613PMAX Instruction Manual
(44 pages)
Dishwasher SMEG DI6013NH Instruction Manual
(43 pages)
Dishwasher Smeg DI6012-1 User Manual
Dishwasher and the washing programs (40 pages)
This manual is also suitable for:
Di613pmax
Print
Rename the bookmark
Delete bookmark?
Delete from my manuals?
Login
Sign In
OR
Sign in with Facebook
Sign in with Google
Upload manual
Upload from disk
Upload from URL


Need help?
Do you have a question about the DI613PNH and is the answer not in the manual?
Questions and answers