Sign In
Upload
Download
Table of Contents
Contents
Add to my manuals
Delete from my manuals
Share
URL of this page:
HTML Link:
Bookmark this page
Add
Manual will be automatically added to "My Manuals"
Print this page
×
Bookmark added
×
Added to my manuals
Manuals
Brands
Sony Manuals
Desktop
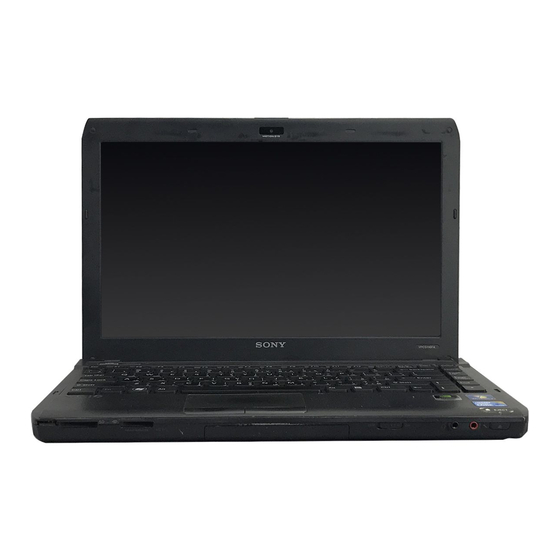
VAIO VPCS116FA
Operating instructions - hardware manual
Sony VAIO VPCS116FA Operating Instructions - Hardware Manual
Hide thumbs
1
Table Of Contents
2
3
4
5
6
7
8
9
10
11
12
13
14
15
16
17
18
19
20
21
22
23
24
25
26
27
28
29
30
31
32
33
34
35
36
37
38
39
40
41
42
43
44
45
46
47
48
49
50
51
52
53
54
55
56
57
58
59
60
61
62
63
64
65
66
67
68
69
70
71
72
73
74
75
76
77
78
79
80
81
82
83
84
85
86
87
88
89
90
91
92
93
94
95
96
97
98
99
100
101
102
103
104
105
106
107
108
109
110
111
112
113
114
115
116
117
118
119
120
121
122
123
124
125
126
127
128
129
130
131
132
133
134
135
136
137
138
139
140
141
142
143
144
145
146
147
148
149
150
151
152
153
154
155
156
157
158
159
160
161
162
163
164
165
166
167
168
169
170
171
172
173
174
175
176
177
178
179
180
181
182
183
184
185
186
page
of
186
Go
/
186
Contents
Table of Contents
Troubleshooting
Bookmarks
Table of Contents
Table of Contents
Before Use
Finding more about Your VAIO Computer
Ergonomic Considerations
Getting Started
Locating Controls and Ports
About the Indicator Lights
Connecting a Power Source
Using the Battery Pack
Shutting down Your Computer Safely
Using the Power Saving Modes
Updating Your Computer
Using Your VAIO Computer
Using the Keyboard
Using the Touch Pad
Using Special-Function Buttons
Using the Built-In Camera
Using the Optical Disc Drive
Using "Memory Stick
Using Other Modules / Memory Cards
Using the Internet
Using the Network (LAN)
Using the Wireless LAN
Using the Bluetooth Function
Using Fingerprint Authentication
Using Peripheral Devices
Connecting a Docking Station
Connecting External Speakers or Headphones
Connecting an External Display
Selecting Display Modes
Using the Multiple Monitors Function
Connecting an External Microphone
Connecting a USB Device
Connecting an I.link Device
Customizing Your VAIO Computer
Setting the Password
Using Intel(R) VT
Using the VAIO Control Center
Using the VAIO Power Management
Protecting the Hard Disk
Upgrading Your VAIO Computer
Adding and Removing Memory
Precautions
Safety Information
Care and Maintenance Information
Handling Your Computer
Handling the LCD Screen
Using the Power Source
Handling the Built-In Camera
Handling Discs
Using the Battery Pack
Handling "Memory Stick
Handling the Built-In Storage Device
Using Fingerprint Authentication
Troubleshooting
Computer Operations
System Update / Security
Recovery
Battery Pack
Built-In Camera
Networking (Lan/Wireless LAN)
Bluetooth Technology
Optical Discs
Display
Printing
Microphone
Speakers
Touch Pad
Keyboard
Floppy Disks
Audio/Video
Memory Stick
Peripherals
Docking Station
Trademarks
Notice
Advertisement
Quick Links
Download this manual
N
Operating Instructions - Hardware Guide
Personal Computer
VPCS11 Series
Table of
Contents
Previous
Page
Next
Page
1
2
3
4
5
Advertisement
Table of Contents
Need help?
Do you have a question about the VAIO VPCS116FA and is the answer not in the manual?
Ask a question
Questions and answers
Related Manuals for Sony VAIO VPCS116FA
Laptop Sony VIAO VPCS11 Series User Manual
Sony laptop user manual (185 pages)
Desktop Sony VAIO VPCSC User Manual
Vaio vpcsb series, vaio vpcsc series (210 pages)
Desktop Sony VAIO VPCCA22FX Operating Instructions Manual
Recovery, backup and troubleshooting guide (31 pages)
Desktop Sony VPCS11A7E User Manual
Vaio vpcs11 series (193 pages)
Desktop Sony VPCS12A7E User Manual
Vaio vpcs12 series (197 pages)
Desktop Sony VPCSA2S9R/BI User Manual
Vaio vpcsa series, vaio vpcsb series (208 pages)
Desktop Sony VPCSA3J1E/XI User Manual
Vaio vpcsa series, vaio vpcsb series, vaio vpcse series (206 pages)
Desktop Sony VPCSA4A4E User Manual
Vaio vpcsa series, vaio vpcsb series, vaio vpcse series (207 pages)
Desktop Sony VAIO VPCS13 Series User Manual
(196 pages)
Desktop Sony VAIO VPCS13AFG User Manual
(196 pages)
Desktop Sony VAIO VPCS12 Series User Manual
(197 pages)
Desktop Sony VAIO VPCS125FG User Manual
(197 pages)
Desktop Sony VAIO VPCS117GG Operating Instructions - Hardware Manual
(186 pages)
Desktop Sony VAIO VPCS116FG Operating Instructions - Hardware Manual
(186 pages)
Desktop Sony VPCCW1 User Manual
Vaio vpccw1 series (170 pages)
Desktop Sony VAIO VPCL239FG User Manual
(186 pages)
This manual is also suitable for:
Vaio vpcs11 series
Vaio vpcs117ga
Vaio vpcs117gg
Vaio vpcs116fg
Table of Contents
Print
Rename the bookmark
Delete bookmark?
Delete from my manuals?
Login
Sign In
OR
Sign in with Facebook
Sign in with Google
Upload manual
Upload from disk
Upload from URL


Need help?
Do you have a question about the VAIO VPCS116FA and is the answer not in the manual?
Questions and answers