Advertisement
Quick Links
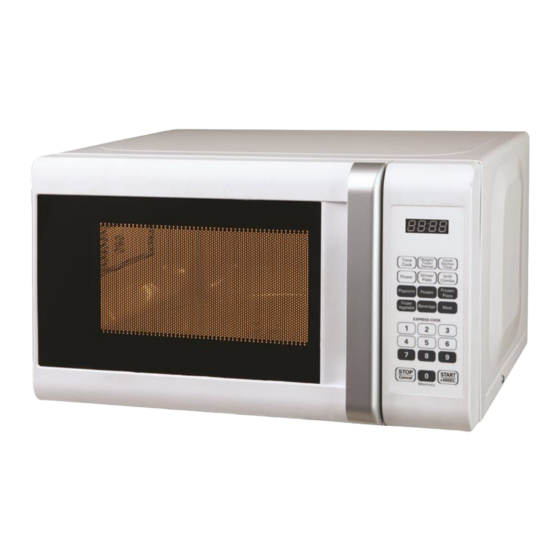
Installation and Operating Instructions
MODEL: MON-MMW20GTW
20L Microwave Oven with Grill
(Picture indicative of model supplied)
Please read these instructions carefully before attempting to install or use this appliance. It
is advisable to keep these instructions in a safe place for future reference.
N.B. Should your appliance require attention, our service agents will not be able to book
a service call without your unique serial number which can be found on the last page of this
manual.
Advertisement

Related Manuals for montpellier MON-MMW20GTW


Summary of Contents for montpellier MON-MMW20GTW
- Page 1 Installation and Operating Instructions MODEL: MON-MMW20GTW 20L Microwave Oven with Grill (Picture indicative of model supplied) Please read these instructions carefully before attempting to install or use this appliance. It is advisable to keep these instructions in a safe place for future reference.
- Page 2 Introduction Thank you for choosing this Montpellier branded appliance. It has been designed to give years of trouble-free use provided it is installed and maintained correctly. Please read these instructions carefully before installing or using your appliance. It is advisable to keep your purchase and installation receipts with these instructions in a safe place for future reference.
- Page 3 Your 2 year Manufacturer's guarantee THIS DOES NOT AFFECT YOUR STATUTORY RIGHTS. Your new Montpellier appliance carries a free guarantee which protects you against the cost of repairs during the first 24 months from date of purchase provided that: Any claim is accompanied by evidence of the model reference, model serial number and proof of purchase, such as a Sales Receipt, showing that the appliance was purchased within the 24 months prior to the date of claim.
- Page 4 Description Of The Appliance 1. Door & Viewing Window 2. LED Display Panel 3. Control Panel 4. Door Handle (Picture indicative of model supplied)
- Page 5 CONTENTS: Section 1. Installation Section 2. Safety Advice Section 3. Operating the Appliance Section 4. Maintenance...
- Page 6 Section 1. Installation This is a free-standing oven and must NOT BE BUILT-IN. Leave a minimum clearance of 30cm above the appliance. Leave a minimum clearance of 20cm between the oven and any rear/side walls. Never remove the legs or block the air intake or outlet. Remove all packaging, protective film and securing tape from the appliance.
- Page 7 Section 2. Safety Advice Please read this booklet thoroughly before installing and switching on the appliance. The manufacturer accepts no responsibility for incorrect installation and usage. This appliance is guaranteed for Domestic Use Only. The appliance shall not be used by children aged from 8 years and above and persons with reduced physical, sensory or mental capabilities, or lack of experience and knowledge, unless they have been given supervision or instruction on how...
- Page 8 Liquids and foods should be stirred and the temperature checked prior to consumption. If you cover a container with cling film, remove it very carefully after the cooking process has finished – steam will escape and may burn your hands. Always let the turntable cool down before washing it.
- Page 9 Section 3. Operating the Appliance 3.1. Setting the Clock Press the Clock/Kitchen Timer button once and “00:00” will be displayed. Use the number keys to enter the correct time, for example if the actual time is 12:10, enter 1,2,1,0 ...
- Page 10 3.4. Defrost by Time Press Weight/Time Defrost twice,‘dEF2’ will be displayed. Use the number keys to enter the required cooking time up to a maximum 99 minutes & 99 seconds. Press Start/+30Sec to start defrosting. 3.5. Defrost by Weight ...
- Page 11 3.8. Combination Cooking Press the Grill/Combo button twice to select “Combi 1” or three times to select “Combi 2”. (“C-1” or “C-2” see chart below) Use the number keys to select the cooking time, i.e. 3,0,0,0, for 30 minutes (Max’ 99 mins & 99 secs) ...
- Page 12 3.12. Frozen Vegetable Press the Frozen Vegetable button repeatedly until the approximate weight of the vegetables to be cooked appears in the display, i.e. “150”, “350” grams. Press Start/+30Sec to start cooking. 3.13. Beverage Press Beverage repeatedly until the numbers of cups you wish to heat appears in the display, i.e.
- Page 13 3.17. Memory You can memorise three cook settings as follows: Press the 0/Memory button repeatedly for 1, 2 or 3. Press Time/Cook and then set the cooking time (Section 3.2.) Press Power and set the power level (See Section 3.2.) ...
- Page 14 3.19. Suitable Materials/Utensils 3.20. Cooking Tips a) Place thicker areas of food towards the outer area of the turntable and thinner food towards the centre b) Always follow the cooking instructions on the food packaging c) Turn or stir food during the cooking to ensure even cooking d) Allow the cooked food to ‘stand’...
- Page 15 3.21. Normal Operating Points to Note You will hear the sound of the motor during operation – this is quite normal. There will be an audible ‘buzzer/beep’ at the end of the cooking period. You may hear the turntable rotating inside the oven, this is normal. You may see water on the inside of the door –...
- Page 16 Section 4. Maintenance Before any maintenance or cleaning work is carried out, DISCONNECT the appliance from the ELECTRICITY supply and ensure that the appliance is completely cool. 4.1. Internal Cleaning Clean the interior and accessories with warm soapy water. Rinse and dry thoroughly.
- Page 17 Important Note: This appliance is marked according to the European directive 2002/96/EC on Waste Electrical and Electronic Equipment (WEEE). By ensuring this product is disposed of correctly, you will help prevent potential negative consequences for the environment and human health, which could otherwise be caused by inappropriate waste handling of this product.
Need help?
Do you have a question about the MON-MMW20GTW and is the answer not in the manual?
Questions and answers