Table of Contents
Advertisement
montpellier
Installation and Operating Instructions
MODEL: MON-MBIC250
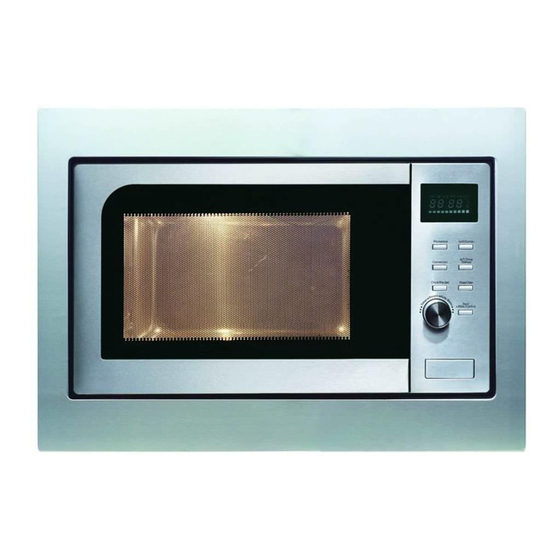
Built-In Microwave Oven
(Picture indicative of model supplied)
Please read these instructions carefully before attempting to install or use this appliance. It
is advisable to keep these instructions in a safe place for future reference.
Advertisement
Table of Contents

Related Manuals for montpellier MON-MBIC250


Summary of Contents for montpellier MON-MBIC250
- Page 1 Installation and Operating Instructions MODEL: MON-MBIC250 Built-In Microwave Oven (Picture indicative of model supplied) Please read these instructions carefully before attempting to install or use this appliance. It is advisable to keep these instructions in a safe place for future reference.
- Page 2 Introduction Thank you for choosing this Montpellier branded appliance . It has been designed to give years of trouble-free use provided it is installed and maintained correctly. Please read these instructions carefully before installing or using your appliance. It is advisable to keep your purchase and installation receipts with these instructions in a safe place for future reference.
- Page 3 Description Of The Appliance 1. Door & Viewing Window 2. LED Display Panel 3. Control Panel 4. Push Button Door Control (Picture indicative of model supplied)
- Page 4 CONTENTS: Section 1. Installation Section 2. Safety Advice Section 3. Operating the Appliance Section 4. Maintenance...
- Page 5 Section Installation Remove all packaging, protective film and securing tape from the appliance. Wash the interior of the appliance with warm soapy water. Position the appliance in a dry atmosphere. Keep the microwave oven away from the TV, Radio or antenna as picture disturbance or noise may occur.
- Page 6 The plug fitted to this appliance must be connected to an adjacent 13amp plug socket. If the socket is located behind the appliance and no longer accessible to the consumer, you must ensure that the consumer can turn off the appliance via an accessible switched spur socket.
- Page 8 Use Template supplied with the appliance...
- Page 9 Section 2. Safety Advice Please read this booklet thoroughly before installing and switching on the appliance. The manufacturer accepts no responsibility for incorrect installation and usage. This appliance is guaranteed for Domestic Use Only. This appliance is not intended for use by persons (including children) with reduced physical, sensory or mental capabilities, or lack of experience and knowledge, unless they have been given supervision or instruction...
- Page 10 If you cover a container with cling film, remove it very carefully after the cooking process has finished – steam will escape and may burn your hands. Always let the turntable cool down before washing it. Never cook foods directly on the turntable. Make sure that plates/dishes do not touch the walls when the turntable rotates.
- Page 11 Section 3. Operating the Appliance 3.1. Control Panel LED Display Panel Microwave Cook Grill/Combi Button Button Weight/Time/Defrost Convection Button Button Clock/Pre-set Stop/Clear Button Button Control Knob Start/Confirm Button...
-
Page 12: Clock Setting
3.2. Timer, Power and cooking Functions This microwave oven uses modern electronic control to adjust cooking parameters to meet your needs better for cooking. 1.Clock Setting When the microwave oven is electrified,the oven will display "0:00", buzzer will ring once. 1) Press "... -
Page 13: Grill Cooking
3. Grill Cooking 1) Press the "GRILL/COMBI. " key once, and "G-1" displays. 2) Press " GRILL/COMBI." for times or turn " " to select the grill power. Stop turning when "G-1" displays. 3) Press "START/+30SEC./CONFIRM " to confirm. 4)Turn " "... - Page 14 1) Press the "CONVECTION " key once, "1 30" flashes. 2) Keep pressing "CONVECTION" or turn " " to select the convection function. Note:the temperature can be chosen from 130 degrees to 220 degrees. 3) Press the " START/+30SEC./CONFIRM " to confirm the temperature. 4) Press the "...
-
Page 15: Auto Menu
5) Press "START/+30SEC./CONFIRM" to confirm; 6) Turn " " to adjust the cooking time of 7 minutes; 7) Press "START/+30SEC./CONFIRM" to start cooking. 8. Pre-set Function 1) Set the clock first. (Consult the instruction of clock setting.) 2) Input the cooking program. T stages can be set at most. - Page 16 Auto menu Chart Display Menu Weight(g) Power 100% Reheat 1 (about 230g) 2 (about 460g) 100% Potato 3 (about 690g) Meat 100% 100% Vegetable Fish 50(with water 450ml) 100(with water 800ml) Pasta 150(with water 1200ml) 100% Soup A8 Cake Preheat at 180 degrees Pizza Chicken 1000...
-
Page 17: Defrost By Time
10. Defrost by W.T. 1) Press "W.T./TIME DEFROST" pad once,the oven will display "dEF1",. 2) Turn " " to select the weight of food.At the same time, "g" will lights, The weight should be 100-2000g. 3) Press "START/+30SEC./CONFIRM" key to start defrosting "... - Page 18 15. Lock-out Function for Children Lock: In waiting state, press "STOP/CLEAR" for 3 seconds, there will be a long "beep" denoting entering into the children-lock state and " " indicator will light. LED will display current time or 0:00. Lock quitting: In locked state, press "STOP/CLEAR" for 3 seconds, there will be a long "beep" denoting that the lock is released, and "...
- Page 19 3.5. Suitable Materials/Utensils Aluminum foil Shielding only. Small smooth pieces can be used to cover thin parts of meat or poultry to prevent overcooking. Arcing can occur if foil is too close to oven walls. The foil should be at least 1 inch (2.5cm) away from oven walls.
- Page 20 . Cooking Tips a) Place thicker areas of food towards the outer area of the turntable and thinner food towards the centre b) Always follow the cooking instructions on the food packaging c) Turn or stir food during the cooking to ensure even cooking d) Allow the cooked food to ‘stand’...
- Page 21 Check the fuse in the plug (Must be 13 amp) The oven will not operate: Is the Timer control set to the required time? Has the door been closed correctly? SERVICE HELP-LINE Should your appliance develop a fault, please call the Montpellier Service Helpline on: 01527-888133...
-
Page 22: Important Note
Important Note: This appliance is marked according to the European directive 2002/96/EC on Waste Electrical and Electronic Equipment (WEEE). By ensuring this product is disposed of correctly, you will help prevent potential negative consequences for the environment and human health, which could otherwise be caused by inappropriate waste handling of this product.
Need help?
Do you have a question about the MON-MBIC250 and is the answer not in the manual?
Questions and answers