
Related Manuals for Philips AZ2755/10


Summary of Contents for Philips AZ2755/10
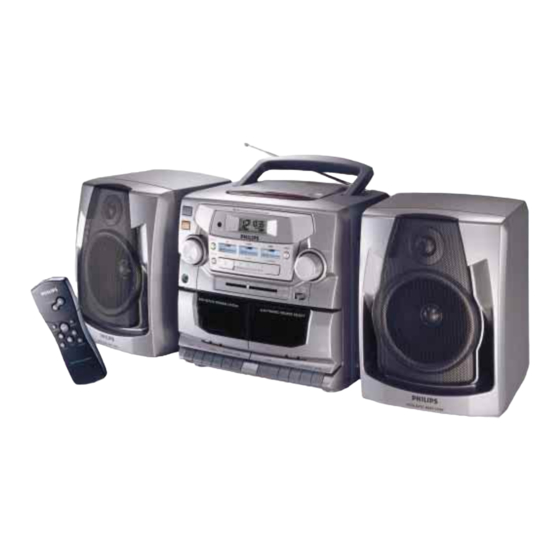
- Page 1 AZ 2755 Portable CD Mini System TUN ER TUN ER TAP E TAP E PRO G PRO G STO P STO P SEA RCH SEA RCH PLA Y/PA USE PLA Y/PA USE BAN D BAN D...
- Page 2 INDEX MAGYARORSZÁG English ......... 4 Minõségtanúsítás A garanciajegyen feltüntetett forgalombahozó vállalat a 2/1984. (III.10.) BkM-IpM együttes rendelet értelmében tanúsítja, hogy ezen készülék megfelel a mûszaki adatokban megadott értékeknek. êÛÒÒÍËÈ ......15 Figyelem! A meghibásodott készüléket – beleértve a hálózati csatlakozót is – csak szakember (szerviz) javíthatja. Ne tegye ki a készüléket esõnek vagy nedvesség hatásának! Polski...
- Page 3 TUN ER TAP E PRO G STO P SEA RCH PLA Y/P AU SE BAN D VOLUME – – SPEAKERS 4 MAINS & SHUFFLE REPEAT STOP SEARCH SEARCH igital emote ontrol...
- Page 4 CONTROLS TOP AND FRONT PANELS SEARCH ¡ / ™ - to skip or search a 1 POWER - to switch the set ON/OFF passage/ track backwards 2 DBB (Dynamic Bass Boost) - to enhance bass or forward response PLAY•PAUSE 2; - to start or interrupt 4 , 3 - to adjust volume level 3 VOLUME CD play...
-
Page 5: Power Supply
POWER SUPPLY Whenever convenient, use the power supply if you want to conserve battery life. Make sure you remove the plug from the set and wall socket before inserting batteries. BATTERIES (OPTIONAL) 1. Open the battery compartment and insert six batteries, type MAIN R-20, UM-1 or D-cells, (preferably alkaline) with the correct polarity as indicated by the "... -
Page 6: Connecting The Speakers
SPEAKERS RADIO REMOVABLE LOUDSPEAKERS Taking off the speakers Keep the lever (found on the back corner of the speaker) pressed and slide the speaker upwards. Attaching the speakers Slide the speakers from above into the sleeves on the sides of the cabinet. - Page 7 RADIO CD PLAYER RADIO RECEPTION 1. Press POWER to on position. 2. Press TUNER source button. – The TUNER indicator lights up. 3. Adjust BAND to select the desired FM/ MW waveband. 4. Tune to a radio station using the tuning knob. –...
-
Page 8: Selecting A Different Track
CD PLAYER Playing a CD 1. Press POWER to on position. 2. Press CD source button. – The CD indicator lights up. 3. To open the CD door, press OPEN on the CD door. 4. Insert a CD with the printed side facing up and press the CD door gently to close. -
Page 9: Different Play Modes: Shuffle And Repeat
CD PLAYER Different play modes : Shuffle and Repeat The SHUFFLE and REPEAT buttons allow you to select various play modes. The modes can be selected or changed during playback. SHUFFLE SHUFFLE - all tracks are played in random order REPEAT - plays the current track continuously REPEAT ALL - repeats the entire CD 1. -
Page 10: Cassette Recorder
CD PLAYER CASSETTE RECORDER Reviewing your set programme • In the stop position, press and hold down PROG for one second or more. The display shows all your stored track numbers in sequence. – You can also review the programme during playback. •... -
Page 11: General Information On Recording
RECORDING GENERAL INFORMATION ON RECORDING • Recording is permissible insofar as copyright or other rights of third parties are not infringed. • Recording is only possible on deck 1. • This deck is not suitable for recording on CHROME (IEC II) or METAL (IEC IV) type cassettes. - Page 12 RECORDING Synchro Start CD recording 1. Press CD source button. 2. Insert a CD and if desired, programme track numbers. 3. Press STOP•EJECT 9 / to open the cassette holder. Insert a TU NE R TA PE PR OG blank tape. ST OP SE AR CH PL AY /PA US E...
-
Page 13: Maintenance
MAINTENANCE PRECAUTIONS AND SYSTEM MAINTENANCE • Place the set on a hard, flat surface so that the system does not tilt. • Do not expose the set, batteries, CDs or cassettes to humidity, rain, sand or excessive heat caused by heating equipment or direct sunlight. -
Page 14: Troubleshooting
TROUBLESHOOTING If a fault occurs, first check the points listed below before taking the set for repair. If you are unable to remedy a problem by following these hints, consult your dealer or service centre. WARNING: Do not open the set as there is a risk of electric shock. Under no circumstances should you try to repair the set yourself, as this would invalidate the guarantee. -
Page 17: Class 1 Laser Product
AZ 2755 - Portable CD Mini System Meet Philips at the internet http://www.philips.com CLASS 1 LASER PRODUCT TCtext/RM/9903...
Need help?
Do you have a question about the AZ2755/10 and is the answer not in the manual?
Questions and answers