Do you have a question about the TS705 and is the answer not in the manual?
Questions and answers
Herman Jacobus Gerritsen
May 18, 2025
hoe breng ik tekst in
1 comments:
Mr. Anderson
May 23, 2025
To input text on the Canon TS705:
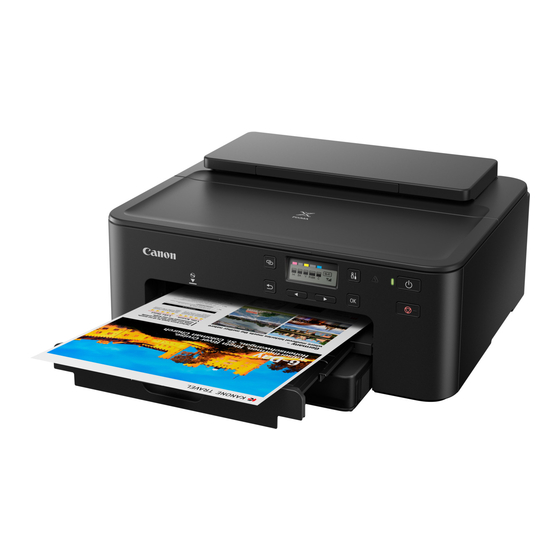
1. Use the button to select characters. 2. Press the OK button to confirm each character. 3. When all characters are entered, hold down the OK button. 4. When a confirmation message appears, select Yes and press OK.
Character modes: - Lowercase: a–z and space - Uppercase: A–Z and space - Numeric: 0–9 and space - Symbols: . @ - _ SP # ! " , ; : ^ ` = / | ' ? $ % & + ( ) [ ] { } < > \ ~ and space
To insert a space: - In lowercase, uppercase, or numeric mode: press the button once. - In symbol mode: press the button four times.
To delete the last character: - Press the Back button.


Need help?
Do you have a question about the TS705 and is the answer not in the manual?
Questions and answers
hoe breng ik tekst in
To input text on the Canon TS705:
1. Use the button to select characters.
2. Press the OK button to confirm each character.
3. When all characters are entered, hold down the OK button.
4. When a confirmation message appears, select Yes and press OK.
Character modes:
- Lowercase: a–z and space
- Uppercase: A–Z and space
- Numeric: 0–9 and space
- Symbols: . @ - _ SP # ! " , ; : ^ ` = / | ' ? $ % & + ( ) [ ] { } < > \ ~ and space
To insert a space:
- In lowercase, uppercase, or numeric mode: press the button once.
- In symbol mode: press the button four times.
To delete the last character:
- Press the Back button.
This answer is automatically generated
ΤΙ ΣΗΜΑΙΝΕΙ Ο ΚΩΔΙΚΟΣ 6000;