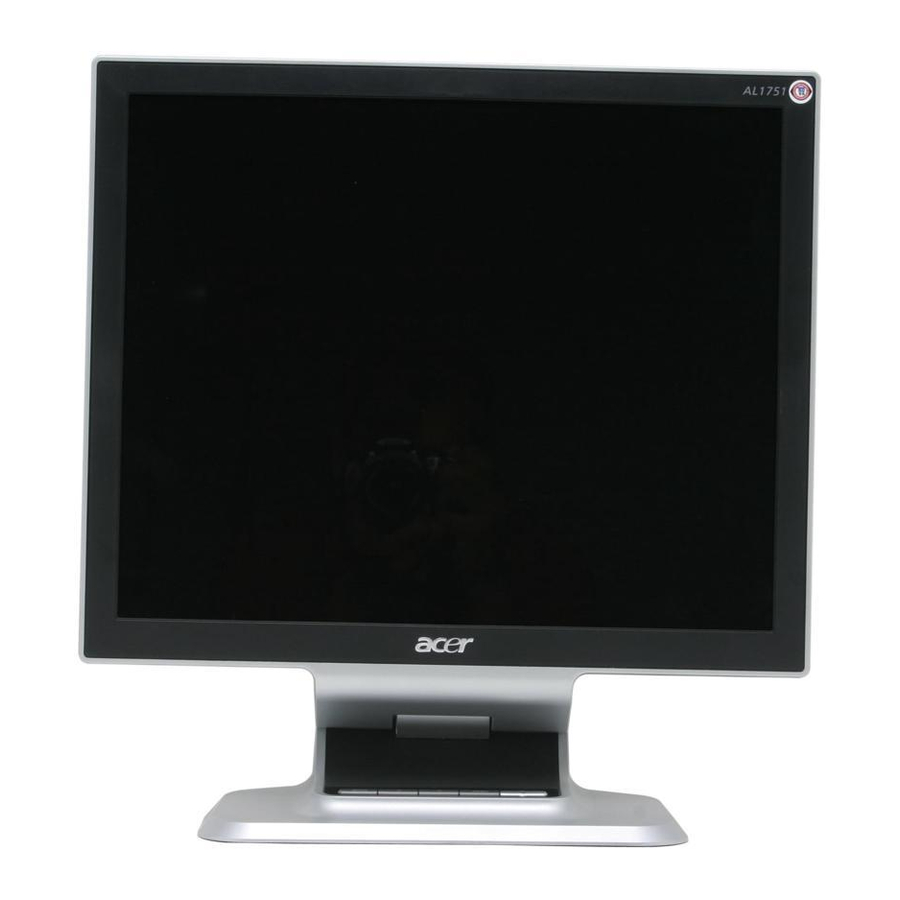
Acer AL1751 Service Manual
Hide thumbs
Also See for AL1751:
- Owner's manual (20 pages) ,
- User manual (8 pages) ,
- Service manual (52 pages)
Table of Contents
Advertisement
Advertisement
Table of Contents

Related Manuals for Acer AL1751


Summary of Contents for Acer AL1751
- Page 1 Acer AL1751 Service Guide...
- Page 2 Service Guide Version and Revision Version Release Date Revision Mar.-14- 2005 Original release...
- Page 3 Printed in Taiwan. Disclaimer The information in this guide is subject to change without notice. Acer Incorporated makes no representations or warranties, either expressed or implied, with respect to the contents hereof and specifically disclaims any warranties of merchantability or fitness for any particular purpose.
- Page 4 ACER-AUTHORIZED SERVICE PROVIDERS, your Acer office may have a DIFFERENT part number code to those given in the FRU list of this printed Service Guide. You MUST use the list provided by your regional Acer office to order FRU parts for repair and service of customer machines.
- Page 5 Warning: (For FCC Certified Models) Note: This equipment has been tested and found to comply with the limits for a Class B digital device, pursuant to Part 15 of the FCC Rules. These limits are designed to provide reasonable protection against harmful interference in a residential installation. This equipment generates, uses and can radiate radio frequency energy, and if not installed and used in accordance with the instructions, may cause harmful interference to radio communications.
- Page 6 Precautions Do not use the monitor near water, e.g. near a bathtub, washbowl, kitchen sink, laundry tub, swimming pool or in a wet basement. Do not place the monitor on an unstable trolley, stand, or table. If the monitor falls, it can injure a person and cause serious damage to the appliance.
- Page 7 Special Notes On LCD Monitors The following symptoms are normal with LCD monitor and do not indicate a problem. Notes Due to the nature of the fluorescent light, the screen may flicker during initial use. Turn off the Power Switch and then turn it on again to make sure the flicker disappears. You may find slightly uneven brightness on the screen depending on the desktop pattern you use.
-
Page 8: Table Of Contents
Chapter 1 Monitor Features Introduction Electrical Requirements LCD Monitor General Specification LCD Panel Specification Block Diagram Main Board Diagram Software Flow chart Main Board Layout Front Bezel Rear Bezel Adjusting the picture LOGO Chapter 2 Machine Disassembly Chapter 3 Troubleshooting Chapter 4 Connector Information Chapter 5 FRU (Field Replacement Unit) List Exploded Diagram... -
Page 9: Chapter 1 Monitor Features
Signal Interface Sync Type Color Temp User Adjust Headphone Jack Microphone Jack USB Hub Tilt / Swivel Chart of AL1751 Panel Separate / Compatible 1.5W + 1.5W (Rated power) Speaker 3.5mm stereo phone jack, Chapter 1 17" SEC LTM170EU-L21... -
Page 10: Electrical Requirements
Electrical Requirements Standard Test Conditions All tests shall be performed under the following conditions, unless otherwise specified. Ambient light Viewing distance Warm up time All specifications Fully functional Measuring equipment Control settings User brightness control User contrast control User red/white balance, Green/white balance and Blue/white balance control Power input... -
Page 11: Lcd Monitor General Specification
LCD Monitor General Specification Panel type Display size Display mode Pixel pitch Display dot Pixel clock Contrast ratio Brightness Response time (Tr/Tf) Display color Viewing angle Pc interface Signal connector Interface frequency Plug & play Power Input voltage Total output power 17 “... -
Page 12: Lcd Panel Specification
LCD Panel Specification LCD Panel Model (SAMSUNG LTM170EU-L21) Display Type Resolution Display Dot Display Area Pixel Pitch Display Color Lamp Frequency Lamp Current Weight Optical Specifications = 25 ± 2°C = 6.5mArms ITEM Contrast Ratio (Center of screen) Response Rising Time Falling Luminance of white... - Page 13 Supported Timing Mode Resolution 640x480@60Hz 640x480@72Hz 640x480@75Hz 800x600@56Hz 800x600@60Hz SVGA 800x600@72Hz 800x600@75Hz 1024x768@60Hz 1024x768@70Hz 1024x768@75Hz 1152x864@75Hz 1280x1024@60H SXGA 1280x1024@75H 720x400@70Hz 640x350@70Hz 1024x768@72Hz 640x480@67Hz SVGA 832x624@75Hz 1024x768@60H 1024x768@75H VESA MODES Horizontal Nominal Frequenc Total 0.5kHz 800 x 525 31.469 832 x 520 37.861 840 x 500 37.500...
-
Page 14: Block Diagram
Monitor Block Diagram The LCD MONITOR will contain a main board (include: keypad board and audio board), an inverter board, adapter which house the flat panel control logic, brightness control logic and DDC. The Inverter board will drive the backlight of panel. The adapter will provide the 12V DC-power to inverter/power board and main board. -
Page 15: Main Board Diagram
Main Board Diagram EEPROM 24C16 OSD Control Interface (Keypad) LCD Interface Scaler TSU56AK PQFP-128 (Include: ADC, OSD etc) D-SUB Connector Connector EEPROM EEPROM 24C02 Crystal 14.318MHZ 24C02... -
Page 16: Software Flow Chart
Software Flow Chart 1) MCU initialize. 2) Is the eeprom blank? 3) Program the eeprom by default values. 4) Get the PWM value of brightness from eeprom. Check the pin PANEL1 and PANEL2 to tell which panel to get with it. 5) Is the power key pressed? 6) Clear all global flags. -
Page 17: Main Board Layout
Main Board Layout... - Page 18 Location Part NO U301 56L1133 34 U302 56L1133 34 U401 56L 562 82 U402 56L1125137SZB U403 56L1133 24 U701 56L 563 11 U702 56L 563 31 CN301 88L 35315F H CN302 88L 35424F H CN402 33L801724A H CN601 33G3802 4H CN602 88L 30214K CN603...
-
Page 19: Front Bezel
Front Bezel... -
Page 21: Rear Bezel
Rear Bezel... -
Page 22: Adjusting The Picture
Adjusting the Picture... - Page 24 b. The Description For Control Function...
-
Page 26: Logo
Logo When the monitor is power on, the LOGO will be showed in the center, and disappear slowly. How To Optimize The DOS-Mode Plug And Play Plug & Play DDC1/2B Feature This monitor is equipped with VESA DDC1/2B capabilities according to the VESA DDC STANDARD. -
Page 27: Chapter 2 Machine Disassembly
Machine Disassembly This chapter contains step-by-step procedures on how to assemble the monitor for maintenance. Disassembly Procedure 1. Remove two screws to release back cover. (Fig 1). 2. Remove the base stand 3. Remove four screws to release front bezel. (Fig 3) 4. - Page 28 Fig 3 Fig 4 5. Remove eleven screws to release top cover and bottom cover. (Fig 5) 6. Remove the main board. (Fig 6)
- Page 29 7.Remove six clamps to release shield and the main board. (Fig 7) 8.Remove the main frame. (Fig 8) 9.Remove the inverter board. (Fig 9) Fig 5 Fig 6...
- Page 30 Fig 7 Fig 8...
- Page 31 Fig 9...
-
Page 32: Chapter 3 Troubleshooting
Troubleshooting This chapter provides troubleshooting information for the AL1751: 1. No power Press power key and look if the picture is normal Measure 12V input voltage Measure U702 PIN2=5V? X402 oscillate waveform is normal No power Replace X402 Replace U402... - Page 33 2. No picture (LED is orange) No picture Key is under control? X401 oscillate waveform is normal Check if the sync signal from computer is output and video cable is connected normally Replace U401 Replace X401 Input the sync signal of computer, or change the cable X402 oscillate waveform is normal...
- Page 34 3. Panel Power Circuit Measure Q703 base is high level? Check Q703 and Q704 are broken or CN503 solder? Check Correspondent component. Replace PANEL X402 oscillate waveform is normal Replace X402 Replace U402 Replace U401...
- Page 35 4. Keypad Board OSD is unstable or not working Is Keypad board connecting normally Is Button Switch normally Is Keypad board normally Connect Keypad Board Replace Button Switch Replace Keypad Board...
-
Page 36: Inverter Board
5. Inverter Board No Backlight Check CN801 Pin1 =12V Check ON/OFF signal Check U801 PIN3 voltage is normal? Check U801 PIN18 triangular wave is normal Check U801 PIN11, 12, 19, 20 Check D801-D804, D811, D805, D810, D808 Check adapter Check Interface board Check Q804,Q803,Q802 circuit Check C816, C821 Check U801,Q801, Q805, Q806, Q807... - Page 37 6.No Audio Mute and volume setting is ok? Check power supply of U601 is 12V? Check input signal of U601is ok? Replace U601 Replace speaker Reset mute and volume Check connecting is ok? Reconnect Check correspondent component...
-
Page 38: Chapter 4 Connector Information
Connector Information The following figure shows the connector locations on the monitor board: PIN NO. PIN NO. DESCRIPTION TMDS Data2- TMDS Data2+ TMDS Data 2/4 Shield TMDS Data4- TMDS Data4+ Analogue Vertical Sync TMDS Data1- TMDS Data1+ TMDS Data 1/3 Shield TMDS Data3- 15 –... -
Page 39: Chapter 5 Fru (Field Replacement Unit) List
PROVIDERS, your Acer office may have a DIFFERENT part number code from those given in the FRU list of this printed Service Guide. You MUST use the local FRU list provided by your regional Acer office to order FRU parts for repair and service of customer machines. -
Page 40: Exploded Diagram
Exploded Diagram (Model: AL1751) - Page 41 Part List Item Picture Description Hinge cover Bezel Back cover SHIELDING Part No. 33G4843 QT L 33G4841 QT L 34G1538AQW B 34G1540 QT B 85L6117 1...
- Page 42 MAIN FRAME 15L6190 1 Panel 750LLS70U21 Power board INPC1742SEA2 Main board CBPC780KS2AY 78G 322 3 L& Speakers 78G 322 3 R...
-
Page 44: Chapter 6 Schematic Diagram
CLK+ VAA3 CLK- VAA4 HWRESET PA[0..9] PB[0..9] Volume AdjBACKLITE VLCD 4.SCALER Chapter 6 VCC1.8 VCC3.3 VAA1 VAA2 VAA3 VAA4 PA[0..9] PA[0..9] VLCD PB[0..9] PB[0..9] VLCD 5.PANEL INTERFACE Title TSU56AK FOR ACER Size Document Number Date: Wednesday, January 19, 2005 Sheet... -
Page 45: Power
FTD8 FTD9 FD Mark FD Mark FD Mark Screw Hole Screw Hole Screw Hole Screw Hole Screw Hole Screw Hole Title TSU56AK FOR ACER Size Document Number POWER Date: Wednesday, January 19, 2005 VCC1.8 VCC1.8 C712 0.1uF VCC3.3 VCC3.3 VAA1... -
Page 46: Input
R332 1/16W R333 1/16W R338 R334 1/16W CLK+ CLK- R335 1/16W Title TSU56AK FOR ACER Size Document Number INPUT Date: Wednesday, January 19, 2005 PC5V D305 BAV70 C313 U301 0.1uF M24C02WMN6 DVI5V D302 BAV70 C315 U302 0.1uF... -
Page 47: Scaler
VAA1 PB[0..9] PB[0..9] VAA2 VAA3 1/16W VCC3.3 R407 4.7K 1/16W VAA4 R408 R407 4.7K Title TSU56AK FOR ACER Size Document Number SCALER Date: Wednesday, January 19, 2005 VCC1.8 FB403 600 OHM C411 10uF/16V C412 C413 C414 C415 0.1uF 0.1uF 0.1uF... -
Page 48: Panel Interface
RXE2- RXE2+ LVACKM RXEC- RXEC+ LVA3M RXE3- RXE3+ CONN VLCD VLCD C448 C446 47uF/16V 0.1uF Title TSU56AK FOR ACER Size Document Number PANEL INTERFACE Date: Wednesday, January 19, 2005 LVB0P LVB1P LVB2P LVBCKP LVB3P LVA0P LVA1P LVA2P LVACKP LVA3P C447 0.1uF... -
Page 49: Mpu
BAV99 BAV99 BAV99 VCPU SW401 SW402 C441 C440 C439 LCD ONOFF KEY LEFT 0.001uF 0.001uF 0.001uF Title TSU56AK FOR ACER Size Document Number Date: Wednesday, January 19, 2005 DDC_WP 4 Q403 PMBS3904 R441 C445 0.1uF/16V SW403 SW404 SW405 KEY AUTO... - Page 50 220uF/16V R607 Volume 220K 1/16W C613 0.1uF CN601 SPEAKER CONN C603 0.1uF OUT_L C605 220uF/16V OUT_R C607 220uF/16V R603 R604 1/16W 1/16W Title TSU56AK FOR ACER Size Document Number <Doc> <RevCode> Date: Wednesday, January 19, 2005 Sheet...
-
Page 51: Adapter Board
Adapter Board... -
Page 52: Inverter Board
Inverter Board F801 4A/24V CN801 R801 1/16W ON/OFF Q802 DTA144WKA 33L8009-6N-H Q804 DTC144WKA IC_DIM C811 0.1uF/25V DIM=0~3.3V iout=3.5~7.5mA R807 N.C(0 1/16W) R809 R810 220K 1/16W N.C(110K 1/16W) C815 R812 0.1uF/25V C817 C814 R813 0.1uF/25V 1uF/25V 1/8W C818 0.47uF/25V C821...
Need help?
Do you have a question about the AL1751 and is the answer not in the manual?
Questions and answers