Table of Contents
Advertisement
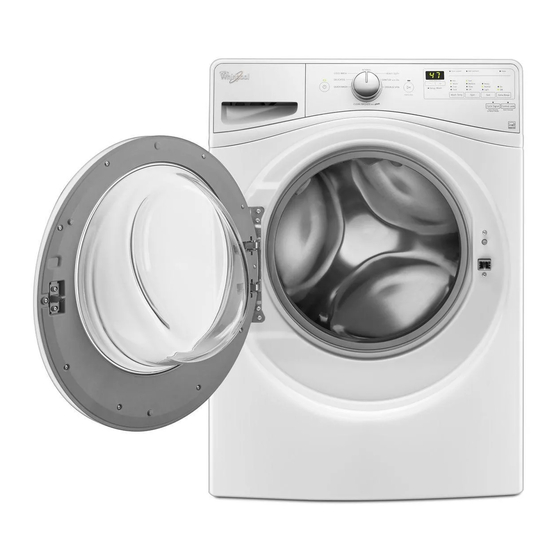
PRODUCT MODEL NUMBERS
WFW75HEF, WFW90HEF, WFW92HEF
Washer Dimensions:
53¼"
52
/
"
3
4
(1353 mm)
(1340 mm)
33
5
(846 mm)
Recessed or closet installation -
stacked washer and dryer
3"
(76 mm)
48 in.
2
(310 cm
)
2
24 in.
2
(155 cm
)
2
3"
(76 mm)
*
Add spacing of 1" (25 mm) on all sides of washer/dryer.
27"
/
"
16
(686 mm)
38
/
" - 39
/
"
3
3
4
4
(948 mm - 1010 mm)
*
1"
(25 mm)
(127 mm)
Front-Loading Washer
PRODUCT MODEL NUMBERS
WFW7590F, WFW9290F
Washer Dimensions:
51½"
52
/
"
3
4
(1308 mm)
(1340 mm)
Recessed area or closet installation (washer only):
6"
6"
(152 mm)
(152 mm)
48 in.
(310 cm
76
/
"
1
2
(1943 mm)
24 in.
(155 cm
5"
*
Add spacing of 1" (25 mm) on all sides of washer.
31½"
33
/
"
1
8
(800 mm)
(841 mm)
38
/
" - 39
3
4
(948 mm - 1010 mm)
3"
(76 mm)
2
)
2
2
)
2
*
3"
1"
(76 mm)
(25 mm)
27"
(686 mm)
/
"
3
4
6"
6"
(152 mm)
(152 mm)
76
/
"
1
2
(1943 mm)
5"
(127 mm)
W10775528B
03/2016
Advertisement
Table of Contents


Need help?
Do you have a question about the WFW75HEF and is the answer not in the manual?
Questions and answers