Table of Contents
Advertisement
Quick Links
OPERATING INSTRUCTIONS
Split Type Air Conditioner (Inverter Cooling)
Model:
RS-S9KE/RU-S9KE
RS-S12KE/RU-S12KE
RS-S18KE/RU-S18KE
RS-S24KE/RU-S24KE
T
h
a
n
k
y
o
u
f
r o
p
u
c r
manual carefully before installation and well keep this manual for your future reference.
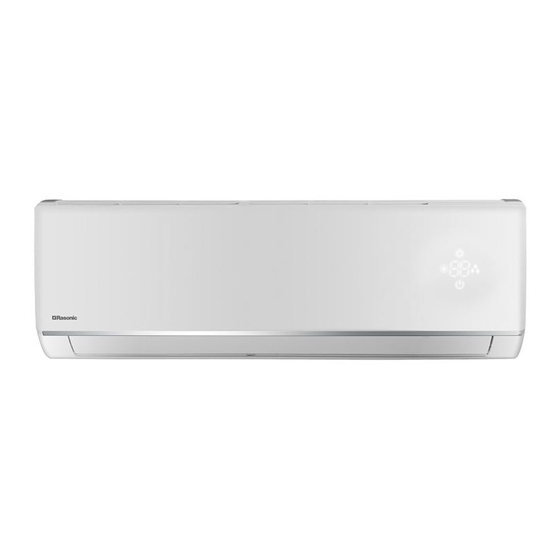
Some figures in this manual may not match the real object, just for reference only.
h
a
s
n i
g
R
a
s
o
n
c i
s
p
t i l
y t
p
e
a
r i
c
o
n
d
t i
o i
n
e
. r
P
e l
a
s
e
e r
a
d
h t
s i
u
s
r e
Advertisement
Table of Contents


Need help?
Do you have a question about the RS-S9KE and is the answer not in the manual?
Questions and answers