Advertisement
Quick Links
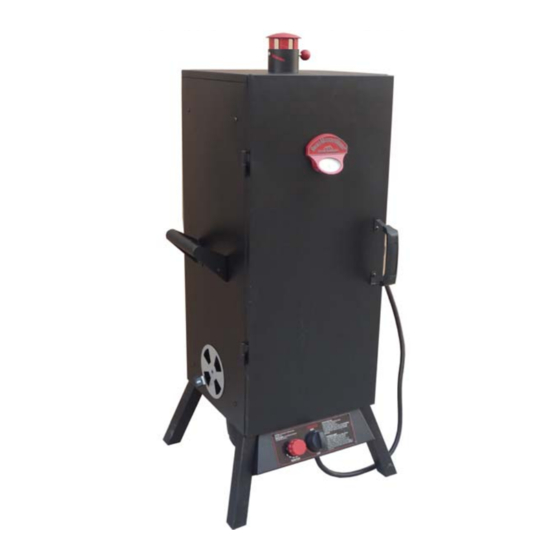
3625GD/3695GD
3625BGD/3695BGD
VERTICAL GAS
SMOKER
ASSEMBLER / INSTALLER:
Leave these instructions with the consumer.
CONSUMER / USER:
This instruction manual contains important information necessary for the proper assembly
and safe use of this appliance. Read and follow all warnings and instructions before
assembling and using this appliance. Follow all warnings and instructions when using this
appliance. Keep this manual for future reference.
DANGER:
If you smell gas:
1. Shut off gas to the appliance.
2. Extinguish any open flame.
3. Open door.
4. If odor continues, keep away from the
appliance and immediately call your fire
department. If a fire should occur, keep
away from the appliance and call your fire
department. Do not attempt to extinguish
an oil or grease fire with water.
Failure to follow these instruction could result in fire, explosion or burn hazard,
which could cause property damage, personal injury or death.
DANGER:
1. Never operate this appliance unattended.
2. Never operate this appliance within 10
feet (3.05M) of any other gas cylinder.
3. Never operate this appliance within 25
feet (7.5m) of any flammable liquid.
IM3625
Advertisement

Related Manuals for Landmann Smoky Mountain Great Outdoors 3625GD

Summary of Contents for Landmann Smoky Mountain Great Outdoors 3625GD
- Page 1 IM3625 3625GD/3695GD 3625BGD/3695BGD VERTICAL GAS SMOKER ASSEMBLER / INSTALLER: Leave these instructions with the consumer. CONSUMER / USER: This instruction manual contains important information necessary for the proper assembly and safe use of this appliance. Read and follow all warnings and instructions before assembling and using this appliance.
- Page 2 Cartersville, Georgia 30120 Service Note: If you are experiencing difficulties are are dissatisfied with your purchase, please contact Landmann at the telephone number listed above prior to returning your product to the store. For more information about growing family of Smokers,...
- Page 3 DO NOT use this smoker in a manner other than its intended purpose. It is not intended for commercial use. It is NOT intended to be installed or used in or on a recreational vehicle and/or boats. The smoker is not be used as a heater.
- Page 4 WARNING Use caution when operating the door while in operation. Keep hands, face and body safe from hot steam or flare ups. DO NOT wear loose clothing while operating the smoker. Tie back long hair while operating the smoker. ALWAYS wear fully-covering shoes while operating the smoker. Allow the smoker and its components to cool completely before conducting any routine cleaning or maintenance.
- Page 5 3625GD/3695GD Vertical Gas Smoker AZ002075 AZ002131 AZ001107 Cooking Rack Adjustable Temperature Chimney Gauge AZ002110 CABINET & DOOR AZ002112 Door Panel AZ002071 AZ002122 Side Handle Nylon Plastic Door handle AZ002129 Damper Vent with Plastic Tip Guard AZ001165 Wood AZ001106 Chip Box Lid Steel Tube Leg AZ002082 Control Panel...
- Page 7 3625BGD/3695BGD Vertical Gas Smoker AZ002075 AZ002131 AZ001153 Cooking Rack Adjustable Temperature Chimney Gauge AZ002113 CABINET & DOOR AZ002115 Door Panel AZ002122 Side Handle AZ002071 Nylon Plastic Door handle AZ002129 Damper Vent with Plastic Tip Guard AZ001106 Steel Tube Leg AZ002089 Control Panel Assembly AZ002097 Wood...
-
Page 9: Assembly Step
Assembly Step 2 Vent Damper Plate with plastic tab guard Phillips Head Screwdriver Hardware Bag 1/2” Wrench #10-24 nut #10-24 lock washer #10-24 x 5/8” bolt 2 required 2 required 2 required 1. Remove all loose inner packages from inside cabinet. Set the cabinet assembly top side down. To prevent scratching or damage to your smoker, set the cabinet on a padded surface like cardboard or carpet. - Page 10 Assembly Step 3 Cabinet Assembly 4 Legs Phillips Head Screwdriver Hardware Bag 1/4-20 x 5/8” bolts 8 required 1. For each leg, line up the holes and insert the bolts. Nuts are pre-welded to the cabinet. The back legs bolts should be inserted and securely tightened.
- Page 11 Assembly Step 4 Phillips Head Control Panel Assembly Screwdriver Hardware Bag 1/4-20 x 5/8” bolts 10#-24 x 1/2” bolts 2 remaining bolts from Step 2 2 required 1. Place the control panel assembly between the front legs as shown. Insert the two (2) remaining bolts 1/2 way. DO NOT tighten them until the next step has been finished.
- Page 12 Assembly Step 5 Phillips Head Screwdriver Hardware Bag 1/4-20 x 1/2” bolts 3 required 1. Set the burner assembly onto the cabinet as shown. IMPORTANT: The burner tube must slide properly onto the brass valve stem as shown below. An improper fit will result in poor gas flow and operation of the smoker.
- Page 13 Assembly Step 6 Adjustable Chimney Phillips Head Screwdriver Hardware Bag 1/4-20 x 5/8” bolts 3 required 1. Turn the smoker upright. Ideally, it needs 2 people to lift the smoker up. Carefully tilt the cabinet on the side legs, grasp the empty hole for the adjustable chimney and pull up gently until smoker is upright on all four legs.
- Page 14 Assembly Step 7 Phillips Head Screwdriver 2 Side Carry handles Hardware Bag 1/2” Wrench 1. Align the side carry handle with the corresponding holes on the side of the cabinet. Then handles must be positioned upright with the bolt holes on the bottom.
- Page 15 Assembly Step 8 Wood Chip Box Wood Chip Box Lid Wood Chip Box Frame...
- Page 17 Assembly Step 10 Phillips Head Screwdriver Nylon Plastic Door handle Hardware Bag 1/2” Wrench 1/4-20 x 5/8” bolt 1/4-20 nut 1/4-20 lock washer 2 required 2 required 2 required 1. Align the door handle with the corresponding holes on the front of the cabinet door. 2.
-
Page 26: Temperature Chart
TEMPERATURE CHART Here is a chart for measuring properly cooked meat temperature: (USDA Standard) CAUTON The below temperatures are measured with a meat probe thermometer. The heat indicator on the door of the smoker SHOULD NOT be used as an accurate meat temperature reading.
Need help?
Do you have a question about the Smoky Mountain Great Outdoors 3625GD and is the answer not in the manual?
Questions and answers