Table of Contents
Advertisement
Quick Links
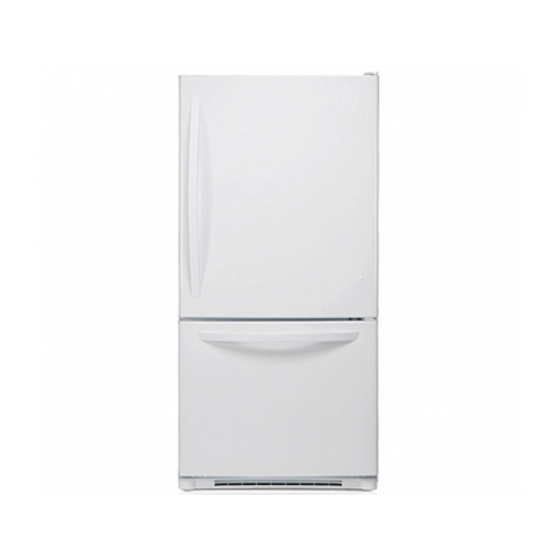
OWNER'S MANUAL
BOTTOM FREEZER
REFRIGERATOR
Please read this manual carefully before operating
your set and retain it for future reference.
MANUEL D'UTILISATEUR
RÉFRIGÉRATEUR
A CONGÉLATEUR INFÉRIEUR
Veuillez lire ce manuel en entier avant de mettre
en marche l'unité et conservez-le à portée de la
main pour le consulter à tout moment.
Model Name/Nombre de Modelo/Nom du Modèle**
LBN20513**
LBN20514**
P/No. MFL61944136
LDC20778**
LDC22778**
=color number/numéro de couleur
www.lg.com
Advertisement
Table of Contents


Need help?
Do you have a question about the LBN20514 Series and is the answer not in the manual?
Questions and answers