
Related Manuals for Giani ValetPro VPH14

Summary of Contents for Giani ValetPro VPH14
- Page 1 VPH14 07042017 Cordless Rechargeable Hand Held Vacuum Cleaner Instruction Manual Model Ref: VPH14...
-
Page 2: Table Of Contents
Thank you for choosing the ValetPro by Giani Cordless Rechargeable Hand Held Vacuum Cleaner. All products brought to you by Giani are manufactured to the highest standards of performance and safety. Before use, please read this manual carefully. It gives important instructions about safety, use and maintenance of your appliance. -
Page 3: Important Safety Information
Important Safety Information WARNING - To reduce the risk of fire, electric shock, or injury: • DO NOT run the appliance over the charger cable. • DO NOT operate the system if the appliance or any other part of the system has been dropped or damaged. •... -
Page 4: Warning
• Use extra care when cleaning on stairs. • Only use the appliance for its intended use. • Keep the charging cable away from any heated surfaces • Store your appliance indoors, in a cool, dry area. • Keep your work area well lit. •... -
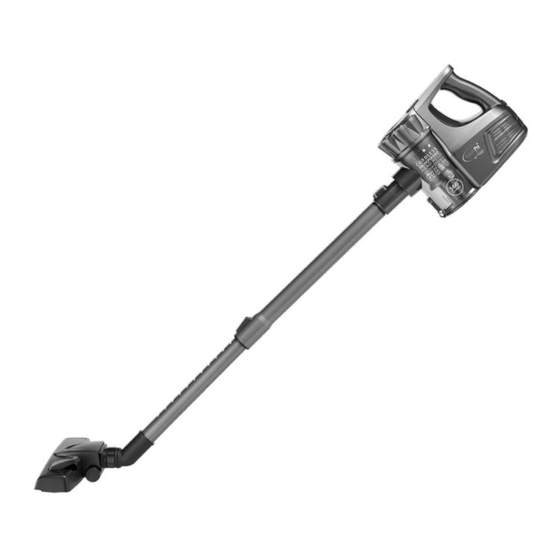
Page 5: Product Overview
Product Overview On / Off Power / Speed Button Dust Tank Release Button Dust Tank Lid Handle Dust Tank Accessory Adaptor Release Button Dust Tank Empty Switch Telescopic Extension Tube Floor Head Brush 10. Crevice Tool 11. Upholstery Brush 12. Accessory Adaptor 13. -
Page 6: Before First Use
Before First Use Before using your vacuum cleaner for the first time, wipe all parts with a soft damp cloth Assembling Your Vacuum Cleaner DO NOT PLUG CHARGER INTO THE MAINS ELECTRICITY SUPPLY UNTIL FULLY ASSEMBLED Your vacuum cleaner is disassembled when unpacked (Fig 1) 1. - Page 7 Your vacuum is now fully assembled (Fig 5). Insert the DC end of the charger into the charging socket on the main unit body (Fig 6). Plug the charger into a plug socket and switch on the mains supply (Fig 7). The red indicator light on the main unit will flash when the unit is being charged.
-
Page 8: Using The Accessories
Using The Accessories The crevice tool and upholstery brush can be connected directly to the accessory adaptor (Fig 8) or to the telescopic extension tube. (Fig 9) ALWAYS ensure when changing accessories the appliance is switched off Emptying The Dust Tank 1. -
Page 9: Cleaning The Filters
5. Refit the dust tank to the main body by lining up the hook on the main body with the slot on the dust tank, slide the dust tank down, line up the locking catch on the dust tank lid with the slot at the top of the main body and push together until it clicks and locks back into position. - Page 10 4. Remove dust, dirt and debris from the filters. This should be performed on a regular basis. (Fig 15) 5. All filters can be cleaned under a running tap with warm water. (Fig 16) 6. Once clean allow to dry for 24 hours before replacing in the vacuum cleaner.
-
Page 11: After Sales Support
After Sales Support If you need help using your Vacuum Cleaner, please contact Giani Ltd:- • Telephone: 0161 480 6204 • Email: info@gianiuk.co.uk • Website: www.gianiuk.co.uk (Replacement instruction manuals are available to download). Product Guarantee (UK Only) If your appliance ceases to function within 1 year from the date of purchase, the retailer will replace it free of charge, provided: •... - Page 12 Are you having problems with your cleaner? Do you require a replacement filter? Do you require spare parts? Before returning this item to your place of purchase Please contact Giani at: info@gianiuk.co.uk Email - www.gianiuk.co.uk Website - Giani Limited - SK2 6RH info@gianiuk.co.uk...
Need help?
Do you have a question about the ValetPro VPH14 and is the answer not in the manual?
Questions and answers