Advertisement
Features
• Three breeze settings
• Wide-range horizontal oscillation and fixed-position capabilities
• 55W motor with overheat protection
• Rotary dial and pull cord operation
• 5.5' power cord
• Mounting hardware included
• 120V operation
• 1 year warranty
Warning
Do not replace the plug, as it contains a safety device (fuse) and should not be replaced.
• Always unplug unit before assembly, disassembly or cleaning.
• Always unplug unit when not in use or when moving from one location to another.
• To disconnect, grip the plug and pull it from the outlet. Never pull on the cord.
• Avoid contact with moving parts.
• Do not operate this product with a damaged cord or plug, after a malfunction, or if it is dropped or damaged in any manner.
• Do not operate the unit in the presence of explosive and/or flammable fumes.
• Do not leave children unattended near the fan.
• Do not use outdoors.
• Do not operate if the product housing is removed or damaged.
• A loose fit between the outlet and plug may cause the plug to overheat. Have a qualified electrician replace the outlet if the plug doesn't fit properly.
• Do not run cord under carpeting or rugs. Arrange cord away from traffic areas so that it will not be tripped over.
• Never connect the unit to any power sources other than a 120V alternating current polarized outlet.
• This appliance has a polarized plug (one blade is wider than the other). To reduce the risk of electric shock, this plug is intended to fit in a polarized outlet only
one way. If the plug does not fit fully in the outlet, reverse the plug. If it still does not fit, contact a qualified electrician. Do not attempt to modify this
safety feature.
Assembly
1
0
1
2
3
1. Attach the cage back to the fan motor by aligning the two holes in the center ring of the cage
with the tabs on the motor. The cage handle should face the motor.
2. Thread the cage cap onto the motor. Tighten firmly by hand.
3. Seat the fan blades onto the shaft of the fan motor by aligning the flat side of the blade hole
with the flat side of the motor shaft. Thread the blade cap onto the motor shaft in a counterclockwise direction.
Tighten firmly by hand.
4. Locate the cage front and align it with the cage back. (Check for fan blade clearance between the cages and the
blades. If the blades rub on the cage, repeat the assembly process.)
5. Install the cage retainer over the combined front and back cages. Cages should fit in the grooves provided inside the
retainer. Slide the retainer bolt through the retainer and thread on the retainer nut. Tighten the retainer bolt firmly
with a Phillips-head screwdriver. Do not overtighten.
Mounting
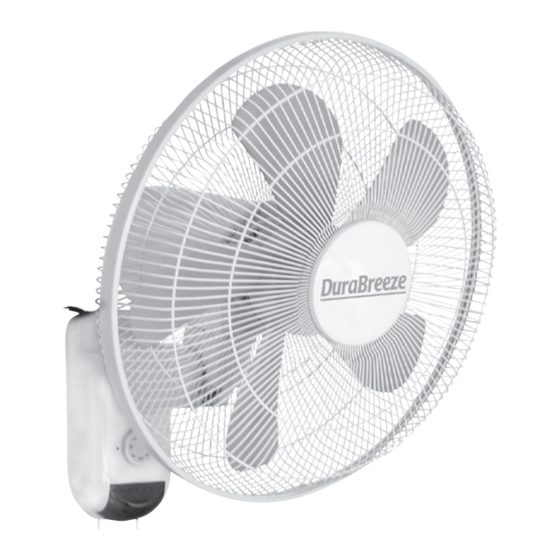
Mount your DuraBreeze Wall Fan by installing the provided hanging hardware to a sturdy location. Align the hanging
bracket with the slot located on the back of the fan housing to set the fan in place.
Adjustments
To adjust the angle of the fan head, tilt the fan head to the desired location.
Operation
Your DuraBreeze Wall Fan is capable of producing three different breezes. To create a low breeze, set the rotary dial to
"1." To create a medium breeze, set the rotary dial to "2." To create a high breeze, set the rotary dial to "3." To switch
the oscillation/stationary function, gently pull the LEFT cord. To switch fan speeds, gently pull the RIGHT cord.
Your satisfaction and success are important to us. For best
results, carefully read the following instructions before
2
3
Thank you for choosing DuraBreeze!
using your DuraBreeze Wall Fan.
4
4
0
1
2
3
5
0
1
2
3
Rev62014
Advertisement
Table of Contents

Related Manuals for DuraBreeze DBWF616


Summary of Contents for DuraBreeze DBWF616
- Page 1 Operation Your DuraBreeze Wall Fan is capable of producing three different breezes. To create a low breeze, set the rotary dial to “1.” To create a medium breeze, set the rotary dial to “2.” To create a high breeze, set the rotary dial to “3.” To switch the oscillation/stationary function, gently pull the LEFT cord.
- Page 2 The original proof of purchase MUST accompany the DuraBreeze product for this warranty to be valid. This warranty is given in lieu of all other warranties, express or implied, including without limitation merchantability and fitness for a particular purpose.
Need help?
Do you have a question about the DBWF616 and is the answer not in the manual?
Questions and answers