Table of Contents
Advertisement
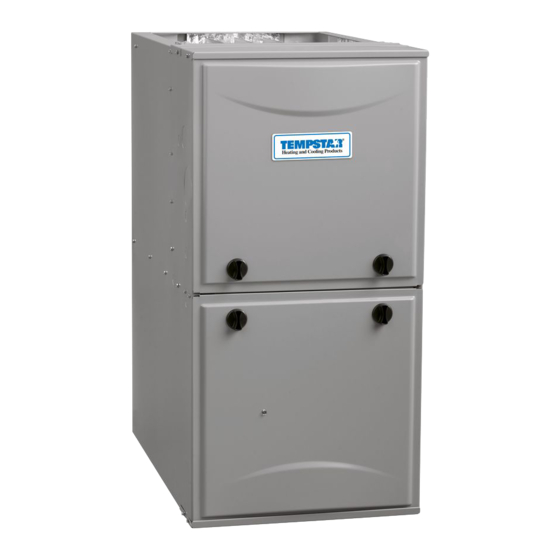
F96CTN and G96CTN (Series A)
Two-Stage, Variable-Speed, Multipoise
35 in. (889 mm) Tall, Condensing Gas Furnace
NOTE: Read the entire instruction manual before starting the installation.
TABLE OF CONTENTS
IMPORTANT . . . . . . . . . . . . . . . . . . . . . . . . . . . . . . . . . . . . . . . . . . . 2
SAFETY CONSIDERATIONS . . . . . . . . . . . . . . . . . . . . . . . . . . . . . 3
Table 1 - Minimum Clearances to Combustible Materials for All Units
5
INTRODUCTION . . . . . . . . . . . . . . . . . . . . . . . . . . . . . . . . . . . . . . . 5
Table 2 - Loose Parts Bag . . . . . . . . . . . . . . . . . . . . . . . . . . . . . . . 5
CODES AND STANDARDS. . . . . . . . . . . . . . . . . . . . . . . . . . . . . . . 6
DURE . . . . . . . . . . . . . . . . . . . . . . . . . . . . . . . . . . . . . . . . . . . . . . . . . 6
ACCESSORIES . . . . . . . . . . . . . . . . . . . . . . . . . . . . . . . . . . . . . . . . . 7
LOCATION . . . . . . . . . . . . . . . . . . . . . . . . . . . . . . . . . . . . . . . . . . . . 7
AIR FOR COMBUSTION AND VENTILATION . . . . . . . . . . . . . . 7
Table 3 - Minimum Free Area Required for Each Combustion Air
Opening or Duct to Outdoors. . . . . . . . . . . . . . . . . . . . . . . . . . . . . 8
Table 4 - Minimum Space Volumes for 100% Combustion, Ventila-
tion and Dilution Air from Outdoors . . . . . . . . . . . . . . . . . . . . . . . 9
CONDENSATE TRAP. . . . . . . . . . . . . . . . . . . . . . . . . . . . . . . . . . . 10
Condensate Drain Connection . . . . . . . . . . . . . . . . . . . . . . . . . . . . . 12
INSTALLATION . . . . . . . . . . . . . . . . . . . . . . . . . . . . . . . . . . . . . . . 15
Table 5 - Opening Dimensions - In. (mm) . . . . . . . . . . . . . . . . . 16
Table 6 - Air Filter Selection and Duct Sizing - In. (mm) . . . . . 18
Table 7 - Filter Media Pressure Drop (Clean) Versus Airflow - In.
W.C. (Pa) . . . . . . . . . . . . . . . . . . . . . . . . . . . . . . . . . . . . . . . . . . . 19
Table 8 - Filter Media Pressure Drop (Clean) Versus Face Velocity-
In. W.C. (Pa) . . . . . . . . . . . . . . . . . . . . . . . . . . . . . . . . . . . . . . . . 19
AIR DUCTS . . . . . . . . . . . . . . . . . . . . . . . . . . . . . . . . . . . . . . . . . . . 20
GAS PIPING. . . . . . . . . . . . . . . . . . . . . . . . . . . . . . . . . . . . . . . . . . . 21
Table 9 - Maximum Capacity of Pipe . . . . . . . . . . . . . . . . . . . . . 22
ELECTRICAL CONNECTIONS. . . . . . . . . . . . . . . . . . . . . . . . . . . 23
115-V Wiring . . . . . . . . . . . . . . . . . . . . . . . . . . . . . . . . . . . . . . . . . . 23
Table 10 - Electrical Data . . . . . . . . . . . . . . . . . . . . . . . . . . . . . . 23
24-V Wiring . . . . . . . . . . . . . . . . . . . . . . . . . . . . . . . . . . . . . . . . . . . 26
VENTING. . . . . . . . . . . . . . . . . . . . . . . . . . . . . . . . . . . . . . . . . . . . . 29
Table 11 - Vent Termination Kit for Direct Vent (2-pipe) Systems31
Table 12 - Maximum Allowable Exposed Vent Lengths Insulation Ta-
ble. . . . . . . . . . . . . . . . . . . . . . . . . . . . . . . . . . . . . . . . . . . . . . . . . 40
Table 13 - Maximum Equivalent Vent Length - Ft. . . . . . . . . . . 42
Table 14 - Deductions from Maximum Equivalent Vent Length - Ft.
(M) . . . . . . . . . . . . . . . . . . . . . . . . . . . . . . . . . . . . . . . . . . . . . . . . 42
Table 15 - Hanger Spacing . . . . . . . . . . . . . . . . . . . . . . . . . . . . . 47
Table 16 - Approved Combustion-Air and Vent Pipe, Fitting and Ce-
ment Materials . . . . . . . . . . . . . . . . . . . . . . . . . . . . . . . . . . . . . . . 49
START-UP, ADJUSTMENT, AND SAFETY CHECK . . . . . . . . . 50
Table 17 - Cooling4 and Heating Air Delivery - CFM (Bottom Re-
turn5 with Filter) . . . . . . . . . . . . . . . . . . . . . . . . . . . . . . . . . . . . . 51
Table 18 - Altitude Derate Multiplier for U.S.A. . . . . . . . . . . . . 55
Portions of the text and tables are reprinted from NFPA 54/ANSI Z223.1E, with permission of National Fire Protection Association, Quincy, MA
02269 and American Gas Association, Washington DC 20001. This reprinted material is not the complete and official position of the NFPA or ANSI
Installation, Start-up, Operating,
Service and Maintenance Instructions
on the referenced subject, which is represented only by the standard in its entirety.
Table 19 - Blower Off Delay Setup Switch . . . . . . . . . . . . . . . . 58
Table 20 - Orifice Size and Manifold Pressure (In. W.C.) for Gas Input
Rate . . . . . . . . . . . . . . . . . . . . . . . . . . . . . . . . . . . . . . . . . . . . . . . 59
Table 21 - Gas Rate (CU ft./hr). . . . . . . . . . . . . . . . . . . . . . . . . . 60
SERVICE AND MAINTENANCE PROCEDURES. . . . . . . . . . . . 60
WINTERIZATION. . . . . . . . . . . . . . . . . . . . . . . . . . . . . . . . . . . . . . 67
SEQUENCE OF OPERATION . . . . . . . . . . . . . . . . . . . . . . . . . . . . 71
PARTS REPLACEMENT INFORMATION GUIDE . . . . . . . . . . . 75
MODEL NOMENCLATURE . . . . . . . . . . . . . . . . . . . . . . . . . . . . . 75
WARNING
!
CARBON MONOXIDE POISONING HAZARD
Failure to follow this warning could result in personal injury and/or
death.
Carbon Monoxide (CO) is a colorless, odorless, and tasteless poisonous
gas that can be fatal when inhaled. Follow all installation, maintenance,
and service instructions. See additional information below regarding
the installation of a CO Alarm.
Most states in the USA and jurisdictions in Canada have laws that
require the use of Carbon Monoxide (CO) alarms with fuel burning
products. Examples of fuel burning products are furnaces, boilers, space
heaters, generators, water heaters, stoves/ranges, clothes dryers,
fireplaces, incinerators, automobiles, and other internal combustion
engines. Even if there are no laws in your jurisdiction requiring a CO
Alarm, it's highly recommended that whenever any fuel burning product
is used in or around the home or business that the dwelling be equipped
with a CO Alarm(s). The Consumer Product Safety Commission
recommends the use of CO Alarm(s). The CO Alarm(s) must be
installed, operated, and maintained according to the CO Alarm
manufacturer's instructions. For more information about Carbon
Monoxide, local laws, or to purchase a CO Alarm online, please visit the
following website. https://www.kidde.com.
Use of the AHRI Certified TM Mark indicates
a manufacturer's participation in the program.
For verification of certification for individual
products, go to www.ahridirectory.org .
A200326
Advertisement
Table of Contents


Need help?
Do you have a question about the A Series and is the answer not in the manual?
Questions and answers