Table of Contents
Advertisement
Quick Links
Advertisement
Table of Contents

Subscribe to Our Youtube Channel
Related Manuals for Azumi A40M


Summary of Contents for Azumi A40M
- Page 1 A40M User Manual...
- Page 2 Warnings Not following these simple guidelines may be dangerous or illegal. Read the complete user guide for further information. TURN ON SAFELY Do not turn on the phone when wireless phone is prohibited or when it may cause interference or danger. ROAD SAFETY Obey all road safety laws.
- Page 3 TURN OFF WHEN REFUELING Do not use the phone at/near refueling stations. Do not use near fuel or chemicals. USE SENSIBLY Only qualified personnel may install or repair this product. ENHANCEMENTS AND BATTERIES Use only appropriate enhancements and batteries. Do not connect incompatible products.
-
Page 4: Your Phone
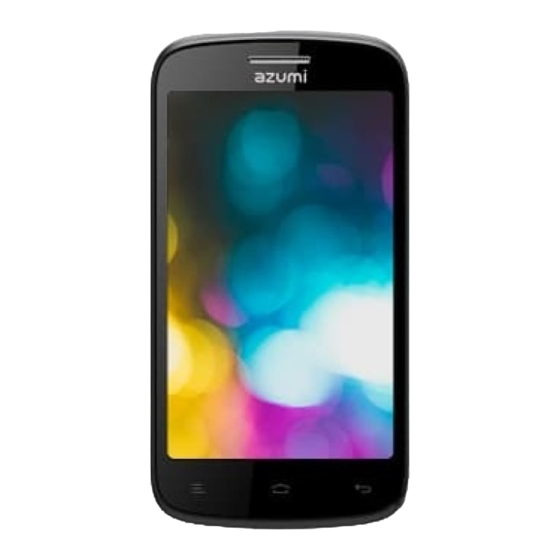
Your Phone The phone appearance is shown as below. The picture is for reference only; your phone may be different. Please take your actual phone as the standard. Front View Back View... -
Page 5: Keypad Descriptions
Keypad Descriptions Description Long press the key to turn on the phone. Power Key In the power on status, press the key to lock keypad and screen; long press the key to show phone options. Press the key to enter option menu. Option Key... -
Page 6: Start To Use
Description Press the key to return to standby mode. Home Key Long press the key to show recent list. In the menu mode, press the key to go back to Back Key upper menu. To adjust incoming call ringtone volume. Volume Keys During a call, playing music, video, or listening to radio, press the keys to adjust volume. - Page 7 Please insert the SIM card according to the mark on the phone. Make sure that the clipped corner of the SIM card and the metallic contacts are facing the correct direction. Slide the SIM card into the slot until it doesn't move up any further. The direction in which the microSD card has to be inserted into the designated slot is shown by an label on the phone.
-
Page 8: Charge The Battery
Remove Memory Card and SIM Card Note: If the phone is turned on, long press Power Key about 3 seconds until it tips phone options and select Power off and then press OK to turn off the phone. Then, remove the battery, SIM card and memory card. -
Page 9: Turn On/Off The Phone
Turn on/off the Phone Hold down the power button to turn the phone Hold down the power button, then touch Power off to turn the phone off Use Touch Screen Press: Use finger to press the desired option to confirm selection or start an application. -
Page 10: Home Screen
Home Screen Phone status bar and notifications Slide left or right to see more panels Touch to enter main menu Touch to enter message Touch to enter web Touch to enter Claro interface Touch to enter dial pad Status Bar The status bar shows your phone’s status and notifications. -
Page 11: Status Icons
Status icons The following status icons may appear on your screen: Icon Statement Icon Statement Headset is Network inserted signal level Indicates Bluetooth is battery activated capacity Unread Wi-Fi is messages connected Airplane Missed calls mode is activated Alarm is USB is activated connected... -
Page 12: Answer A Call
You need to unlock the phone if the keypad and screen is locked. You can make calls through call log, contacts, and messages. During a call, press Volume Keys to adjust the volume. Your phone supports intelligent dial. When input ... -
Page 13: Emergency Service
Emergency Service You can call emergency service number directly without SIM card. Different networks use different emergency numbers, please query your network operator. Input Method Your phone has the built-in input method. In edit mode, long press to show Input options and set input languages and Android keyboard settings. -
Page 14: Backup And Restore
Touch an app to launch it 1. Backup and Restore In this menu, you can choose to BACKUP and RESTORE personal data and application. 2. Browser You can use your phone to access Wireless Application Protocol (WAP) sites and use WAP-based services. To browse WAP pages, you must subscribe to the data service from your service provider and configure your phone's relevant settings. - Page 15 4. Calculator The calculator can execute simple calculations. Slide the screen toward left or right, you can change the calculator in Basic panel and Advanced panel. 5. Calendar In the calendar, you can check schedules for current month. It has alarm for the date with schedule.
- Page 16 9. Downloads To check all downloads applications. 10. Email You can use Email to send and receive emails. Setup Email Account According to the tips on screen to input email address and password, and press Next. You can press Manual setup to setup server information manually.
-
Page 17: File Manager
In the Inbox, press new mail icon to create new email. Input receiver email address, subject, and content, and then press send icon to send the email. Delete Accounts In the Inbox, press Option Key to select Settings. Select the account you want to delete and then select Remove account in the option list. - Page 18 Ensure that your mobile phone has an active data connection (3G/GPRS) before you sign in to your Google account. If you already have a Google account, enter your username and password. 15. Messaging Select Messaging in the main menu or standby mode to enter. Select new message icon at left down corner to create new SMS or MMS and send.
-
Page 19: System Update
17. System Update Through WLAN and high-speed wireless network, you can wirelessly upgrade, convenient stay at home to update the latest software, have better experience to the mobile phone of new features, and have a better experience with the optimized functionality. In the Menu/SystemUpdate, select Auto System Update to set update check interval. - Page 20 Copy the contacts from SIM cards, phone, phone storage or SD card, and then select location to copy. Accounts Select whether to Auto-sync app data. Memory Query To check the memory of phone and SIM cards. Join Contacts You can use this function to join same contacts. 19.
- Page 21 WLAN networks. Select one open network, you can access to the network directly. If the network you selected is encrypted, you need to input password. Bluetooth The phone supports Bluetooth. It can exchange information between devices including mobile phones wirelessly. Through Bluetooth, you can sync phone and computer, exchange data with other Bluetooth devices, and can connect to Bluetooth earphone.
-
Page 22: Sound Recorder
To add new account of Corporate, Email, or Google. System Date & Time Set time and date for the phone. Scheduled Power On & Off Set time to power on/off the phone automatically. Accessibility To set accessibility functions for the phone. Developer Options ... -
Page 23: Wireless Input Device
26. Wireless Input Device Your phone supports wireless input device. You need to turn on Bluetooth and select to add new device. Widgets In the widgets list, you can select desired widget to add to idle screen. Care and Maintenance ... - Page 24 59°F and 77°F (15°C and 25°C). A hot or cold battery may not function temporarily, even when the battery is fully charged. • Battery performance is particularly limited in temperatures below freezing. • Do not dispose of batteries in a fire! Dispose of batteries according to local regulations.
-
Page 25: Fcc Statement
damage the device and may violate regulations governing radio devices. All of the above suggestions apply to your device, battery, charger, or any enhancement. If any device is not working properly, take it to the nearest authorized service facility for service. Caution: The manufacturer assumes no responsibility for the consequences of the users does not comply with the above suggestions or misuse of the phone. - Page 26 reasonable protection against harmful interference in a residential installation. This equipment generates uses and can radiate radio frequency energy and, if not installed and used in accordance with the instructions, may cause harmful interference to radio communications. However, there is no guarantee that interference will not occur in a particular installation.
- Page 27 the general population. The guidelines are based on standards that were developed by independent scientific organizations through periodic and thorough evaluation of scientific studies. The standards include a substantial safety margin designed to assure the safety of all persons, regardless of age and health. The exposure standard for wireless mobile phones employs a unit of measurement known as the Specific Absorption Rate, or SAR.
- Page 28 phone models, depending upon available accessories and FCC requirements). The maximum scaled SAR in hotspot mode is 1.095W/Kg.While there may be differences between the SAR levels of various phones and at various positions, they all meet the government requirement for safe exposure.
- Page 29 accessories used by this device should not contain any metallic components. Body-worn accessories that do not meet these requirements may not comply with RF exposure requirements and should be avoided. Use only the supplied or an approved antenna.
Need help?
Do you have a question about the A40M and is the answer not in the manual?
Questions and answers