Advertisement
Quick Links
Technical Support
Visit the Support section of the Tandberg Data web site
(http://www.tandbergdata.com) for the following:
• K nowledge base articles
• T roubleshooting information
• P roduct documentation
• S oftware updates
• P roduct warranty and registration
• E mail and phone technical support
©2012 Tandberg Data. All rights reserved. BizNAS is a trademark of Tandberg
Data. All other trademarks are the property of their respective owners.
Installing Disks
Follow these instructions to install one or more disks
into your NAS.
1.
Open the cover door. Slide the disk tray lock to the right to
release the handle.
2.
Pull the tray out by the handle.
3.
Slide the disk into the disk tray.
4.
Flip the tray over and use the three supplied screws to secure
the disk into the tray.
5.
Insert the disk tray into the empty slot.
6.
Close the handle to secure the disk tray into the slot.
#1020489A#
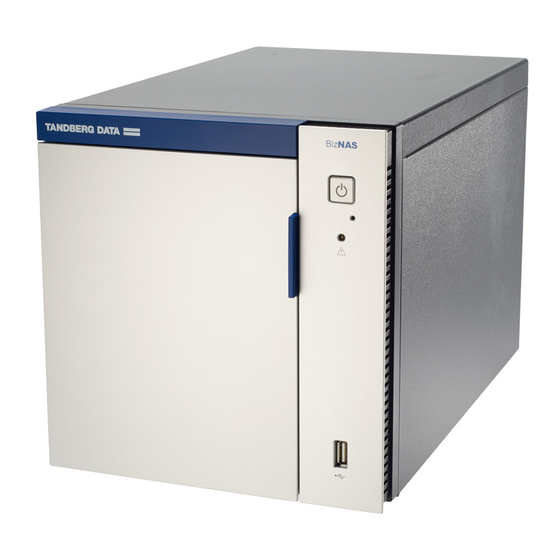
BizNAS™ D400 series
Registration Code
www.tandbergdata.com
Advertisement

Related Manuals for Tandberg Data BizNAS D400 Series

Summary of Contents for Tandberg Data BizNAS D400 Series
- Page 1 Insert the disk tray into the empty slot. Close the handle to secure the disk tray into the slot. Registration Code ©2012 Tandberg Data. All rights reserved. BizNAS is a trademark of Tandberg #1020489A# Data. All other trademarks are the property of their respective owners.
- Page 2 • A ccess to the Internet from a computer connected to the LAN. electrical outlet. Note: The BizNAS D400 series retrieves its IP address and other network addressing automatically via DHCP. After you have accessed the Tandberg Data BizNAS Information Center, you can change to static network addressing, if desired.
Need help?
Do you have a question about the BizNAS D400 Series and is the answer not in the manual?
Questions and answers