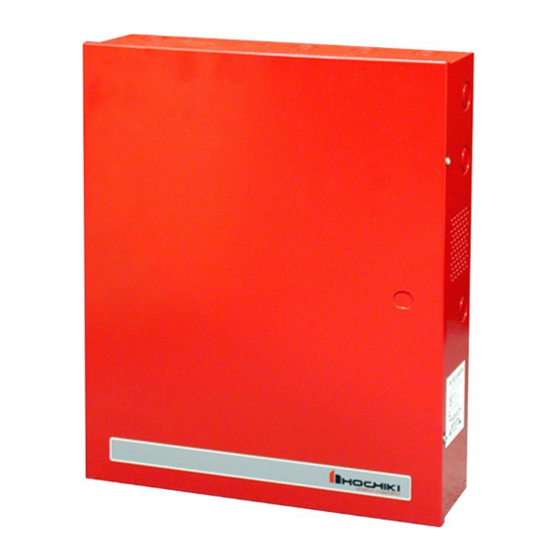
Summary of Contents for Hochiki America FN-400ULX
- Page 1 FN-400ULX Power Supply/Charger Installation Guide Altro nix Corp. 140 58th St. Br ookl yn, NY Rev. 101112...
- Page 2 Install the two lower screws and make sure to tighten all screws (Enclosure Dimensions, pg. 4). 2. Set the FN-400ULX to the desired DC output voltage by setting SW1 (Fig. 1, pg. 2, Fig. 2c, pg. 3) to the appropriate position (refer to Power Supply Voltage Output Selections chart).
- Page 3 4. Connect devices to be powered to terminals marked [+ DC –] (Fig. 2, pg. 3). 5. Measure output voltage before connecting devices. This helps avoiding potential damage. 6. For Access Control applications, batteries are optional. When batteries are not used a loss of AC will result in the loss of output voltage.
- Page 4 (24mm) 3.25” 3.25” (83m m) (83mm) 3.25” (83mm) 1.0” 1.0” (25m m) (25mm) 1.0” 10.5” 1.0” (25mm) (267mm) (25mm) Hochiki America Corp. 7051 Village Drive, Suite 100, Buena Park, CA 90621-2268, 714-522-2246, Fax: 714-690-7890, www.hochiki.com IIFN-400ULX G02N - 4 -...


Need help?
Do you have a question about the FN-400ULX and is the answer not in the manual?
Questions and answers