Advertisement
Quick Links
Advertisement

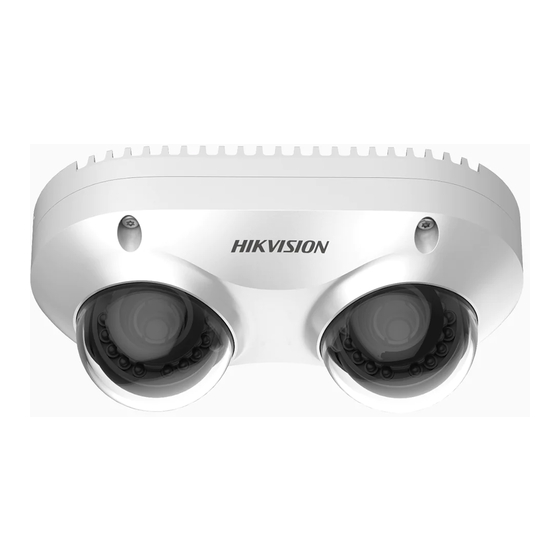
Related Manuals for HIKVISION DS-2CD6D82G0-IHS


Summary of Contents for HIKVISION DS-2CD6D82G0-IHS
- Page 1 Mobile Network Camera Quick Start Guide...
- Page 2 WITHOUT LIMITATION, MERCHANTABILITY, SATISFACTORY QUALITY, OR FITNESS FOR A PARTICULAR PURPOSE. THE USE OF THE PRODUCT BY YOU IS AT YOUR OWN RISK. IN NO EVENT WILL HIKVISION BE LIABLE TO YOU FOR ANY SPECIAL, CONSEQUENTIAL, INCIDENTAL, OR INDIRECT DAM-...
- Page 3 OF CONTRACT, TORT (INCLUDING NEGLIGENCE), PRODUCT LIABILITY, OR OTHERWISE, IN CONNECTION WITH THE USE OF THE PRODUCT, EVEN IF HIKVISION HAS BEEN ADVISED OF THE POSSIBILITY OF SUCH DAMAGES OR LOSS. YOU ACKNOWLEDGE THAT THE NATURE OF INTERNET PROVIDES FOR IN-...
- Page 4 one or more of the following measures: —Reorient or relocate the receiving antenna. —Increase the separation between the equipment and receiver. —Connect the equipment into an outlet on a circuit different from that to which the receiver is connected. —Consult the dealer or an experienced radio/TV technician for help FCC conditions This device complies with part 15 of the FCC Rules.
-
Page 5: Safety Instruction
Safety Instruction These instructions are intended to ensure that the user can use the product correctly to avoid danger or property loss. Laws and Regulations The device should be used in compliance with local laws, electrical safety regulations, and fire prevention regulations. Transportation Keep the device in original or similar packaging while transporting it. - Page 6 If the product does not work properly, please contact your dealer or the nearest service center. We shall not assume any responsibility for problems caused by unauthorized repair or maintenance. A few device components (e.g., electrolytic capacitor) require regular replacement. The average lifespan varies, so periodic checking is recommended.
-
Page 7: Symbols And Marks
Set up camera time manually for the first time access if the local time is not synchronized with that of the network. Visit the camera via Web browse/client software and go to time settings interface. Installation Make sure the device is firmly secured to any wall or ceiling mountings. - Page 8 Warning Forbidden Correct Incorrect Turn to page A and continue. i. Not necessarily included accessory. ii. Variable accessory amount. iii. Skip this step if not required. MicroSD card Grounding Disposal Purchase separately Other situations Other situations omitted...
- Page 9 Waterproof Skip this step if not necessary...
- Page 10 Installation...
- Page 11 Installation...
- Page 12 Installation Interface Introduction—Type 1 Reset Button Memory Card Slot Debug Interface RS-485 Interface Power Interface Alarm Interface Audio Interface Network Interface...
- Page 13 Installation Interface Introduction—Type 2 Reset Button Memory Card Slot Debug Interface RS-485 Interface Audio Interface Alarm Interface Aviation Plug Molex Interface...
- Page 14 Installation microSD...
- Page 15 Installation Ø5.5mm Ø40mm Ø5.5mm...
- Page 16 Installation...
- Page 17 Installation...
- Page 18 Installation...
- Page 19 Installation...
- Page 20 Installation...
- Page 21 Installation...
- Page 22 Installation...
- Page 23 Installation...
- Page 24 Installation...
- Page 25 Installation...
-
Page 26: Operation
Operation Activate and Access Network Camera Scan the QR code to get Activate and Access Camera. Note that mobile data charges may apply if Wi-Fi is unavailable. - Page 27 Operation Reset and Restore Camera Press Reset button for about 10s when the camera is powering on or rebooting to restore the default settings, including the user name, password, IP address, port No., etc. For the position of the reset button, refer to the figure in the interface introduction page.
- Page 28 UD16398B...
Need help?
Do you have a question about the DS-2CD6D82G0-IHS and is the answer not in the manual?
Questions and answers